Wood Fired Pizza with Red Pesto and Grilled Chicken
On April 05, 2021
This post may contain affiliate links. Please read our disclosure policy.
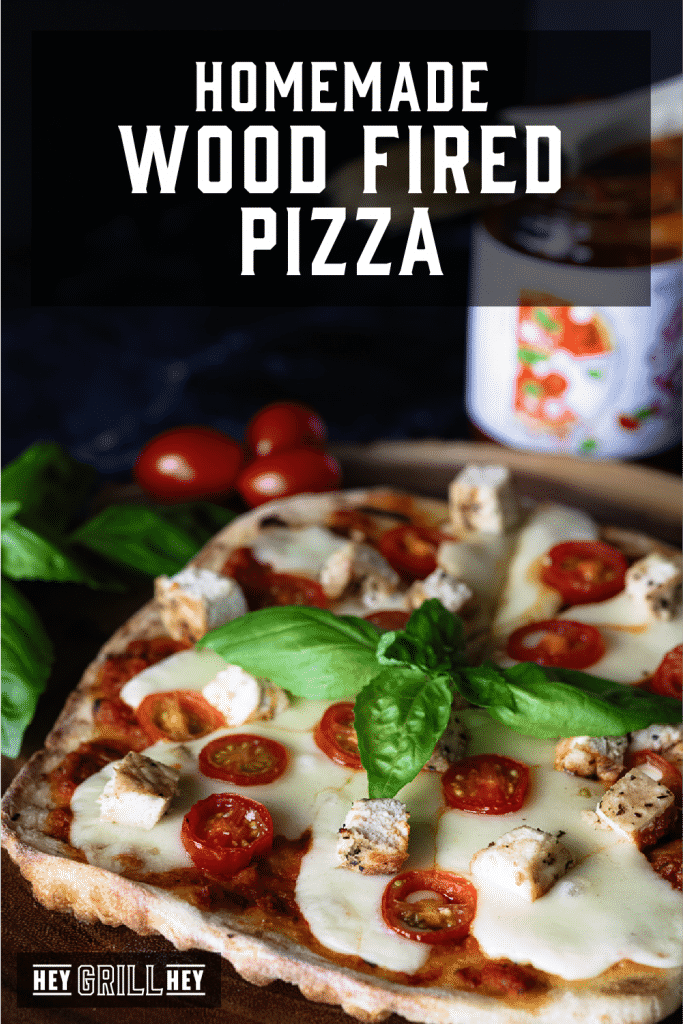
Homemade Wood Fired Pizza is an easier venture than you might think. Crispy, caramelized crust fresh off the grill is topped with fresh ingredients for a simple, yet oh-so satisfying meal.
Wood Fired Pizza
The better pizza places in the world know that a good, hot fire is the secret to amazing pizza and we’re applying all of those principles to these backyard gourmet wood fired pizzas. The crust is homemade, but incredibly simple. I personally feel like the crust is the key to amazing pizzas and I tried several variations before I landed on one that seems made for the grill.
Quick note: This crust recipe calls for olive oil and I’ve been in love with the olive oil I used in this recipe for my grilled flat iron steaks. This wood fired pizza eats like a meal, and you’ll find yourself craving it for breakfast, lunch, AND dinner. It is that good!
Homemade Wood Fired Pizza
The good news is, you don’t need a thousand dollar brick pizza oven in your backyard to get that coveted crunchy crust! I whipped these pizzas up on a regular Monday night for my family using hardwood lump charcoal and two zones of heat in my kettle grill. If you don’t have charcoal, you can follow the same method detailed in the recipe using direct and indirect zones of heat with a gas grill (you’ll just be missing a little of that wood-fired pizza flavor).
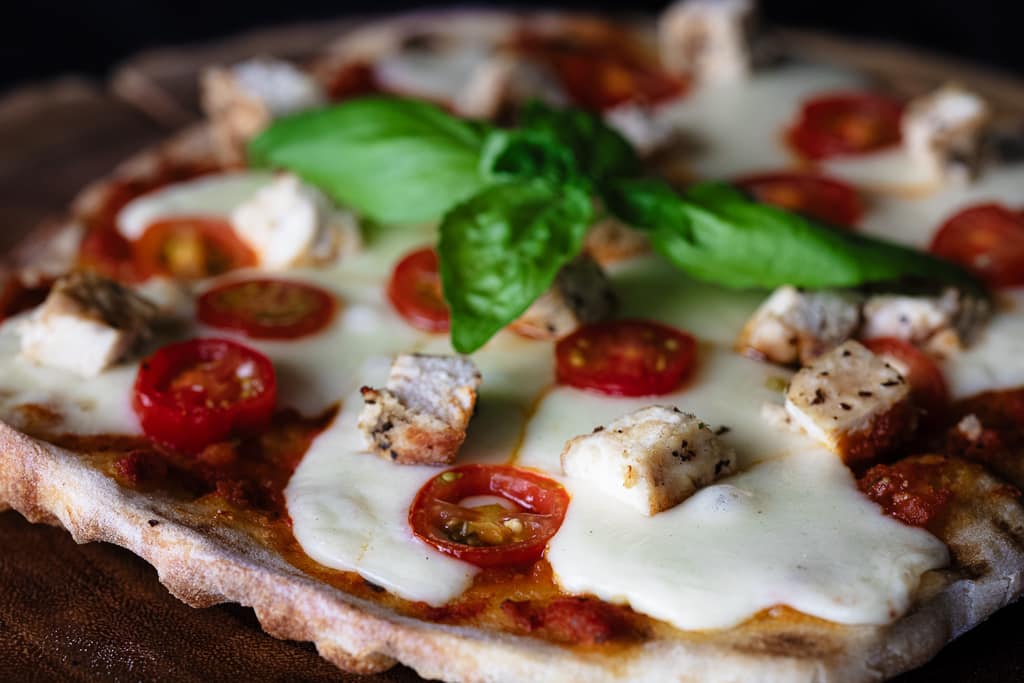
Now that we know how to make that amazing crust, it’s time to chat toppings. Start with a good sauce, then add simple, yet satisfying toppings. Fresh mozzarella, juicy grilled chicken, and gorgeous cherry tomatoes and fresh basil make this an easy pizza that tastes like you had it delivered.
How to Make Wood Fired Pizza
Ready to make these awesome pizzas? Let’s get started!
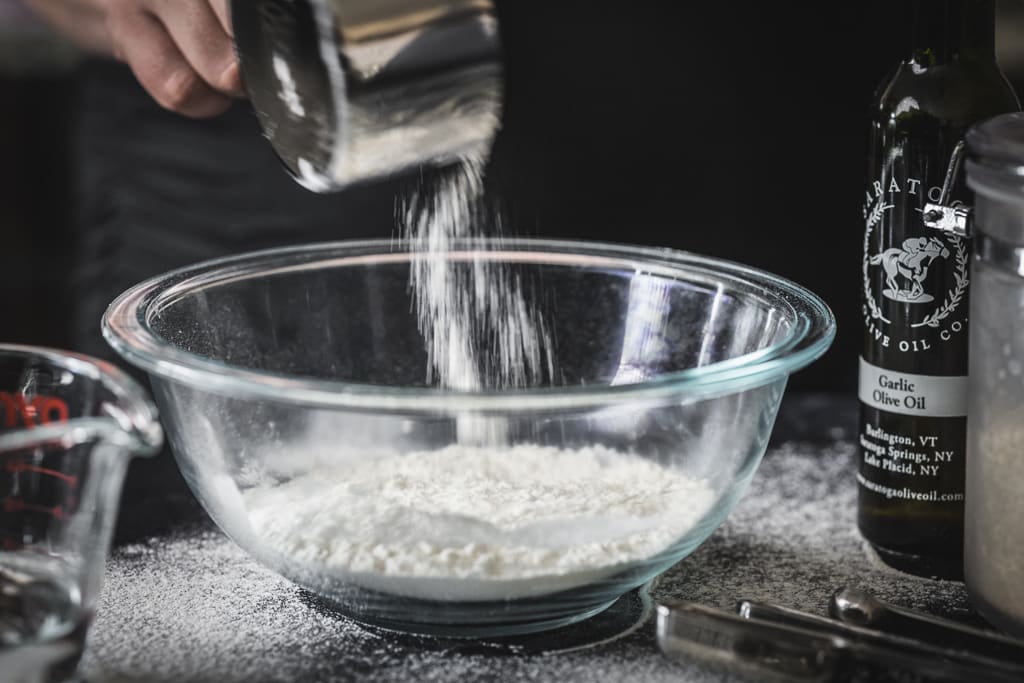
- Dough. First up, we gotta make that dough. The best pizza dough is homemade, and this dough only requires 5 ingredients to make! You will have to plan a bit ahead to allow this dough to rise, but it will make for delicious dough that is portioned into individual personal pizzas.
- Chicken. Once you have the dough underway, it’s time to make the chicken. Season the chicken and grill over direct heat until the chicken reaches an internal temperature of 165 degrees F.
- Toppings. Prep all your toppings before you begin grilling your pizzas. Fresh mozarella, red pesto, cherry tomatoes, and basil leaves are all you need for this tasty pizza.
- Pizza! After your chicken is cooked, you’re ready to bake the dough over direct heat, add the toppings, and cook until the cheese is melty and the crust is a golden brown.
This pizza is best if enjoyed immediately!
What to Serve with Wood Fired Pizza
Need to make your pizza into a complete meal? Try it out with some of these awesome sides from Hey Grill Hey:
Wood Fired Pizza Recipe
Ready to become a backyard BBQ hero? Join my members-only group The Grill Squad for full access to all my meat, rubs, sauces, and meat buying masterclasses, podcasts, and so much more. It’s an amazing community of grillers that will help support you and increase your confidence of all things BBQ.
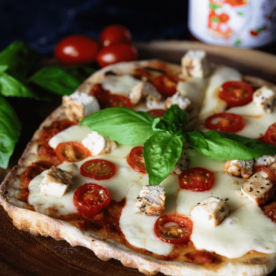
Wood Fired Pizza with Red Pesto and Grilled Chicken
Ingredients
For the crust
- 1 ⅔ cup warm water between 100-110 degrees F
- 2 teaspoons active dry yeast
- ¼ cup olive oil extra virgin
- 2 teaspoons salt
- 5 cups all-purpose flour
For the grilled chicken
- 3 boneless skinless chicken breasts
- 2 teaspoons garlic salt
- 2 teaspoons Italian seasoning
- 1 teaspoon black pepper
Pizza toppings
- 8 ounces fresh mozzarella cheese
- 4 ounces red pesto sauce
- 1 cup grape or cherry tomatoes cut in half
- fresh basil
Instructions
- Make the dough. In a large mixing bowl, combine the warm water and the yeast. Allow this mixture to sit for 5 minutes until the yeast has dissolved and started to bubble. Pour in the olive oil, flour, and salt. Using the dough hook of an electric mixer, mix on slow for 5-7 minutes, or until the dough has a smooth surface and bounces back slowly when you press your finger into it.
- Allow the dough to rise. Transfer the dough to a lightly floured surface and divide into 8 equal balls for individual pizzas or 4 balls for larger pizzas that will serve 2 people. I don't recommend making your dough balls any larger than this or they can be difficult to maneuver on the grill. Place the balls on a baking sheet that has been lightly oiled, cover with a damp towel, and let rise somewhere warm for 1 to 1 1/2 hours.
- Preheat the grill. Preheat your grill for two zone cooking. Allow the direct heat side to get very hot (above 500 degrees F is great)!
- Grill the chicken. Season the chicken breasts with the garlic salt, pepper, and Italian seasoning. Grill over direct heat until the internal temperature reaches 165 degrees F (about 7-8 minutes per side). Remove to a cutting board and allow to rest for 4-5 minutes before slicing thinly.
- Prepare the toppings. Before you begin grilling pizzas, make sure you have all of your toppings in place. I like to use a large cutting board loaded with the red pesto, mozzarella, sliced chicken, fresh basil, and sliced tomatoes.
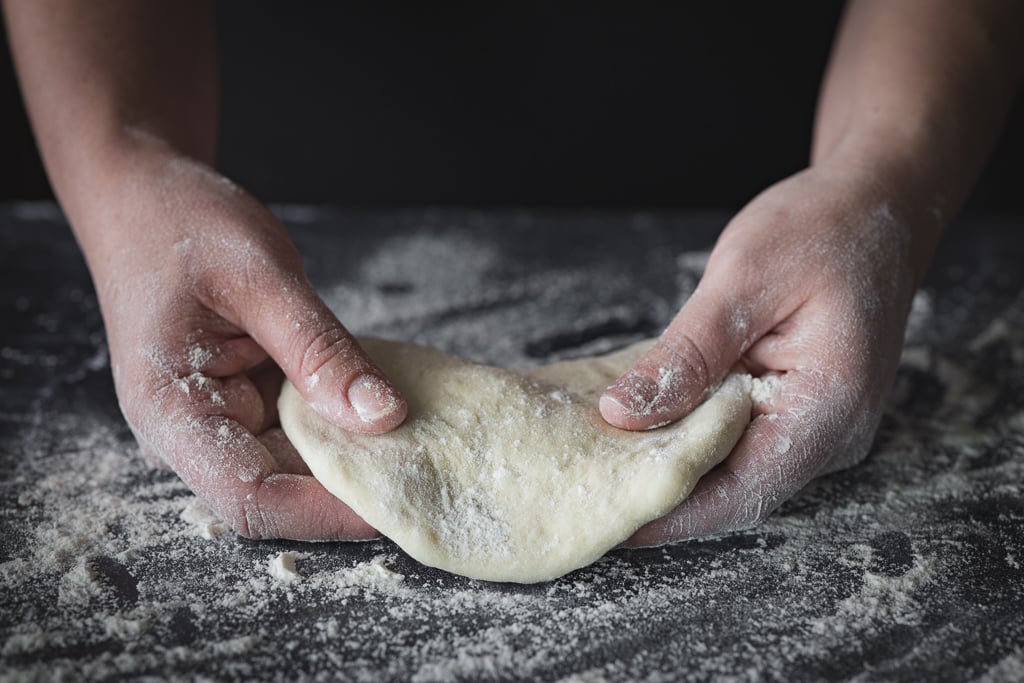
- Shape the crust. Coat the palms of your hands lightly with olive oil and shape one of the risen dough balls into a disk. Slowly work your hands around the outside edges of the dough pulling and stretching gently. You want the dough to be an even thickness all around (don't worry about creating a "crust" around the outside edges).
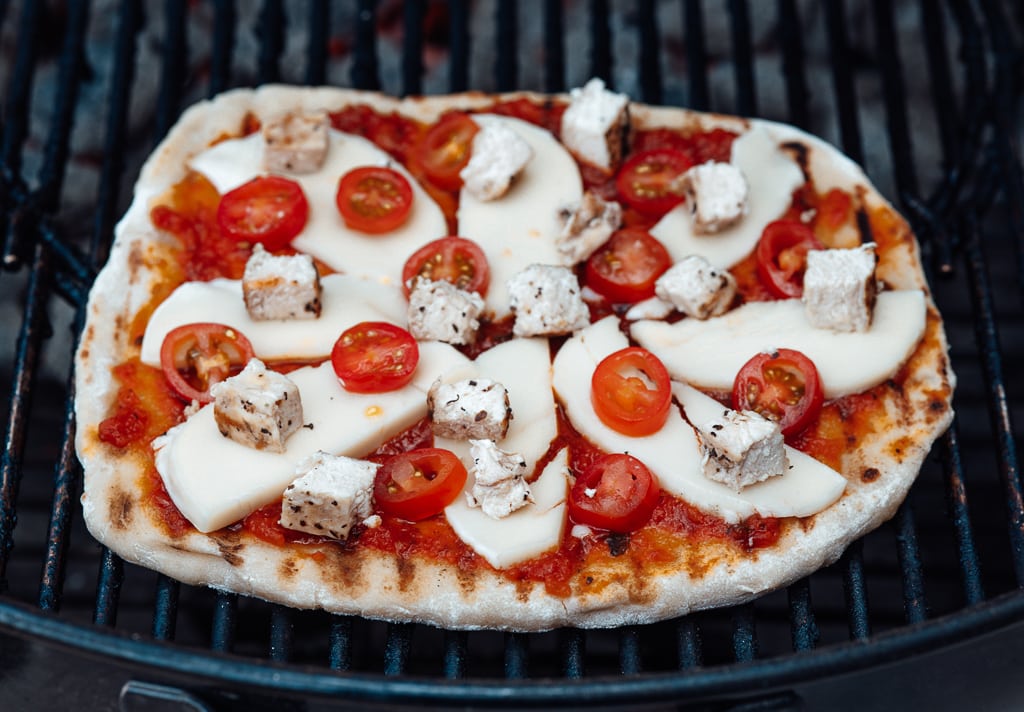
- Cook the pizza dough. Place the stretched dough on the grill grates over the direct heat. Grill with the lid open for 2-3 minutes until the bottom is browned and bubbles are starting to rise on the top. Quickly flip the crust over onto the indirect side of the grill and start layering on your toppings. Start with the pesto, then the mozzarella, chicken, tomatoes, and basil.
- Finish baking the pizza. Close the lid on the grill and cook for 4-5 more minutes, or until the cheese is nice and melty. Feel free to open the lid and rotate the pizza as needed to keep the crust cooking evenly on the bottom. If you like a super crispy crust, carefully slide the pizza over to the direct side of the grill for an additional minute.
- Slice and serve. Use a big spatula to transfer the pizza to a cutting board. Slice and serve! Repeat the pizza grilling process as desired with the additional dough balls.
Nutrition
Nutrition information is automatically calculated, so should only be used as an approximation.
**This post was originally published in September 2017. We recently updated it with more information and helpful tips. The recipe remains the same.
