Spatchcock Chicken on the Grill
On December 12, 2023 (Updated December 06, 2024)
This post may contain affiliate links. Please read our disclosure policy.
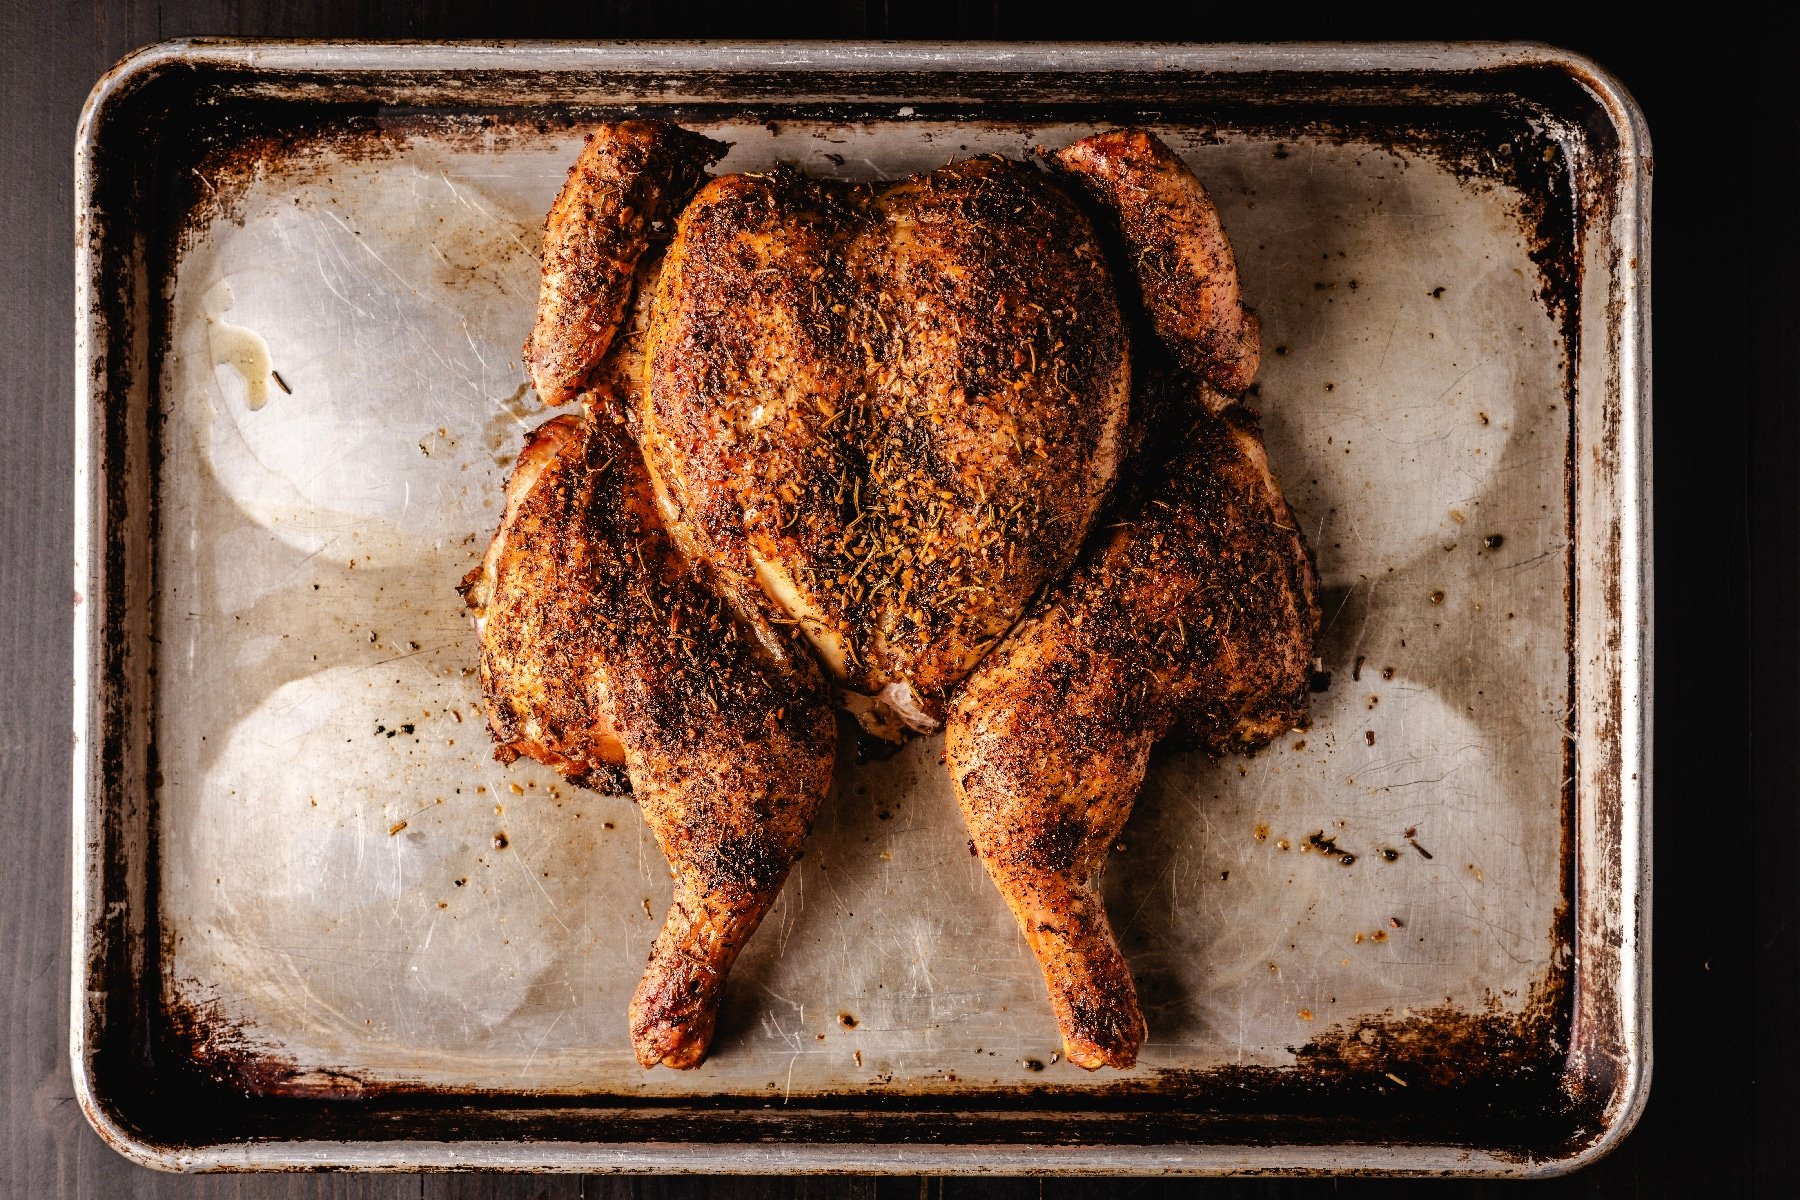
My Grilled Spatchcock Chicken is delicious and juicy, and made easy right at home. Simply follow my three-step process for perfectly tender chicken.
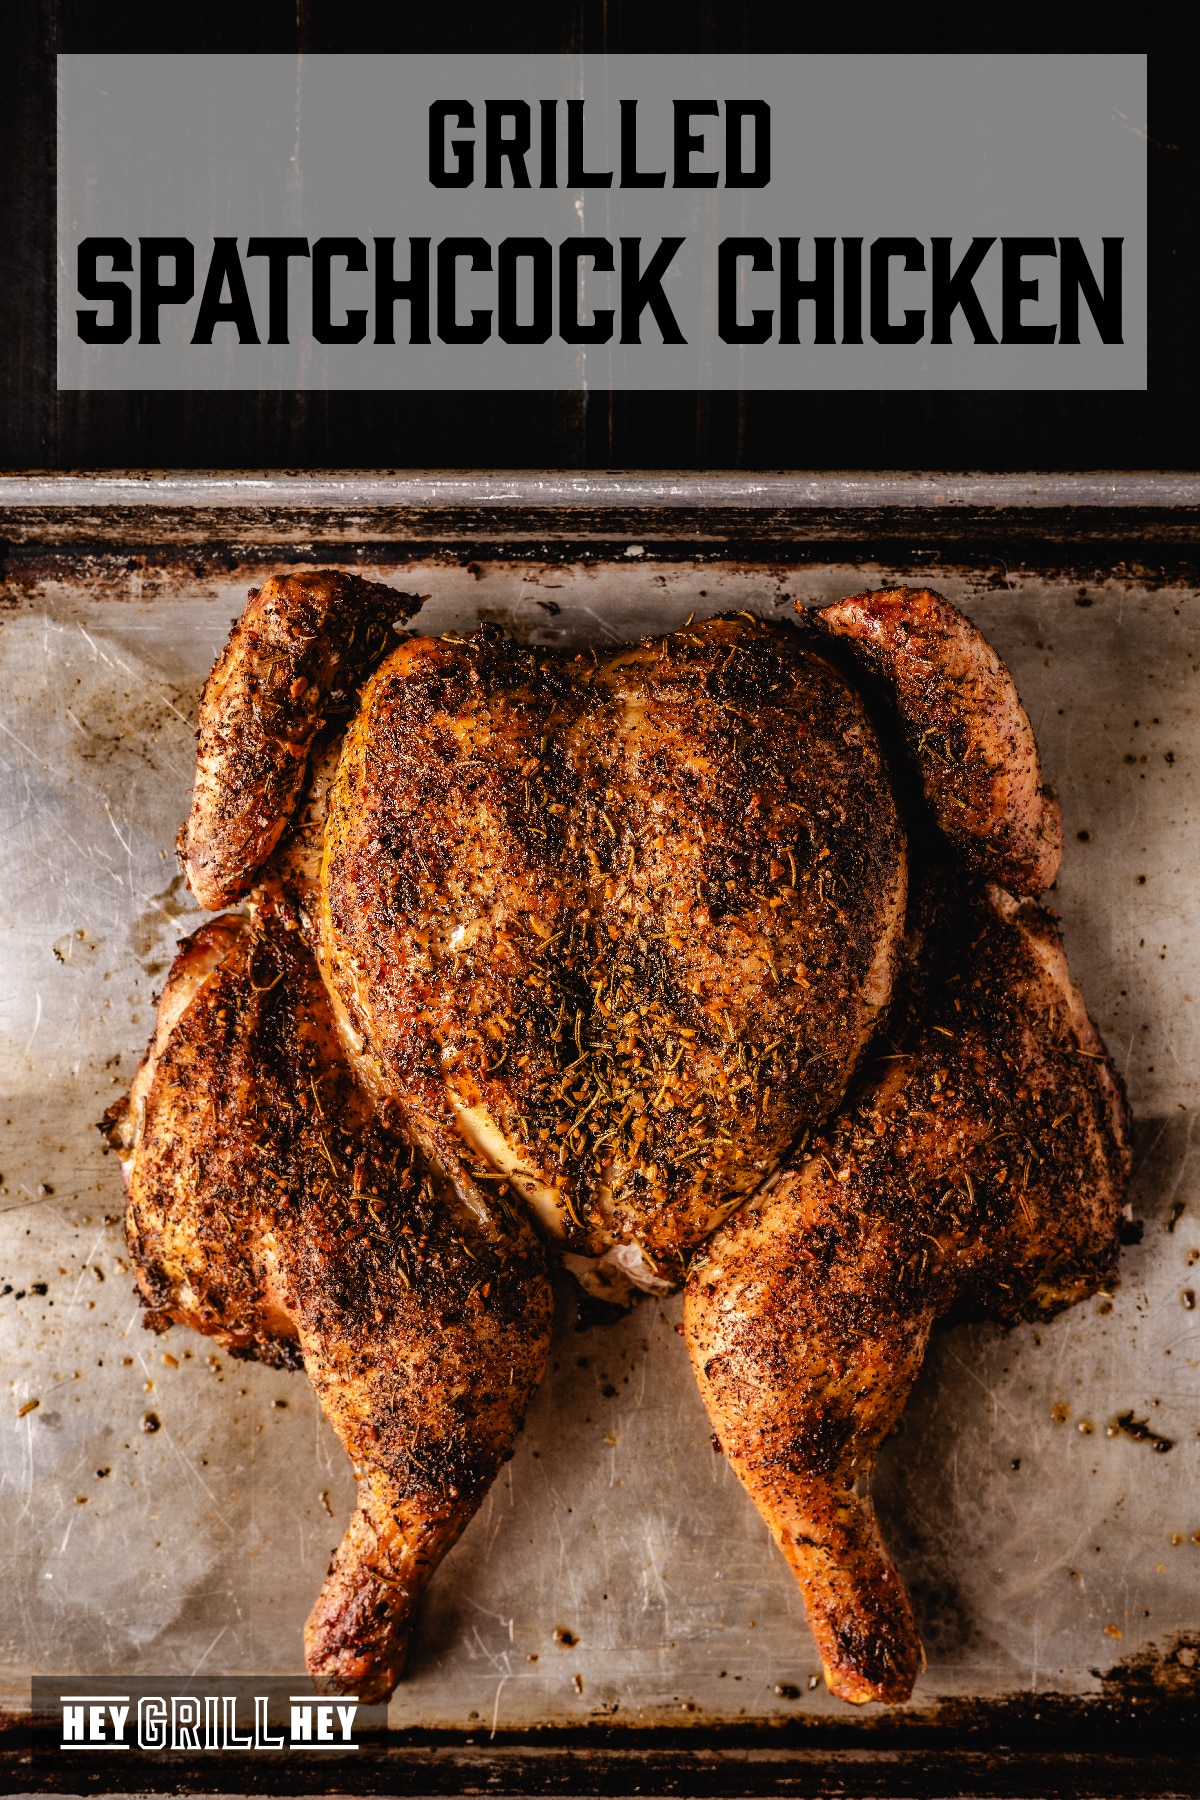
Grilled Spatchcock Chicken
A spatchcock chicken is a chicken that has had its backbone removed to allow the chicken to lay flat during the cooking process. This means the chicken can be opened up, and it provides a quick way to cook your bird evenly. If you spatchcock a chicken before you cook it, you will greatly decrease the amount of time it takes to cook. You’ll also have a nice, flat chicken, and your meat will cook more evenly.
If your chicken cooks more evenly, then that means you’re getting the best of everything: juicy legs, thighs, and breasts. Whenever I’m short on time and want to ensure my bird comes out cooked thoroughly, I’ll spatchcock it first. Even though it can appear intimidating at first, once you get the hang of it, you’ll be a spatchcocking master.
How to Spatchcock a Chicken
For those of you who are spatchcock veterans, this should be quick work for you. If you’ve never spatchcocked a chicken before, no worries. It’s not as difficult as it seems. Simply follow these steps, and your chicken will be ready for the grill in no time! Remember, all you’re trying to do is cut out the backbone. You’ve got this.
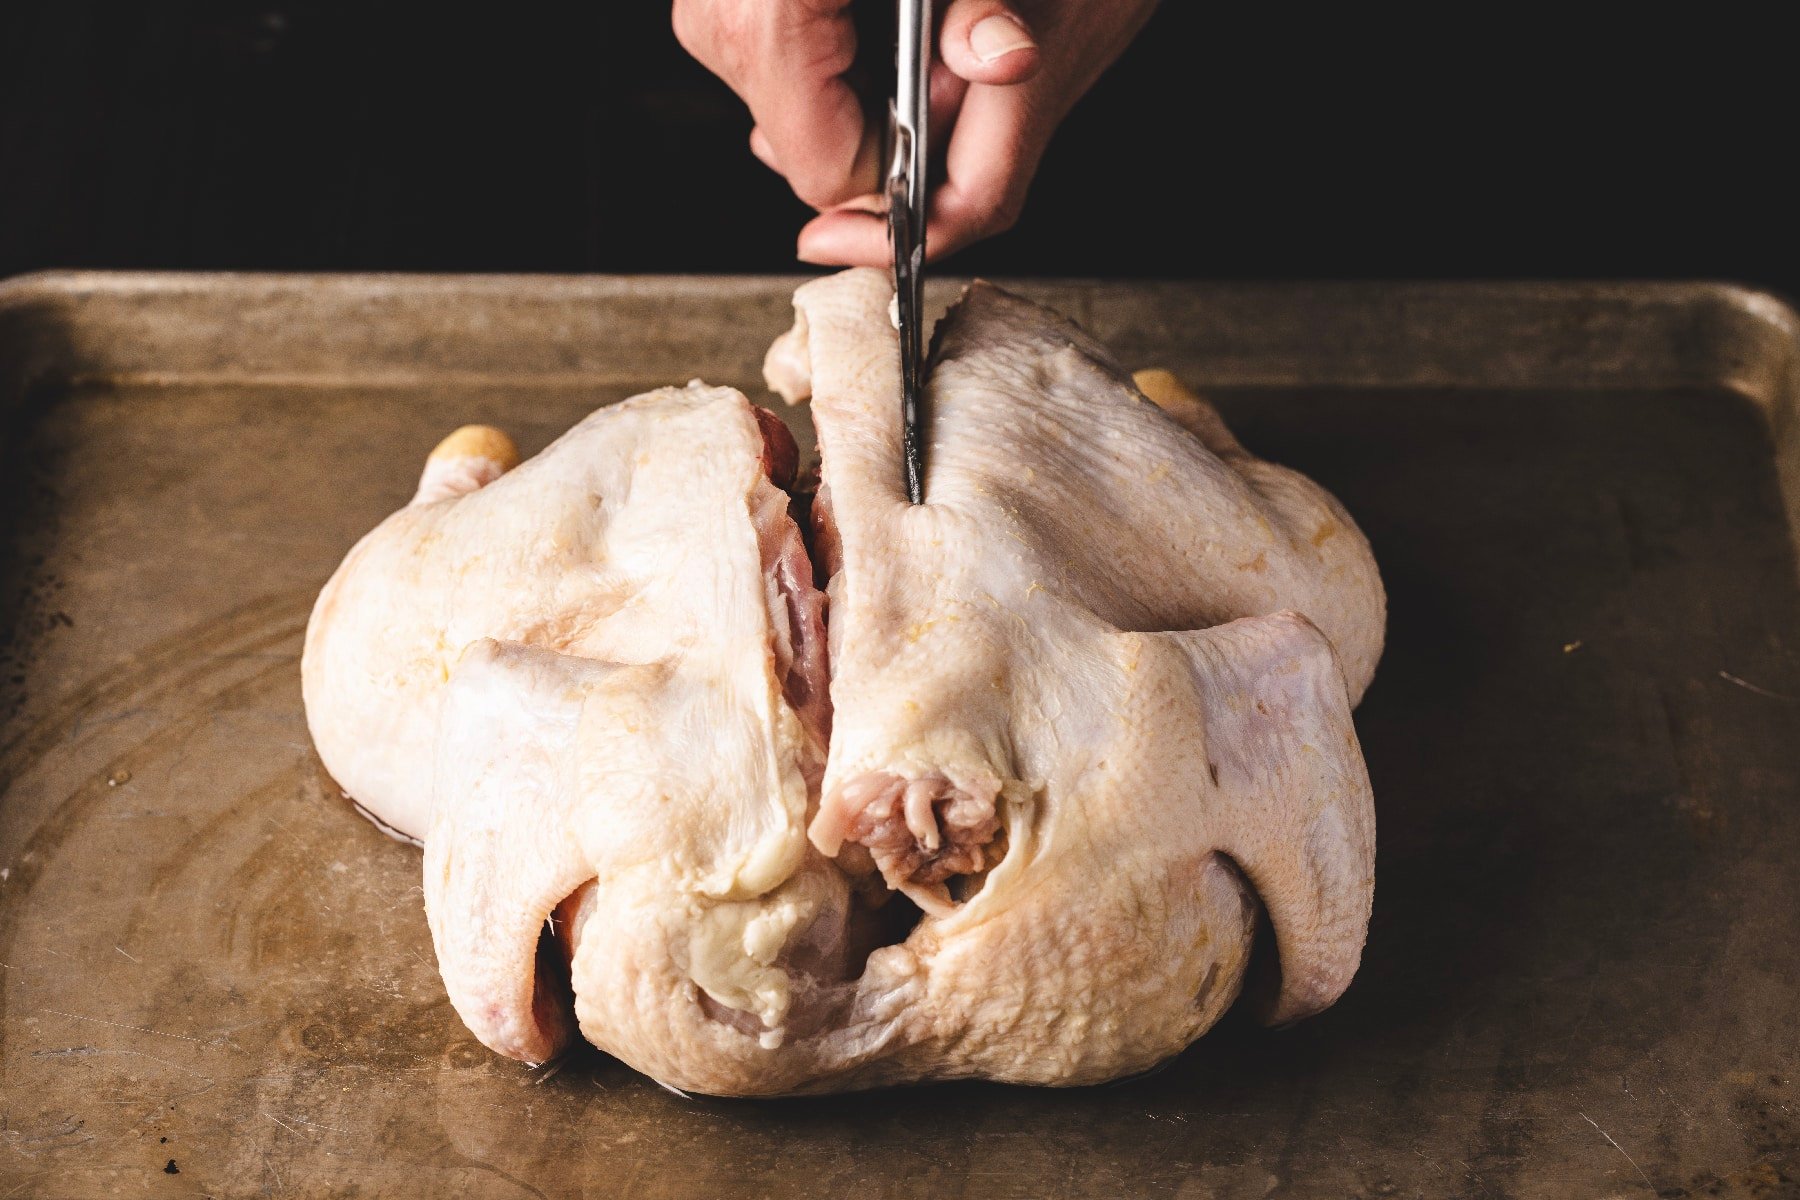
- Cut the bird. Place the bird on a large cutting board, and flip the bird onto its breast with the bottom cavity facing toward you. Using sturdy scissors or kitchen shears, cut a straight line up the right side of the backbone, from the tail end to the neck. You may have to double hand the scissors when you are cutting through a couple of parts, but if your shears are sharp this shouldn’t be too hard.
- Repeat on the other side. Repeat this cut on the other side, from tail to neck going up the left side of the backbone.
- Remove the backbone. Once removed, you can either discard the backbone, or better yet, save it to make some chicken stock.
- Break the breastbone. Flip the chicken back over (breast side is now facing up). Separate the back and press the breast down with the heel of your hand until the chicken is laying nice and flat on your cutting board.
- Tuck and turn. Tuck the tips of the wings behind the shoulder so they don’t burn and turn out the legs so they are even.
Congratulations, you just spatchcocked your first chicken. Now it’s time to get it seasoned.
Seasoning Your Chicken
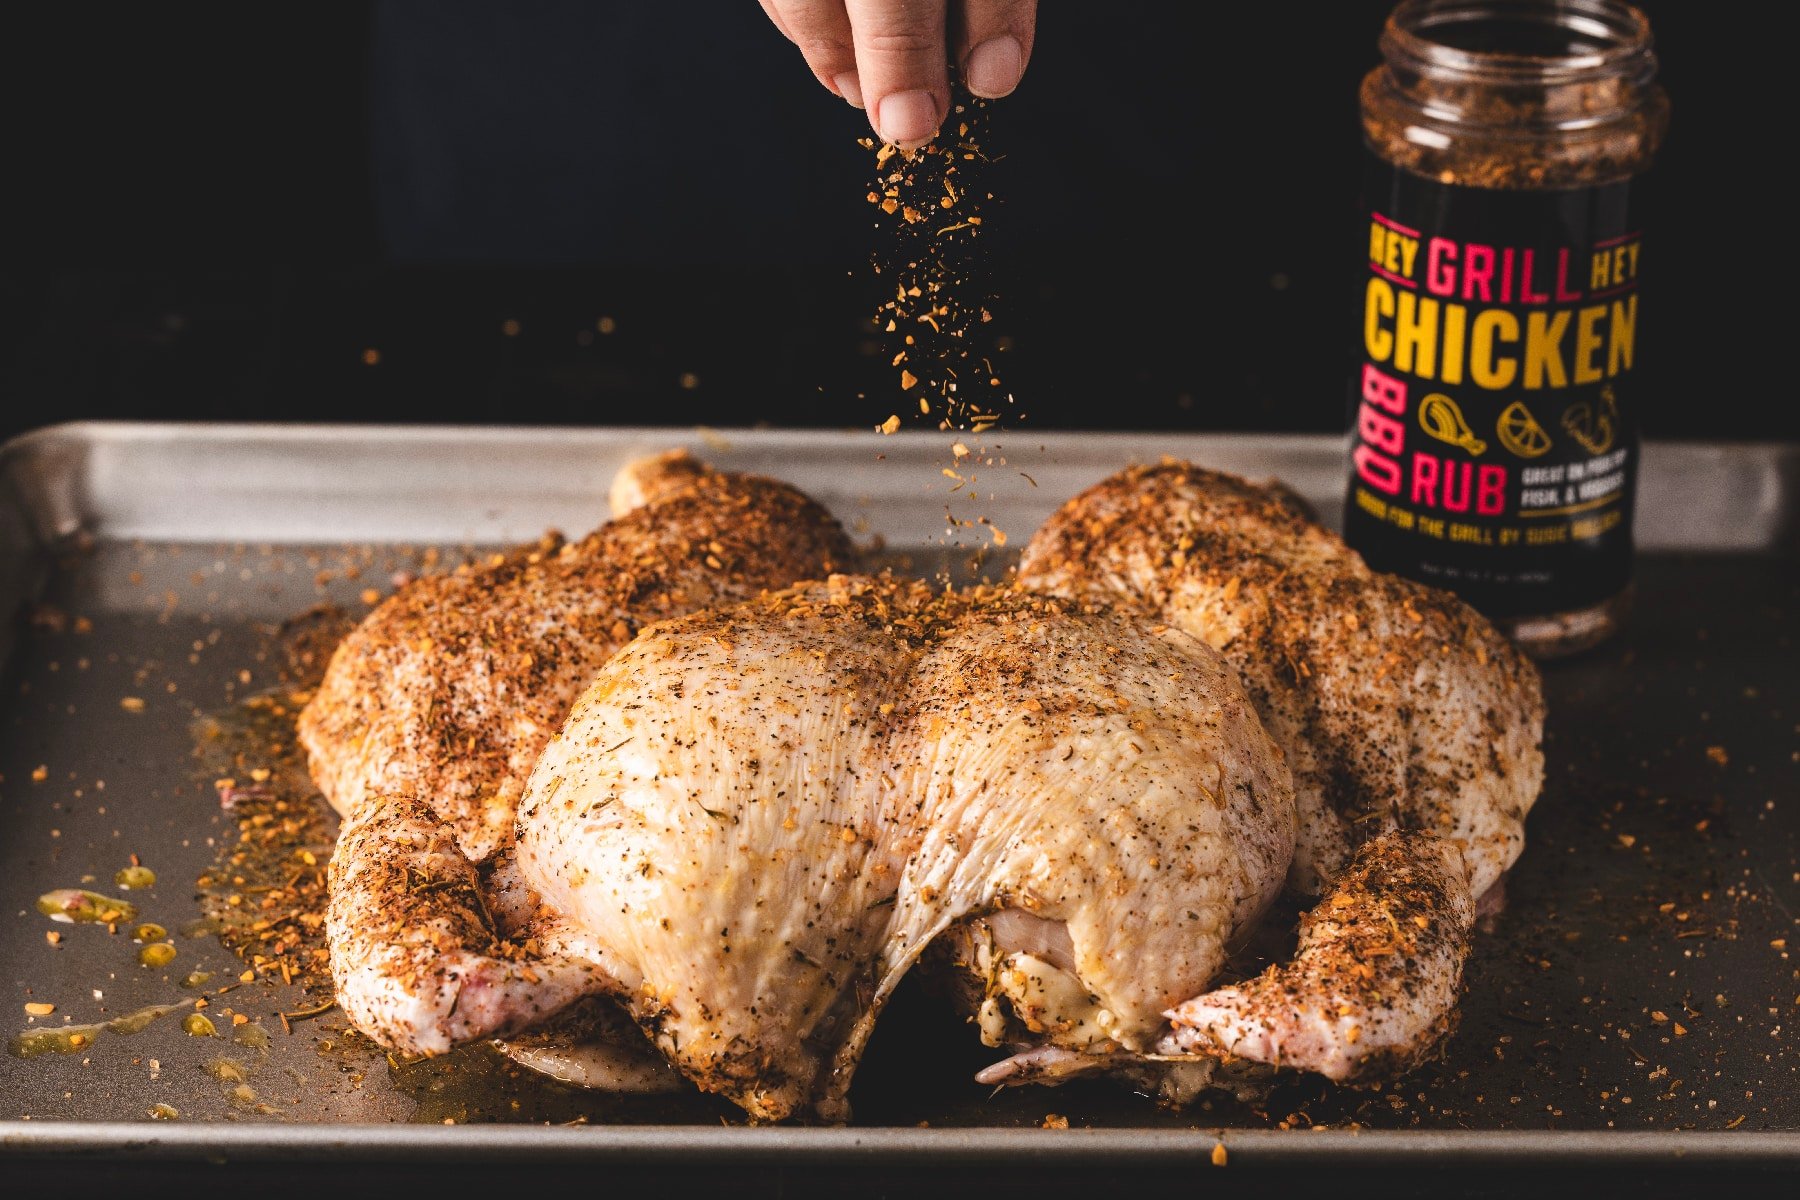
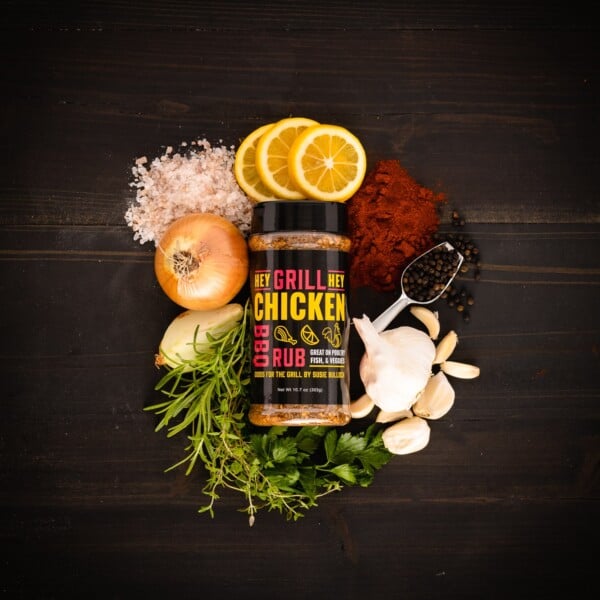
This recipe uses my Hey Grill Hey Signature Chicken Seasoning, and it’s available delivered straight to your door from the Hey Grill Hey Store. I made this seasoning specifically for no-frills chicken just like this. It’s made with a balanced blend of herbs and spices with just a little heat. If you don’t have some Chicken Seasoning on hand, try out my recipe for my Simple Lemon Herb Chicken Seasoning. It’s another delicious seasoning for chicken, and you likely already have all the ingredients at home.
Word of warning: I do not recommend using a sugar-based rub if you want crispy chicken skin. The higher temperature cooking needed to crisp the skin will caramelize the rub too much and you’ll be left with burnt chicken skin. Also, don’t forget to use olive oil on your chicken before you add your seasoning. The olive oil acts as a binder to help the seasoning stick to the chicken and crisp the skin.
How Long to Grill Spatchcock Chicken
Once you have your chicken spatchcocked, cooking it on a grill, specifically a charcoal grill, makes for a wonderfully flavorful chicken. I like to cook this chicken using two-zone cooking, by placing my chicken on the indirect heat on the grill for the initial cook, and then moving it to the direct heat for the final 5-7 minutes.
When it comes to chicken, you want to cook to temperature as much as time. I always have my Thermapen ONE on hand, but any reliable food thermometer you have will work just fine. The first stage on indirect heat will 30-40 minutes, depending on the size of your bird. You’re looking for an internal temperature of 145 degrees F. After that, you can move to direct heat until your chicken reaches 160 degrees F internal temperature. This will take 5-7 minutes.
Sauce for Grilled Chicken
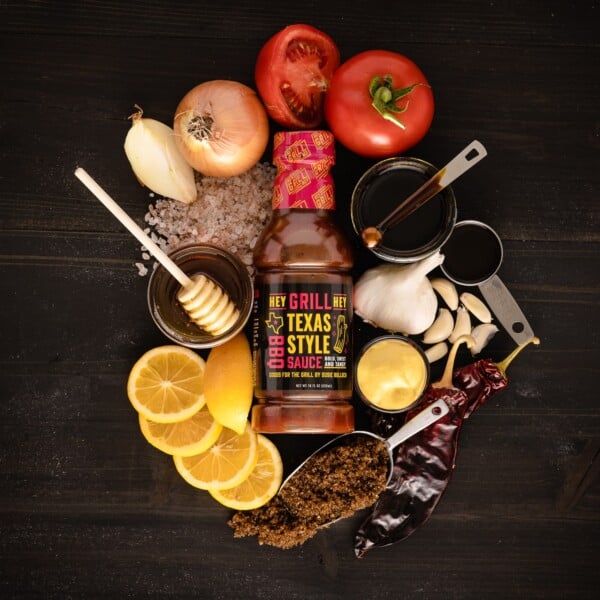
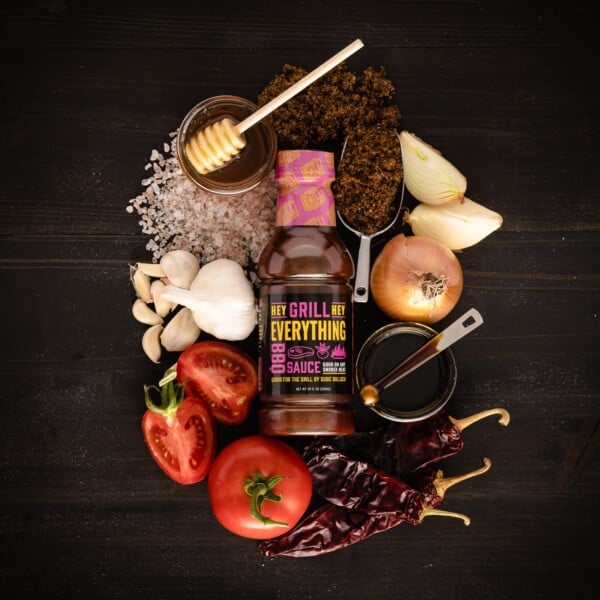
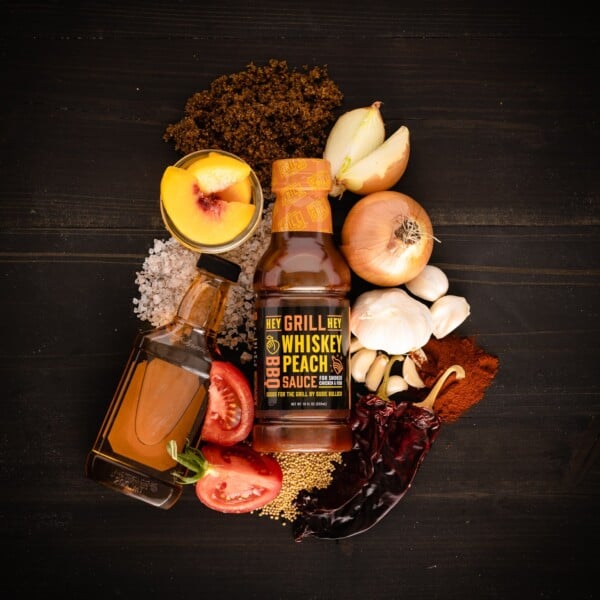
If you like your birds a little saucy, go ahead and add some sauce while grilling, or have some on the side for dipping. This is my kids’ preferred method of eating this chicken. That way everyone can enjoy their favorite sauce with the juicy chicken. This chicken is great with any sauce, but I love it with my Easy BBQ Sauce or Whiskey Peach BBQ Sauce.
Just remember, if you add sauce while this chicken cooks it will soften the skin. Also, don’t add it until the last 5-10 minutes of cooking, or else the sugars in the sauce will burn.
How to Grill a Spatchcock Chicken
Alright, you’ve mastered the art of spatchcocking, you’ve seasoned your bird, and you’ve learned all the tips and tricks. It’s time to grill your chicken.
- Preheat. Set your grill to two-zone heating. You want one side to have direct heat and one to have indirect heat, with the overall temperature at 350 degrees F.
- Prepare the chicken. Cut your chicken on both sides of the backbone with a pair of good, sharp kitchen shears, and then pull out backbone. Drizzle your chicken on all sides with olive oil, and then Sprinkle all sides heavily with my Hey Grill Hey Signature Chicken Seasoning.
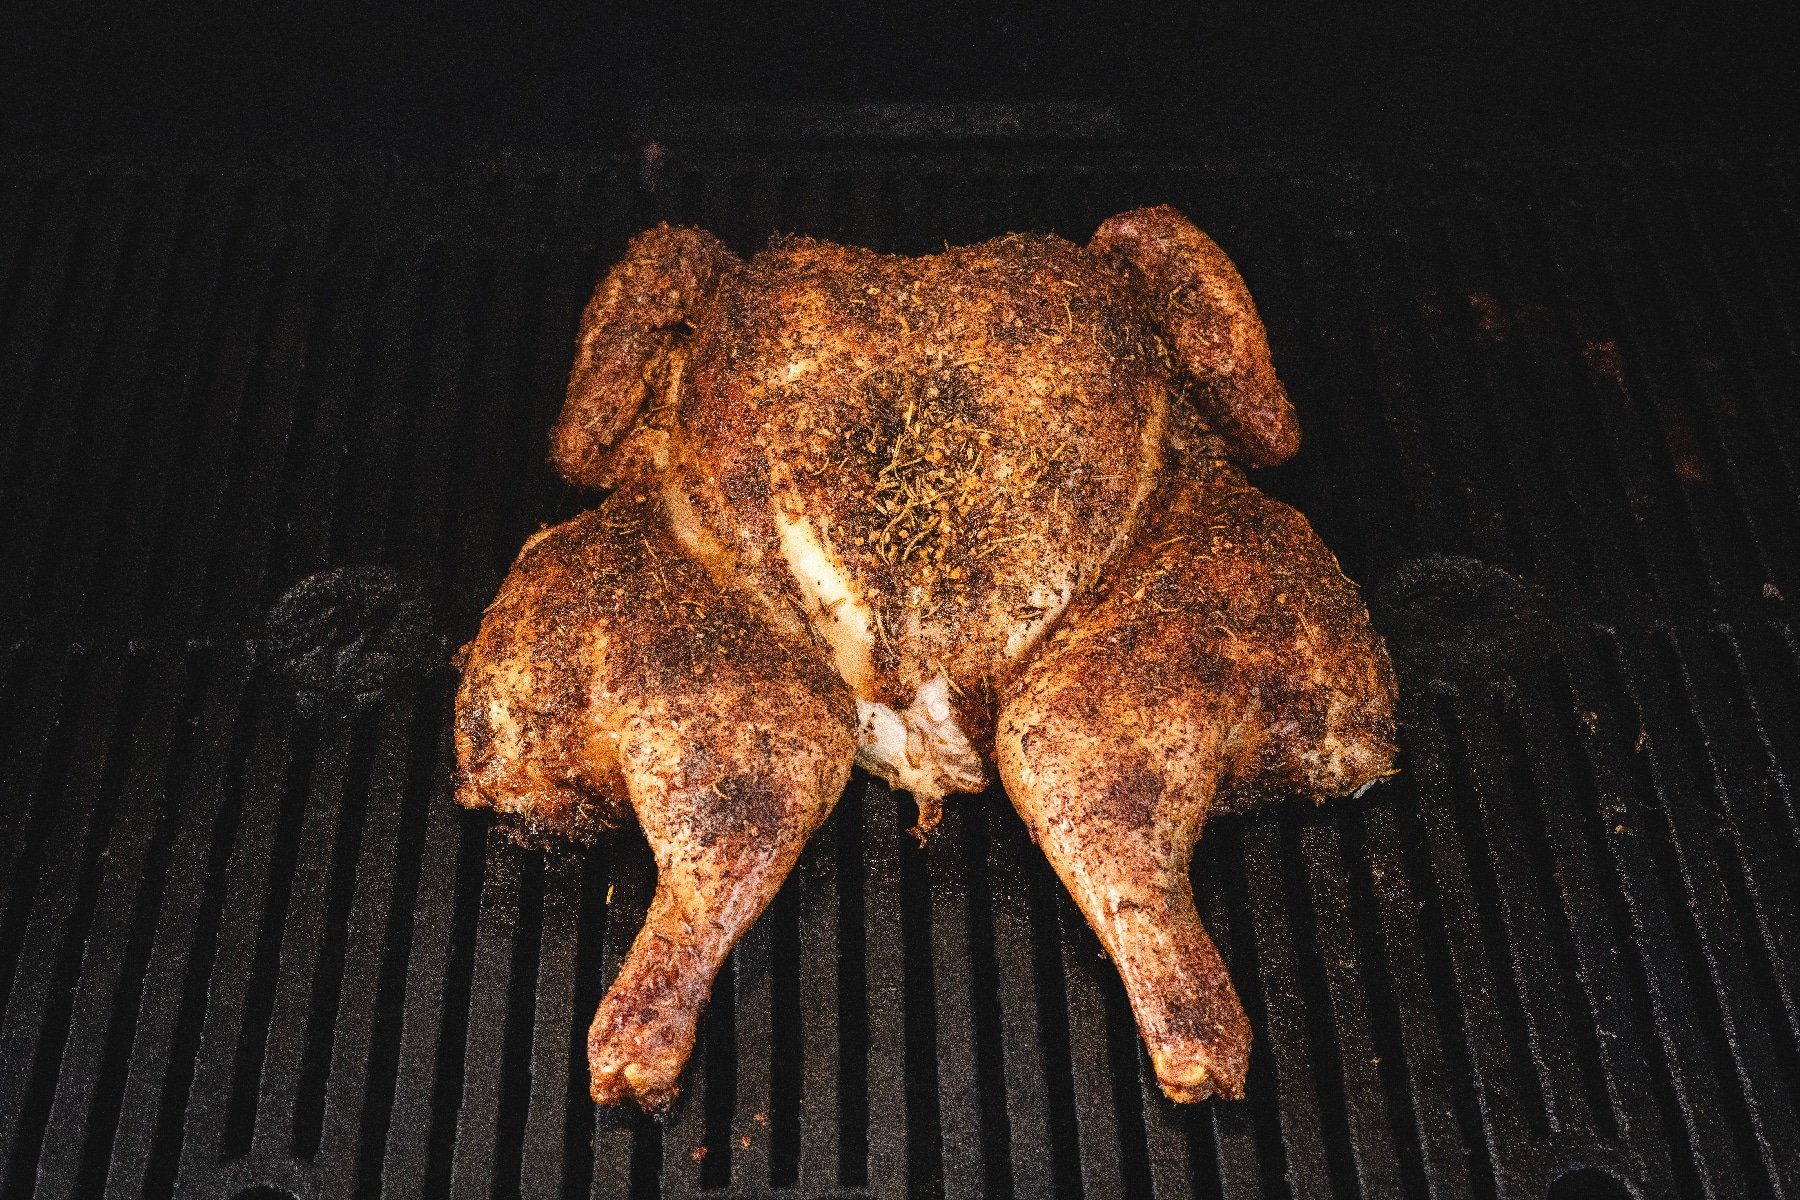
- Smoke. Place your chicken on the indirect heat side of your grill. This is going to take approximately 30-40 minutes, depending on the size of your bird. Remember, you’re aiming for an internal temperature reads 145 degrees F, and a reliable thermometer is your best friend.
- Direct heat. Transfer chicken to direct heat side of the grill. Skin side down if you want grill mark on the top of chicken. If you would like to keep your chicken intact, place it bone side down. Grill on direct heat for 5-7 minutes, or until the internal temperature reads 160 degrees F.
- Rest and serve. Remove from heat to cutting board or serving platter and allow to rest for at least 10 minutes. If you try to slice it any sooner, you’ll end up ruining all that coveted crispy skin you worked so hard for. Once your bird has cooled, slice, serve, and enjoy.
More Spatchcocking Recipes to Try
If you’re feeling confident in your new spatchcocking abilities, then don’t stop at chicken. You can spatchcock a turkey too, and it’ll cook nice and fast for Thanksgiving dinner. Try your hand at these other spatchcock recipes and posts from Hey Grill Hey.
- How to Spatchcock a Turkey
- Spatchcock Smoked Chicken with Cherry Chipotle BBQ Sauce
- Spatchcock Smoke Roasted Turkey
- Spatchcock Smoked Turkey
Grilled Spatchcock Chicken Recipe
If you follow the recipe, then you’ll be spatchcocking your own grilled chicken in no time. At Hey Grill Hey, we’re here to help you make better BBQ, feed the people you love, and become a backyard BBQ hero. You can find hundreds more of my smoking and grilling recipes in the Hey Grill Hey app.
Be the first to catch all the latest videos and behind-the-scenes fun by following Hey Grill Hey on YouTube, Instagram, and Facebook.
Grilled Spatchcock Chicken
Video
Ingredients
- 1 2-3 pound whole fryer chicken
- 2 Tablespoons olive oil
- 2 Tablespoons Hey Grill Hey Chicken Rub
Instructions
- Preheat. Set your grill to two-zone heating to 350 degrees F.
- Prepare the chicken. Spatchcock your chicken, by cutting both sides of the backbone and then removing it. Then lay it flat on baking sheet. Drizzle on all sides with olive oil before seasoning heavily with Hey Grill Hey Signature Chicken Seasoning.1 2-3 pound whole fryer chicken, 2 Tablespoons olive oil, 2 Tablespoons Hey Grill Hey Chicken Rub
- Smoke. Place chicken on indirect heat on the grill and cook for approximately 30-40 minutes or until the internal temperature reads 145 degrees F.
- Direct heat. Transfer chicken to direct heat side of the grill. Leave on direct heat for 5-7 minutes, or until the internal temperature reads 160 degrees F.
- Rest and serve. Remove from heat to cutting board or serving platter and allow to rest for at least 10 minutes. Slice, serve, and enjoy.
Nutrition
Nutrition information is automatically calculated, so should only be used as an approximation.



Can the dry rub be put on the night before and air dried? Also with a Weber gas grill would you grill it differently?
Thanks
Trish
Absolutely! This recipe will work just fine with a gas grill.
The chicken recipe was incredible! The original temp in the grill was 500 degrees. Cooked for 35, then added 7 minutes on low heat. Flipped the bird (so to speak) onto the direct heat for 7 minutes. It was perfect but the spice rub really made the difference! I’ll make this again and again. Thanks
Really enjoyed your video and tips. Well done.
While watching the video, I’m pretty sure I heard you say you pre-heated the grill to 450 degrees. But the recipe says to preheat it to 350 degrees. Did I hear it wrong or read it wrong?
Either temperature will work fine. The important temp to watch is the chicken’s internal temp.
I googled how to do spatchcock chicken and eventually came across your website.
I would just like to say it has the best and most thorough instructions and guidance.
The videos and the step by step guidance is perfect.
Thank you.
I agree. Great guidance. Merci!
Best chicken I’ve ever cooked. Would it be even better if it were brined beforehand, and if so, what’s your preferred method?
You could use the brine from this recipe: https://heygrillhey.com/whole-smoked-chicken-with-brine/
Awesome recipe I have a pit boss 820 I use it for everything easy to sear and smoke chicken was delicious
I have a Traeger pellet smoker/grill that pushes the heat to the back and front. Should I follow your cooking instructions or modify them? Thanks
It’s difficult to get a sear like this on a pellet grill. I’d take the chicken out at 145-150, put the grill on high, give it 10-15 minutes to heat up and put the chicken back on until finished!
5 star for sure!
This is the only way I’ll bake a chicken. It’s also great using a cast iron skillet at 450 degrees.
Awesome! Way to nail it Dave!
Looks good enough to Slather on and Thanks for the Tip !