How to Spatchcock a Turkey
On August 30, 2023
This post may contain affiliate links. Please read our disclosure policy.
If you’ve ever found the idea of spatchcocking a turkey too big an endeavor, this post is for you! Join me as I walk you step-by-step through How to Spatchcock a Turkey.
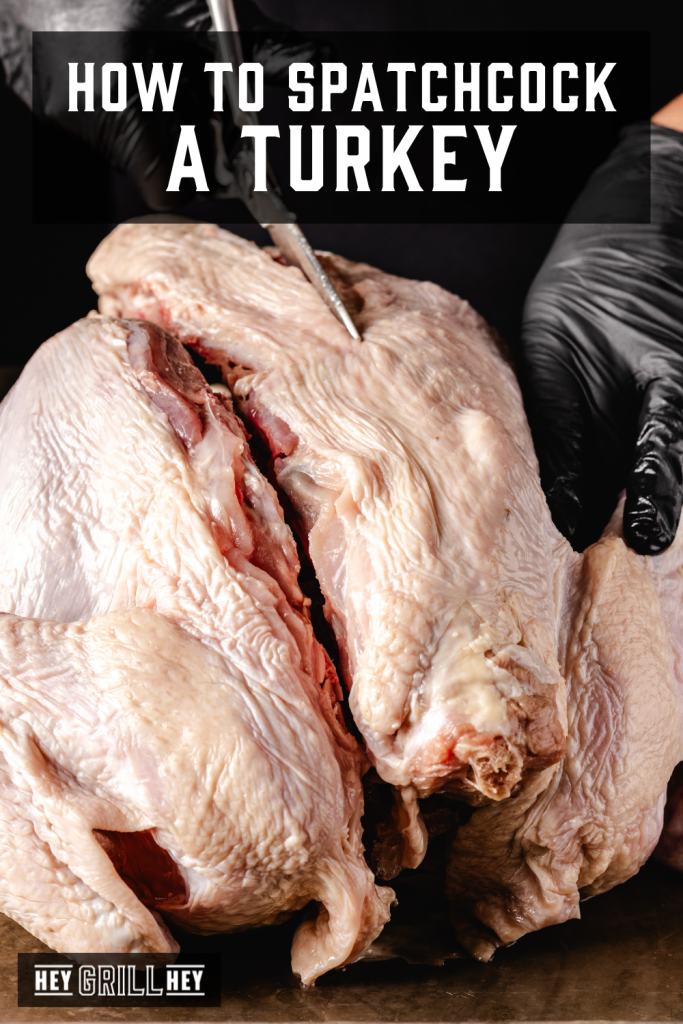
How to Spatchcock a Turkey
Spatchcocking a turkey is one of my favorite ways to prepare a turkey. It flattens the entire bird, creating a more even cooking surface and ensuring that the various parts of your turkey cook closer to the same temperatures and times.
In a nutshell, to spatchcock is to cut out the backbone. So the main goal when spatchcocking a turkey is simply removing that backbone so your turkey lays flat for cooking. This process involves three pretty simple, straightforward steps: Preparing, cutting, and laying flat.
For some added help, check out the video at the top of this post and follow along as I remove the backbone from a turkey before cooking it on the smoker. Let’s get to some spatchcocking!
Materials Needed to Spatchcock a Turkey
There are a few things I recommend having on hand before you begin working on the turkey. This will make clean up a bit easier and allow the process to go quicker.
- Large cutting board. Start with a large work space to prepare and cut your bird. I prefer using a large wooden cutting board to allow me plenty of space to work on my turkey.
- Sharp kitchen shears. Since the whole process of how to spatchcock a turkey is removing the backbone of the turkey, you’re going to need some sturdy, sharp kitchen shears. I used Shun shears, but you can use whatever you have. You don’t have to go fancy, but I recommend you get some that come apart so you can clean and sanitize after.
- Nitrile gloves. Messing around with raw poultry can get…well…messy. I like to wear some nitrile gloves to keep the raw meat off my bare hands. Once I’m done handling the turkey I simply throw them in the trash when I’m done cutting the bird.
Alright, folks. Now that you have the necessary materials within reach, let’s get to that three-step process of spatchcocking!
1. Prepare the Bird
Set up you prep space with your large cutting board cleaned and ready to go. Make sure your board is also easy to sanitize after working with the raw meat. Strap on those gloves and let’s get to work!
Before you get to all the cutting, you need to prepare the turkey. Pull the giblet bag out of the turkey and set it aside. I like to keep these to make some delicious Turkey Gravy. You can honestly save everything from the bird and smoke it or use it in different applications later.
Next up, remove the neck by pulling it out of the bird. I also remove the turkey timer if the turkey you’ve purchased comes with one (an instant read thermometer will be much more reliable, so no need to use this guy). Finally, remove the tail by giving it a quick snip.

2. Cut Out the Backbone
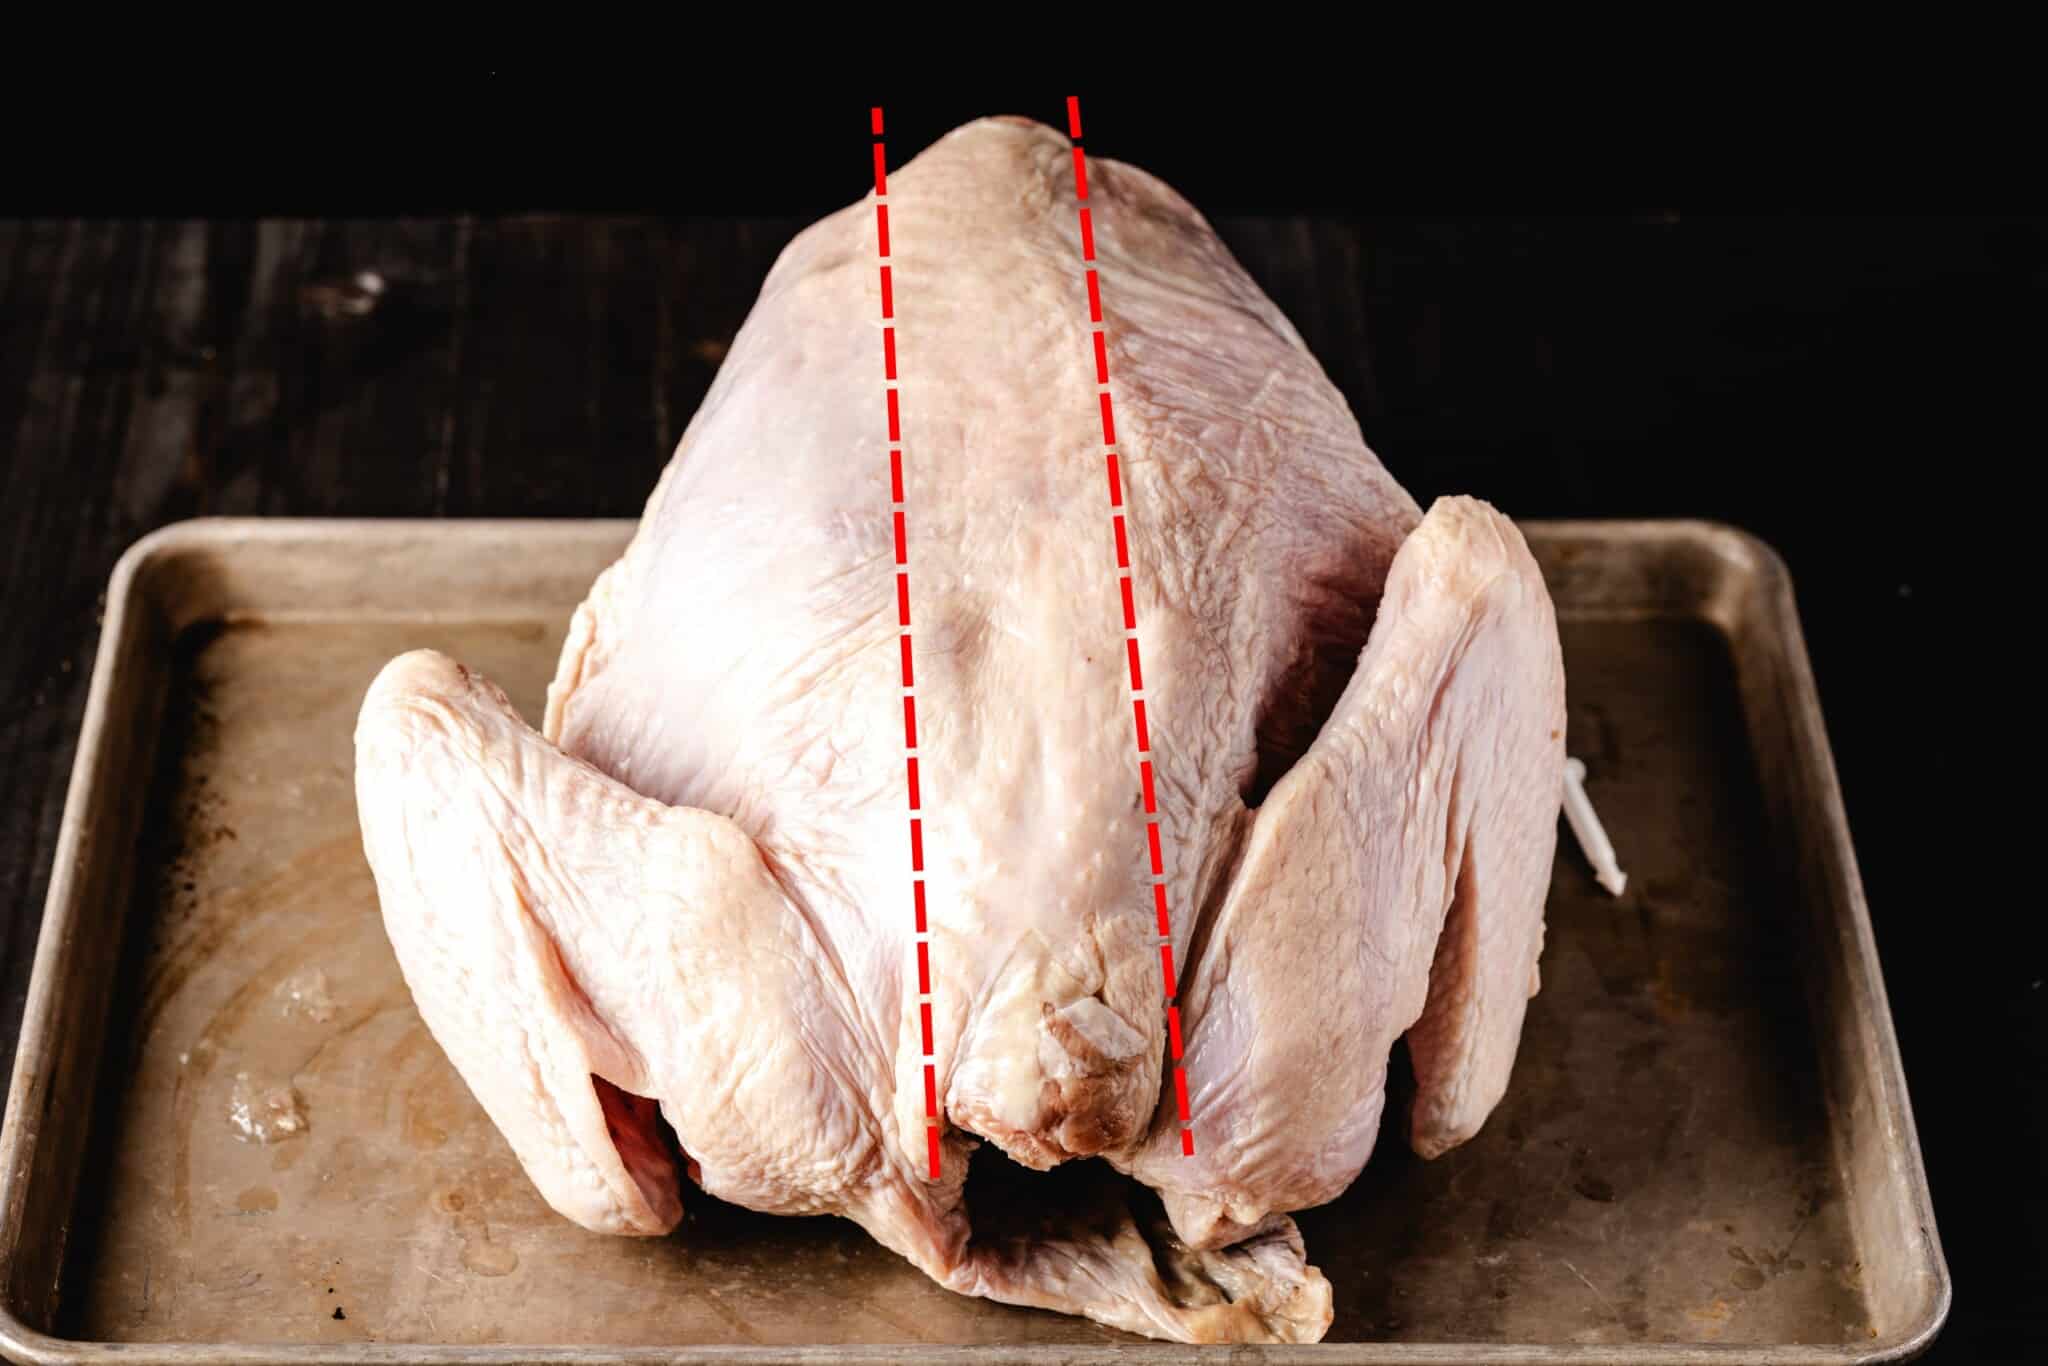
Next, you’re ready to remove that backbone! Flip bird over so it’s breast side down. Grab your shears and locate the backbone. Once you’ve successfully located it, you’re ready to begin cutting.
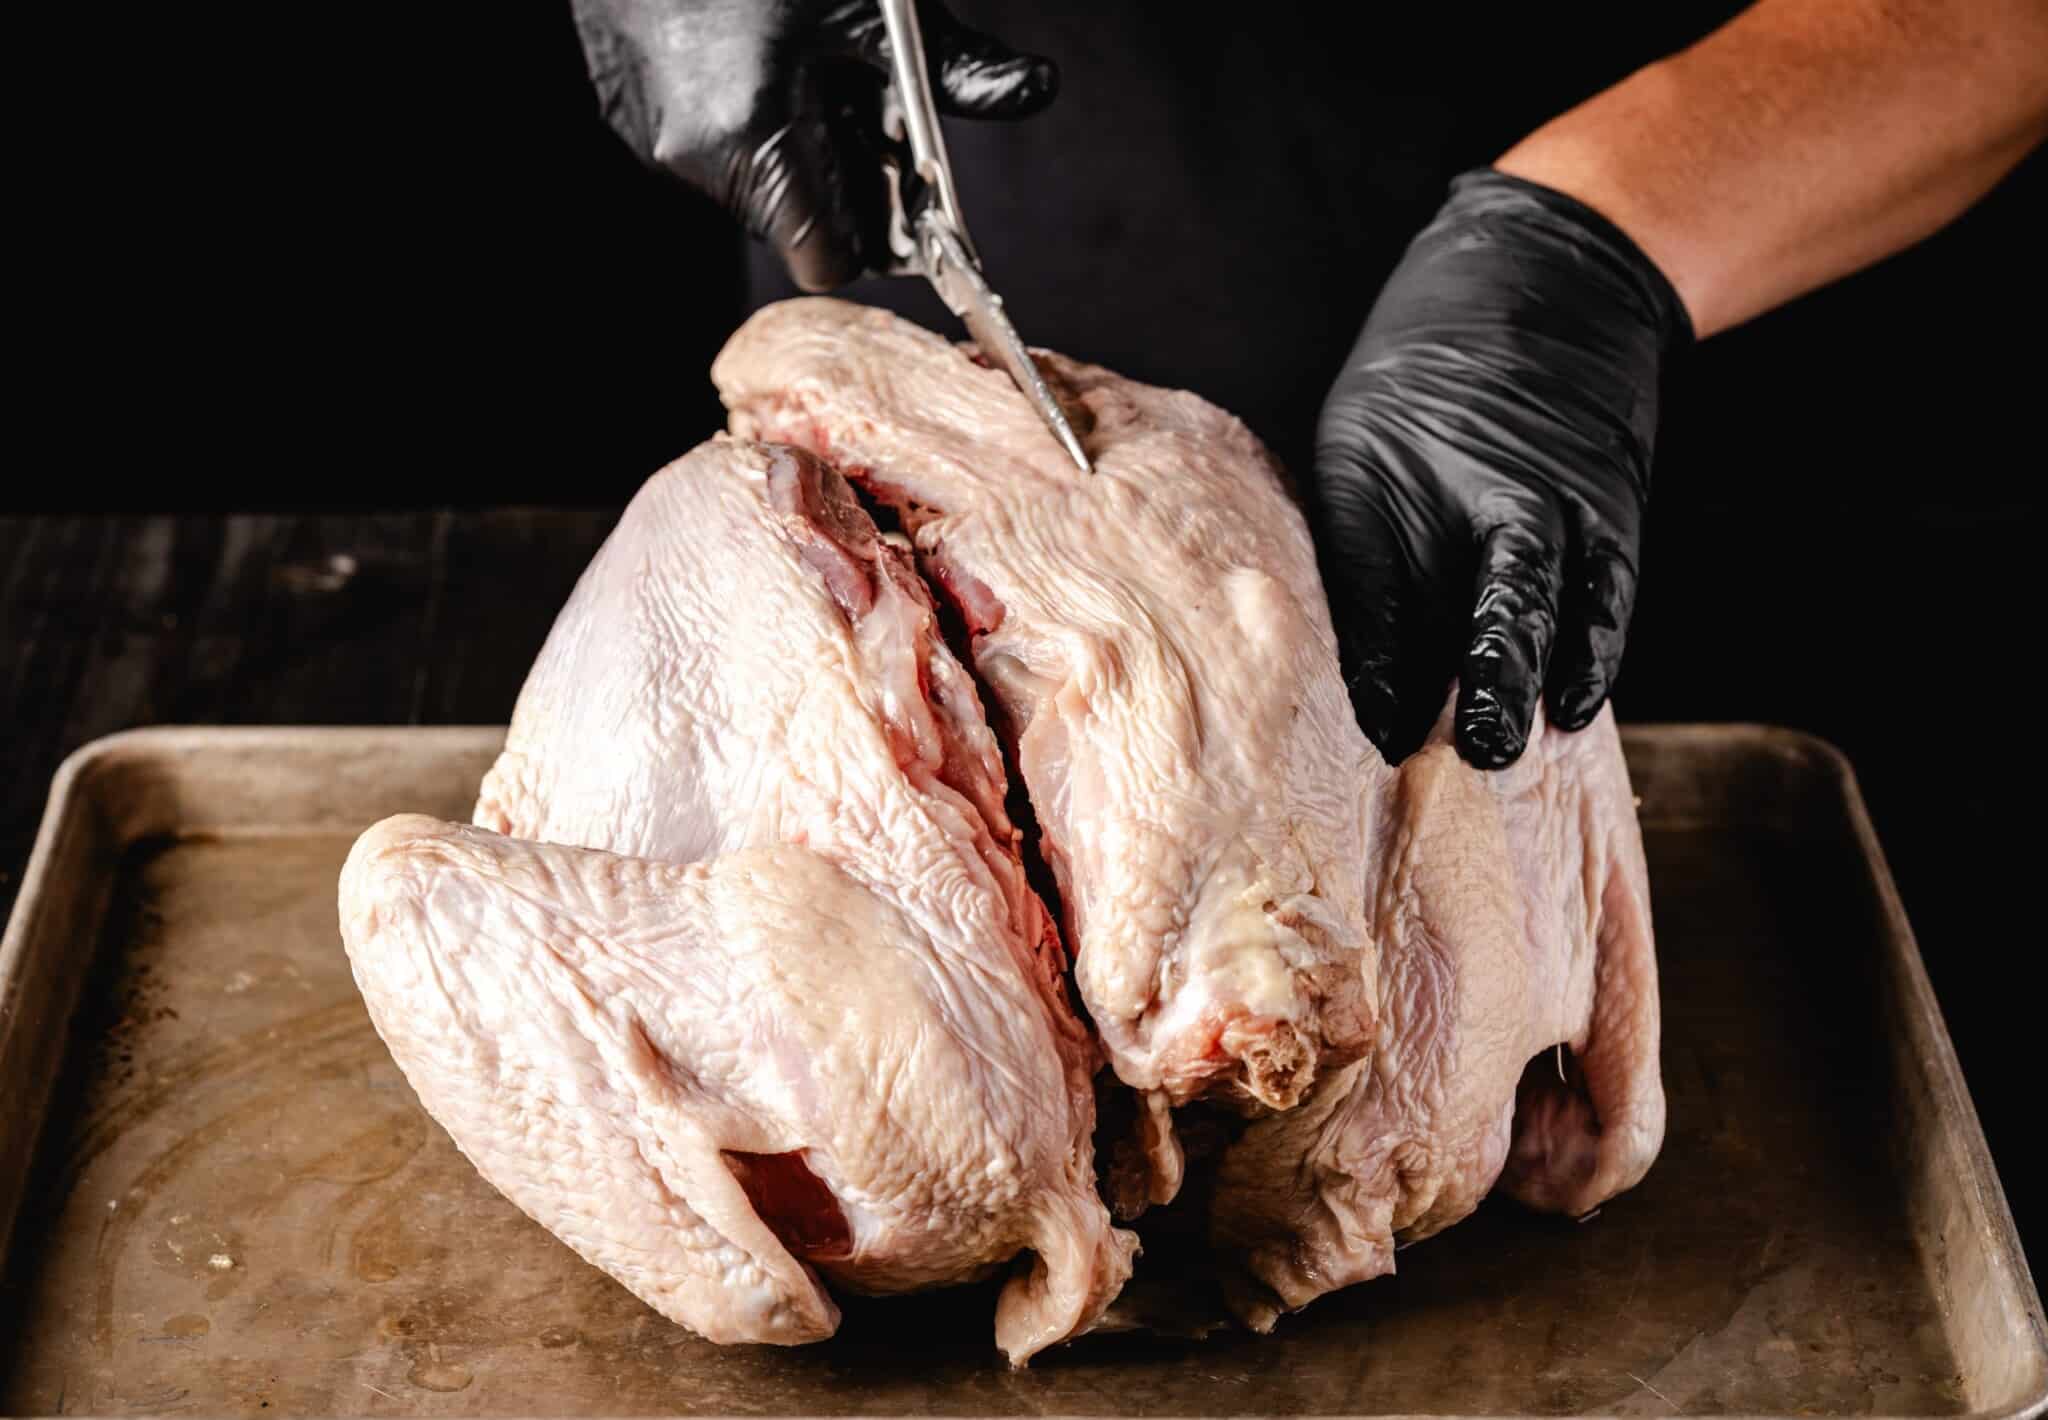
Run your sharp kitchen shears up right side of the backbone and start snipping. You will encounter a bit of resistance at times, but that’s nothing a little bit of extra pressure (and two hands!) won’t fix. Honestly, if I can do it, so can you. Once you have cut the entire length of the right side of the backbone, move to the left side.
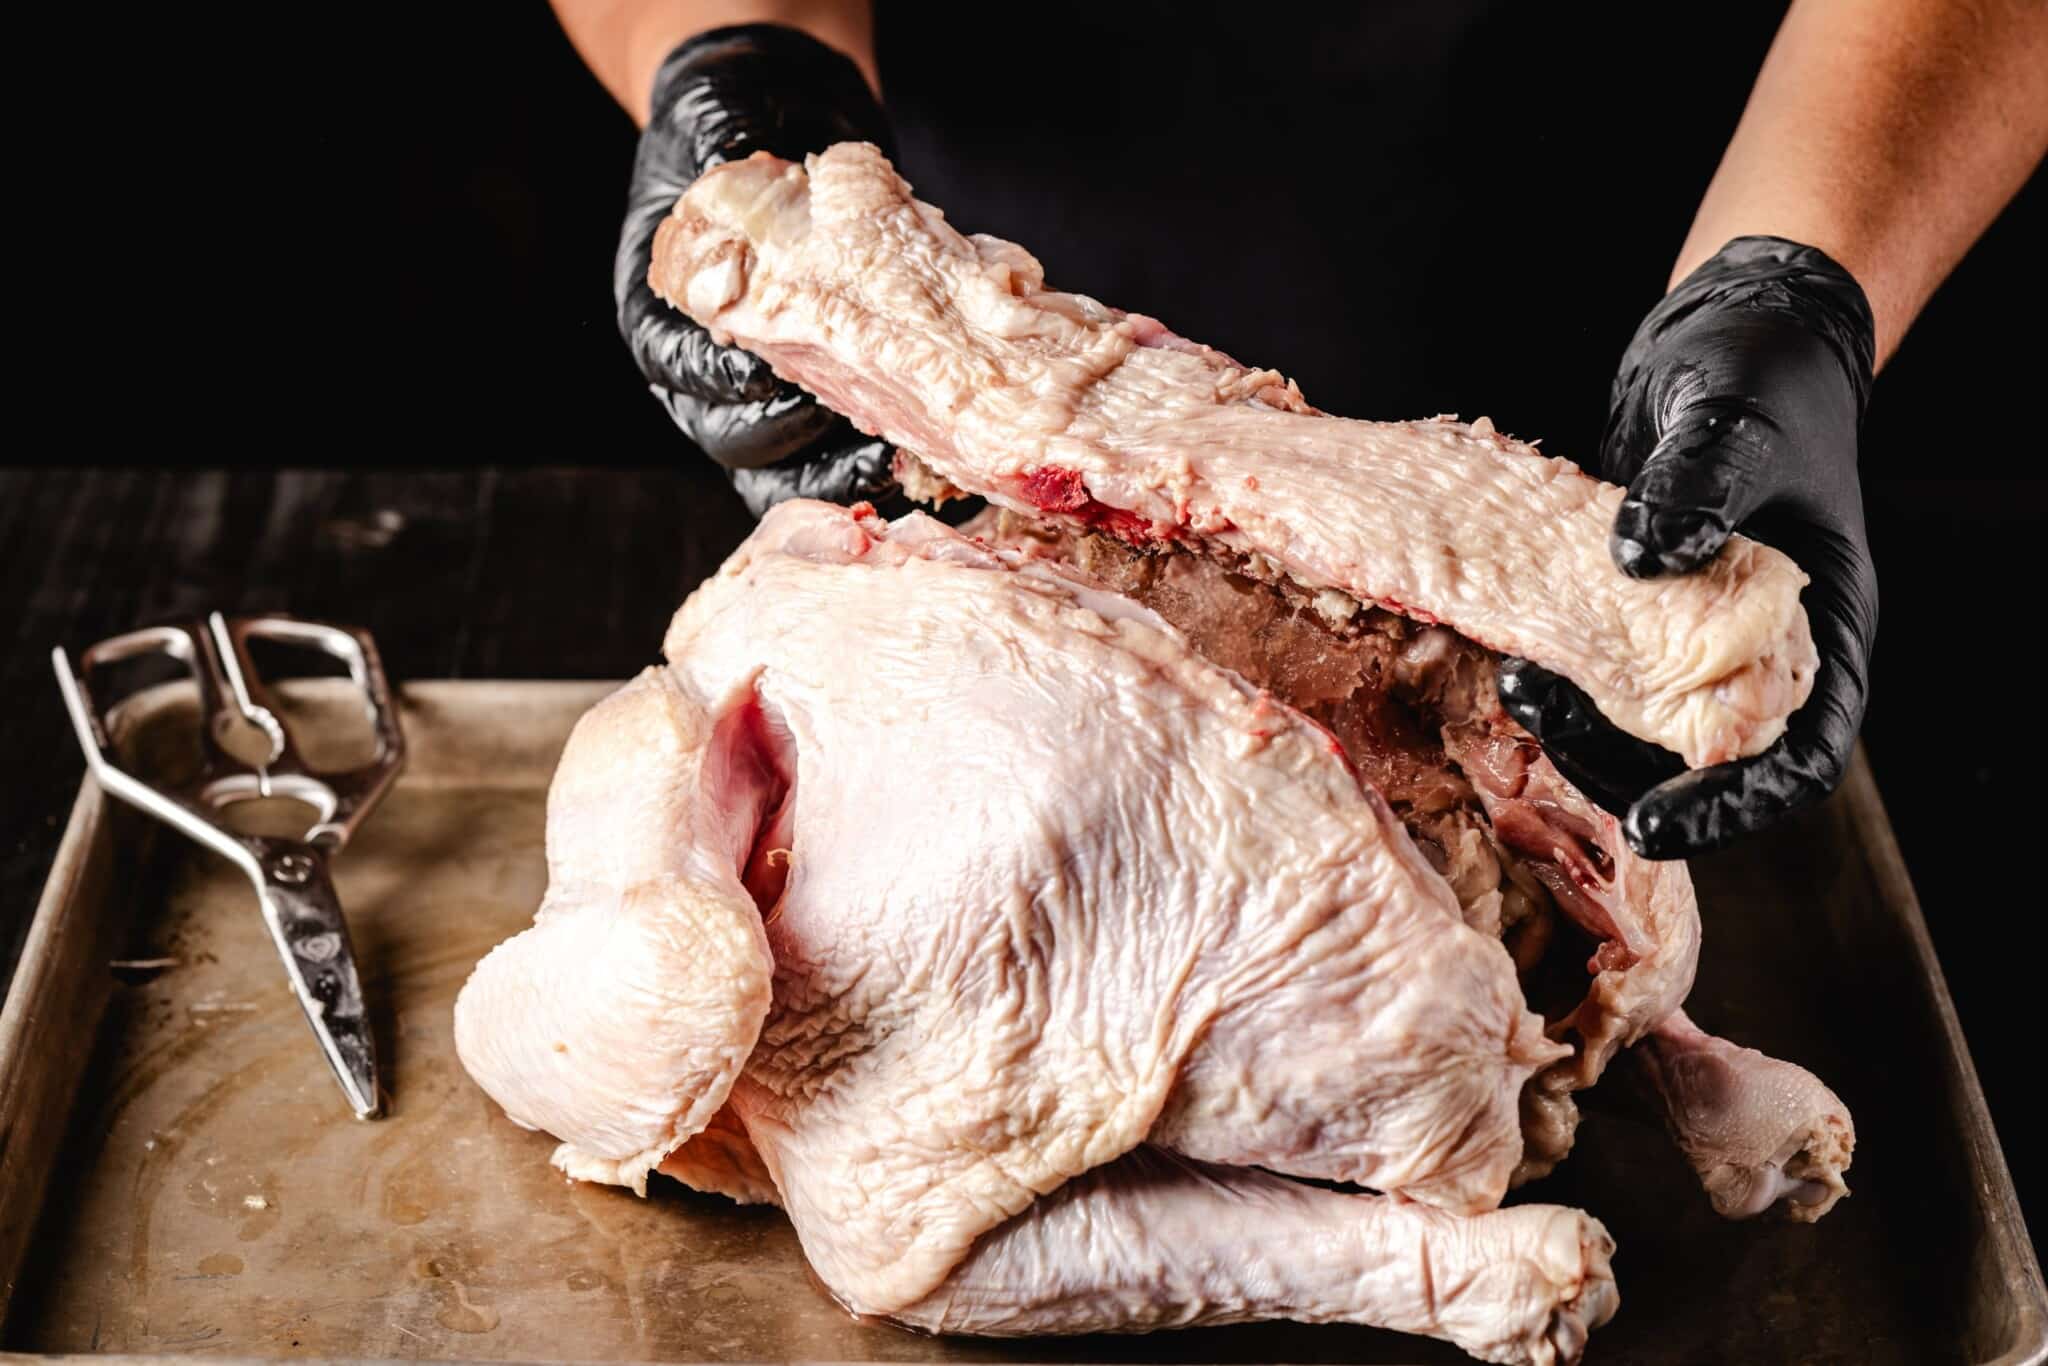
Repeat this cut on the other side of the backbone. Run your shears up along the left side of the backbone to completely remove the backbone from the turkey.
Finish up by snipping and cleaning up any remaining pieces leftover from removing the backbone so you have a nice, clean cavity inside the bird.
Lastly, snip approximately 1-2 inches down the breastbone as seen in the picture below. This will make it easier to flatten your bird once you turn it breast side up again.
3. Flatten the Bird
Congrats! You just spatchcocked a turkey! The last thing you need to do is fully flatten the bird to prepare it for cooking. This last step is just as important as removing the backbone, so pay attention!
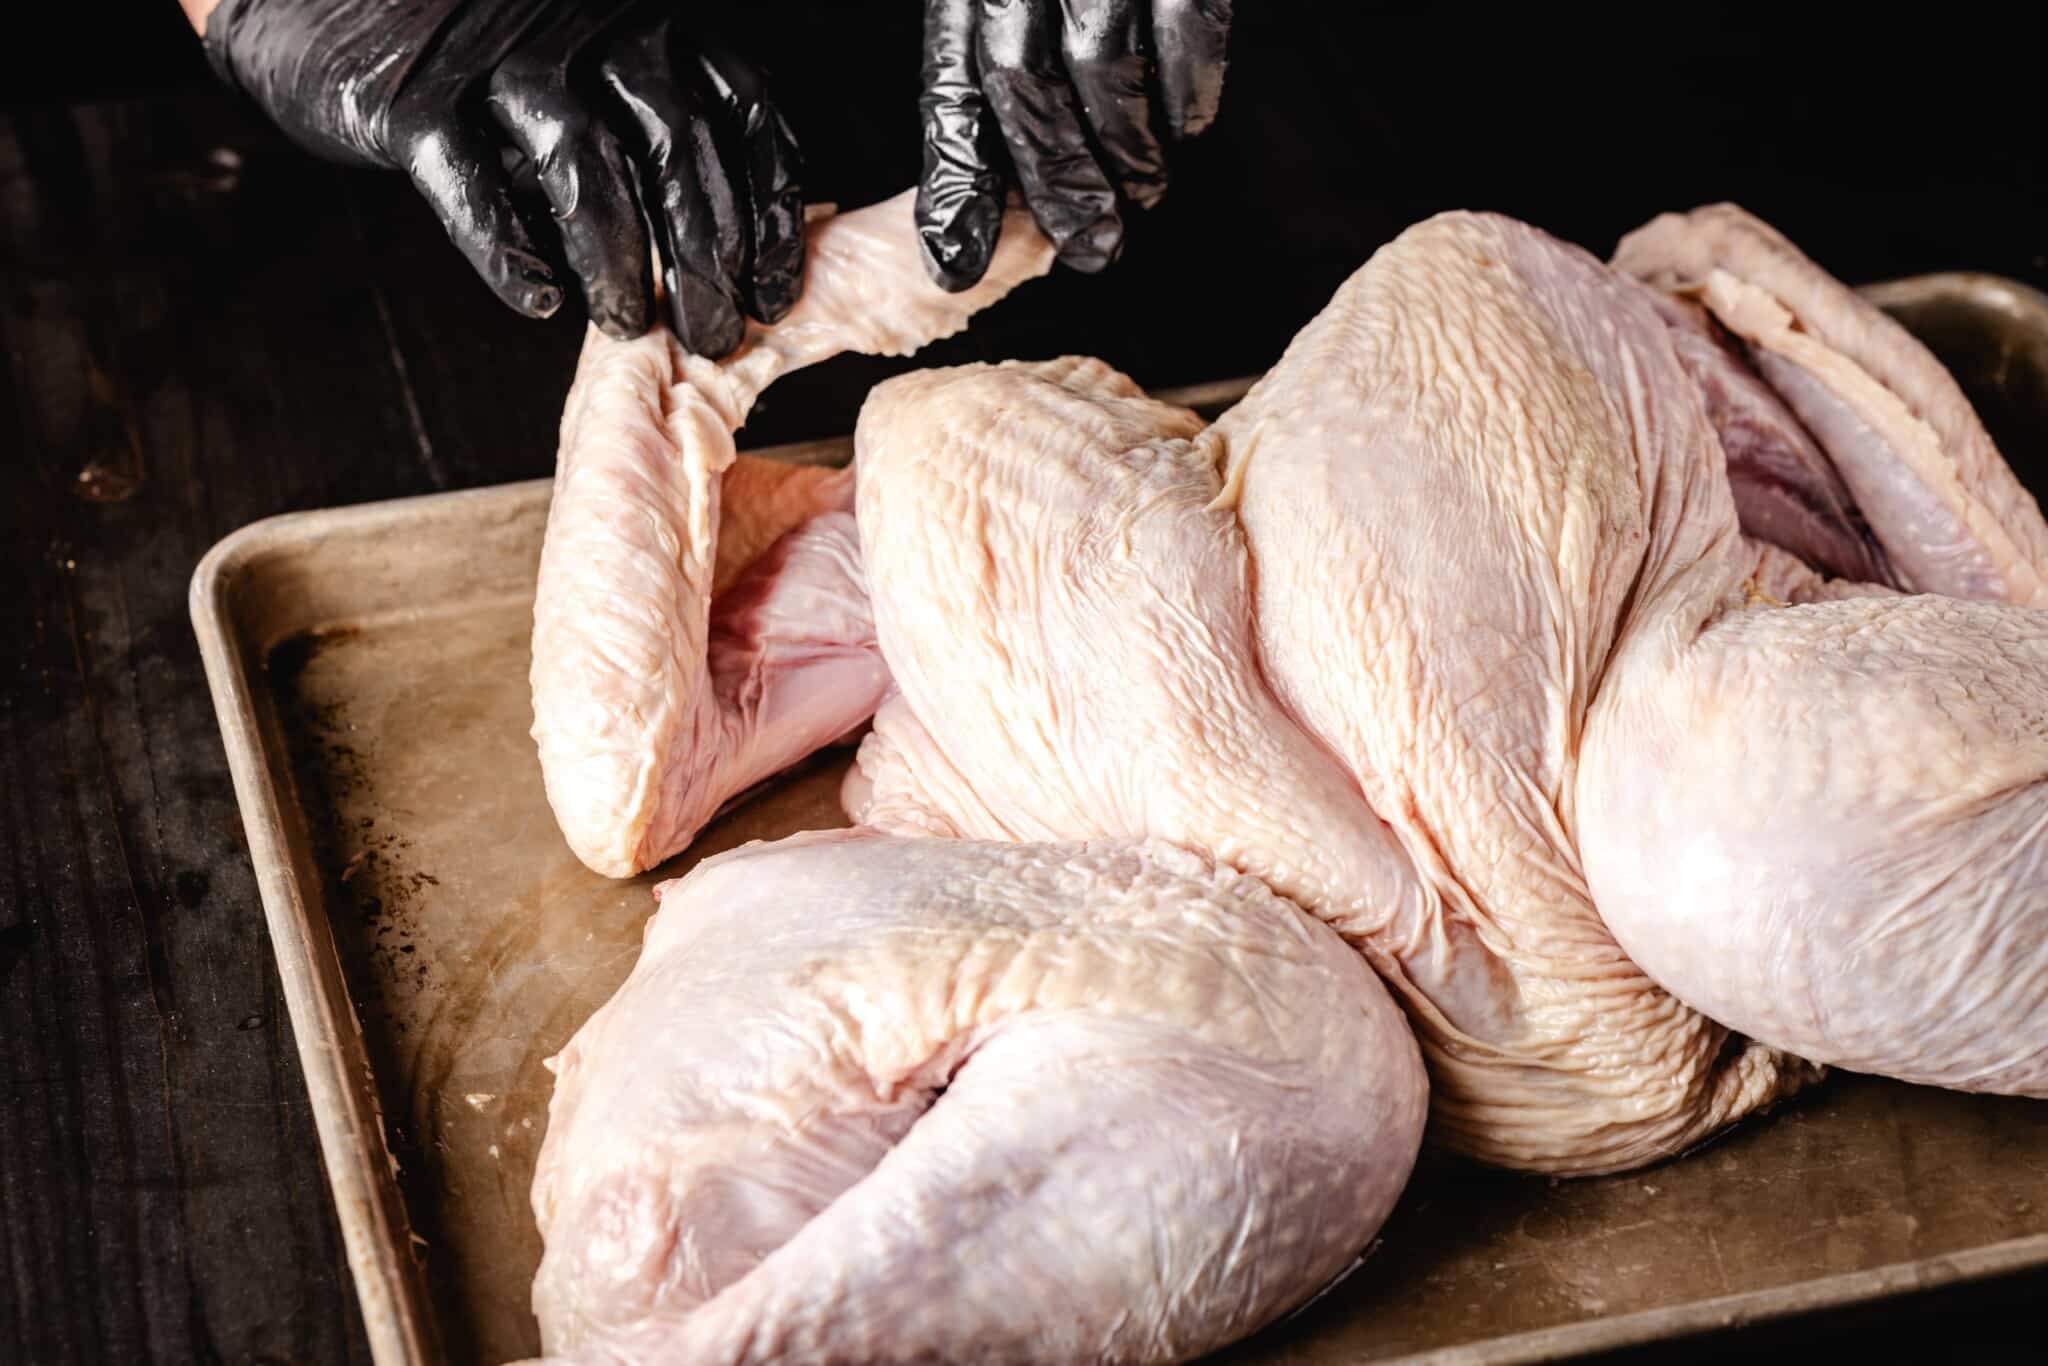
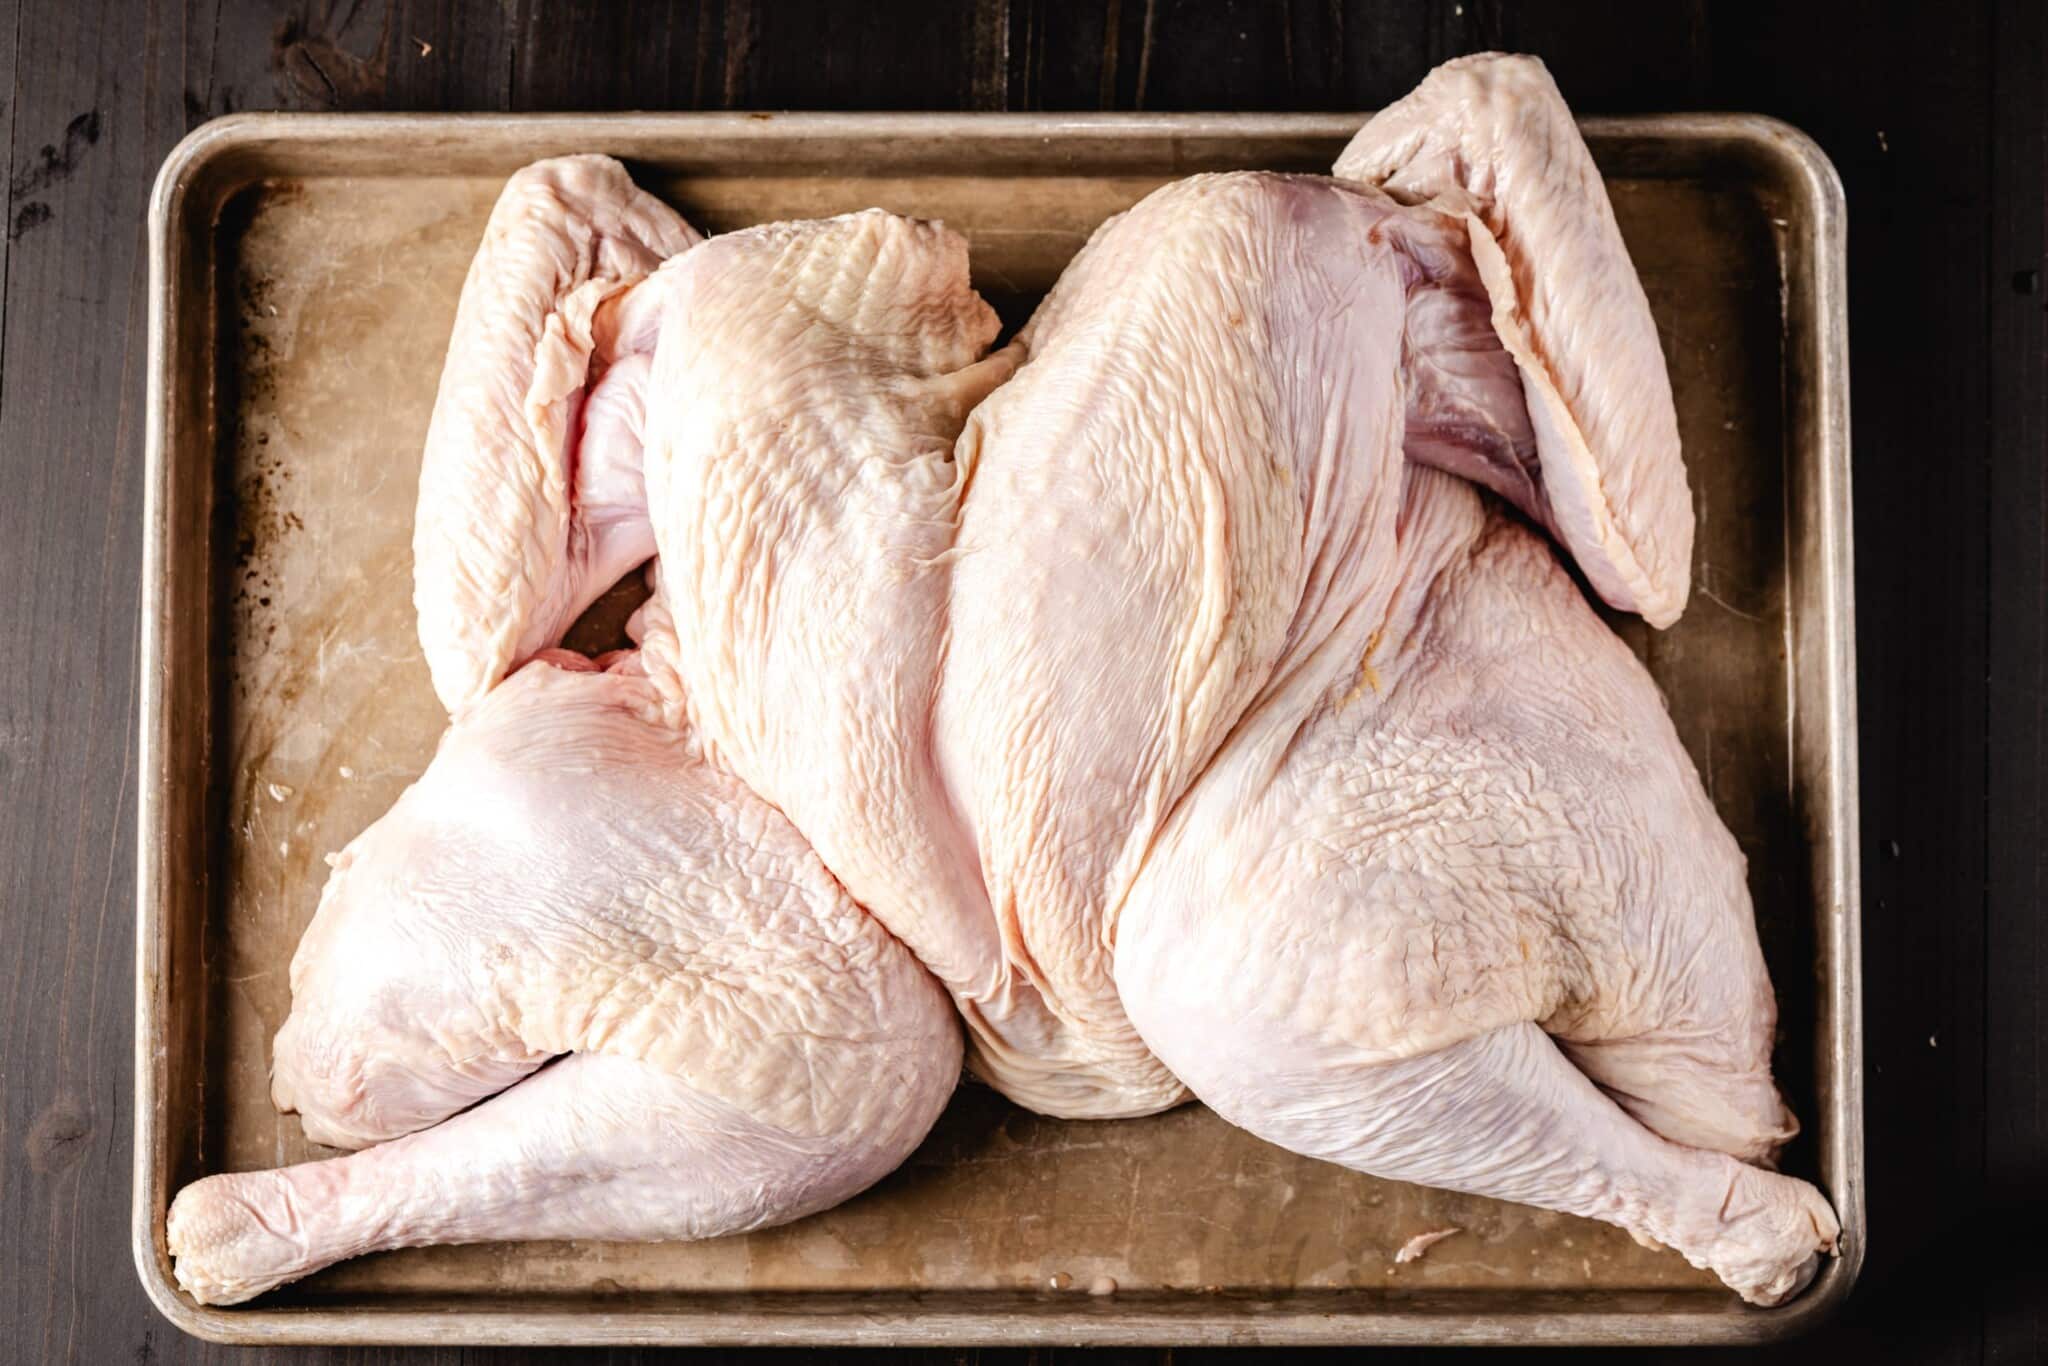
Begin by turning the legs out. Next, using the heel of your hand, press firmly on the breastbone. You will feel a slight pop and your turkey will lay nice and flat on your cutting board. Look at how beautiful and flat your turkey is now! Your turkey is now much more aerodynamic with a beautifully even cooking surface.
Last up, make sure you tuck the wings to ensure your breast cooks evenly and the wings don’t burn. Your bird is now prepped and ready for seasoning and cooking!
Spatchcock Recipes
Now that you’ve learned how to spatchcock a turkey, try your hand at some of these recipes!
Did you know the same process can be used on chicken as well? Here are some of my favorite spatchcock recipes for chicken!


Great video, I will try this tomorrow. One question, when smoking is the turkey laid flat on the grill or is it put on foil or?
Thanks for the video
I typically lay mine flat on the grates and but a pan under the grates to catch the drippings for gravy.
Thanks for the directions. I found it easier to cut around the pelvis which attached to the backbone at the bottom of the turkey. You can use a knife to cut around the pelvis, instead of cutting through it with the shears. You can cut the tendons that hold the femur into the hip joint, saving alot of effort.
I wanted to smoke our turkey today so I found your video on smoked turkey. My bird was 15 pounds so I followed your link to here on how to spatchcock it. You made it easy and I quickly had a beautiful, flat bid. I went back to your smoking recipe, followed your recipe and directions. Best turkey we’ve ever had! Thank you much!
I just finished wrestling with my turkey. I have sharp shears, but sprained my wrist last week, and not enough strength. I ended up using a hand saw(it was clean). That worked! I dry rubbed it and it is in the fridge covered and waiting to cook tomorrow (Thanksgiving) I can’t wait. Wish me luck!
Sometimes it is a bit of work to get things cut and ready. Glad you were able to make it work! Happy Thanksgiving!
I have taken to using a clean blade in a sawzall. I poke the blade through some plastic wrap and wrap it around the end of the saw. The whole processs takes about 20 seconds and basically no effort.
Just made our first spatchcock turkey using your recipe and techniques. It was by far the easiest, quickest and best tasting Thanksgiving turkey our whole family has ever had! Thank you for all your great recipes and techniques.
I just spatchcocked my turkey for the first time. Easy to do but need better shears. Thanks for showing me an easier way to prepare my turkey. Also did an 8lb turkey breast. Will do again
Excellent! I have been spatchcocking turkeys on the grill for some time. The first time I wondered if it was done and went to lift the leg and thigh, it lifted completely off and it was done to perfection.
Really saves time and cooks evenly. Skin is all done perfectly.
I totally agree. Thanks for leaving such a positive review!
Best turkey you can do! You will never go back!