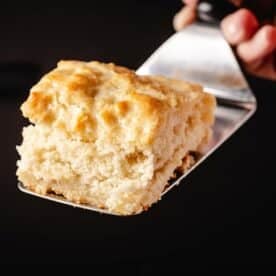
Buttermilk Biscuits
On February 20, 2025
This post may contain affiliate links. Please read our disclosure policy.
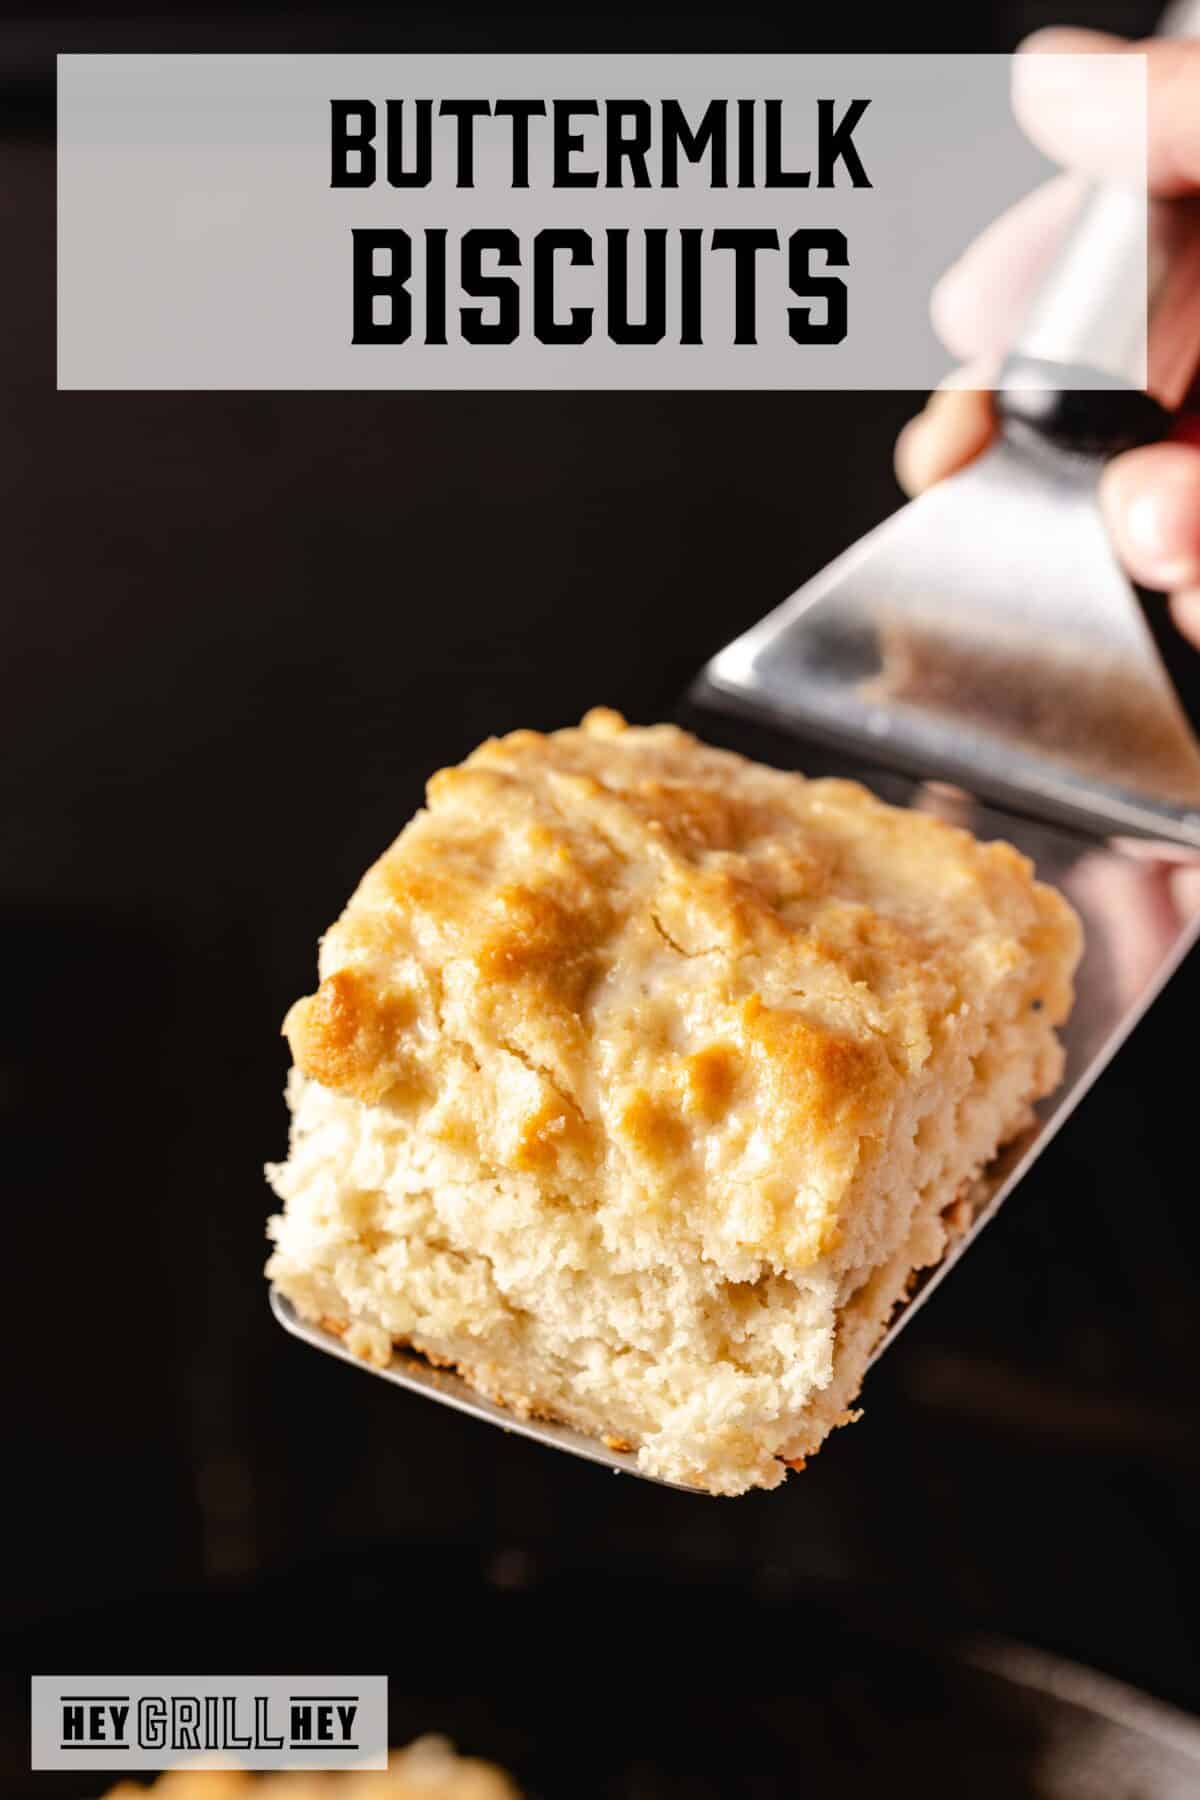
Buttery, warm, and fluffy, these Buttermilk Biscuits make the perfect BBQ side when you need something delicious the whole family can enjoy.
Homemade Buttermilk Biscuits
Whenever I need to bring a quick, kid-friendly side to a family dinner or BBQ, I always go for these homemade buttermilk biscuits. Not only are they completely delicious, but everyone loves them! The adults go back for seconds (and thirds!), the teenagers can eat an entire skillet by themselves, and the toddlers gobble them up in a minute flat. In fact, my 10-year-old declares these biscuits THE BEST EVER.
I can’t help but agree with her. These biscuits are the perfect consistency. They practically melt in your mouth, and they don’t get gummy or stick to the roof of your mouth like some other biscuits do. The buttermilk adds the perfect flavor to these biscuits, and they come out crispy, fluffy, flaky, and golden brown every time.
Why a Skillet Makes Great Biscuits
Making these homemade Buttermilk Biscuits in a cast iron pan works great for a couple of reasons. Not only does in affect the overall quality of the biscuits, but the versatility of cast iron means you can enjoy these biscuits anytime. Let me explain.
Crispy, Flaky, Fluffy Biscuits
Yeah, I know. To get that crispy exterior on the bottom of your biscuits while keeping the inside steamy and warm, let the skillet do the work. The cast iron heats the batter and cooks the biscuits evenly, so you get crispy edges while every biscuit cooks through perfectly. The skillet is also a gorgeous non-stick pan, so these biscuits slide out with ease.
Make Buttermilk Biscuits Anywhere
Because cast iron skillets are so versatile, you can make this easy biscuit recipe no matter where life takes you. Whether you’re making them backyard-style on your grill, baking in your kitchen oven, or making some camp-stove biscuits, you’ll have a delicious and filling side to go with your beautifully crafted meal. I personally love cooking these on my grill during the hot summer months. I still get a hot meal without having to heat up my kitchen. It’s a win-win.
The Best Cast Iron for Making Biscuits
I prefer cooking these Buttermilk Biscuits in a 12-inch cast iron skillet, but you can adjust the recipe as needed if you have a larger skillet. If you don’t have a cast iron skillet in your arsenal, don’t worry. You can also cook these in a 9 x 13 glass baking dish in your oven using the instructions in the recipe card.
How to Make Buttermilk Biscuits
Here’s how to make these flaky homemade buttermilk biscuits:
- Fire up the grill (or oven)! Preheat your preferred grill to 425 degrees F. Remember, you can also make this in your oven as well as on a camp stove. You can make them in your smoker if yours has a high-temperature setting.
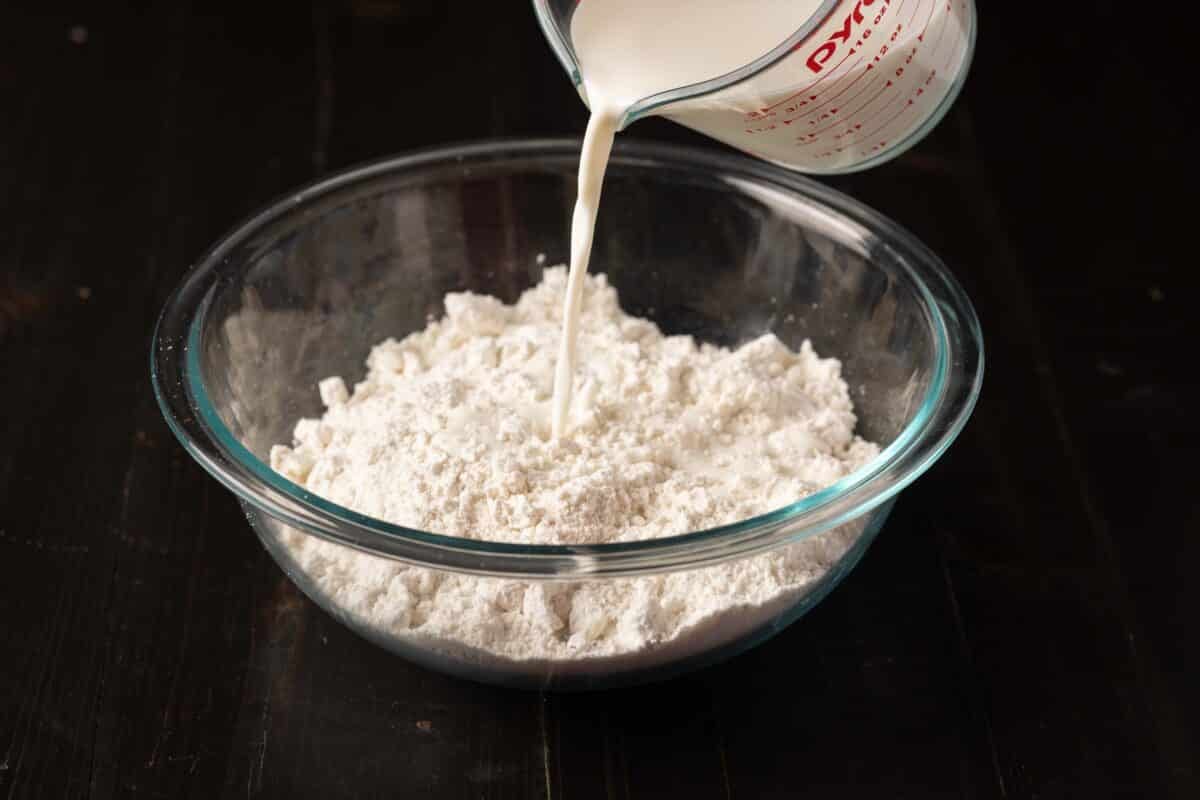
- Combine dry ingredients. I prefer to use a food processor to make these biscuits, but you can still make these in a bowl or use a mixer. Combine flour, baking powder, baking soda, and salt first.
- Add the butter. Sprinkle ¾ cup frozen butter (cut into cubes) to the flour mixture in your food processor (or you can grate your cold butter using a box grater). Then, pulse everything until the butter is the size of small peas.
- Gently mix in the buttermilk. Using a spatula, gently mix in the cold buttermilk, being careful not to over-mix. Stir until a loose, shaggy dough forms.
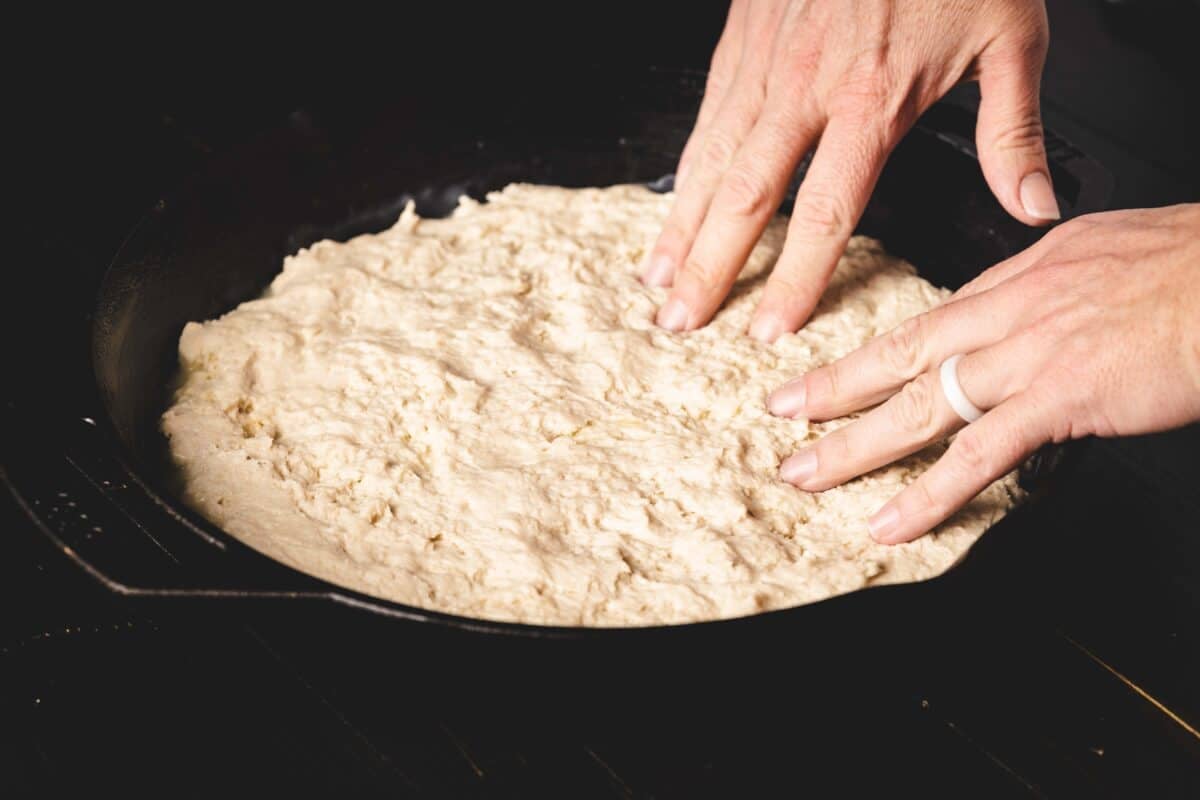
- Knead! Pour the dough onto a lightly floured work surface and gently knead 5-6 times to develop loose, flaky layers. Gently pat into a 12″ circle roughly 1-inch thick.
- Prep your pan. Butter a 12″ cast iron skillet or 9 x 13 baking dish with 1 Tablespoon of butter.
- Bake. Use a sharp knife to cut your dough round into 12 (or 16) individual biscuits, and lay them in your buttered skillet or pan. Place the skillet in your oven or on your grill. Close the lid and bake for 10-12 minutes until the biscuits are golden brown.
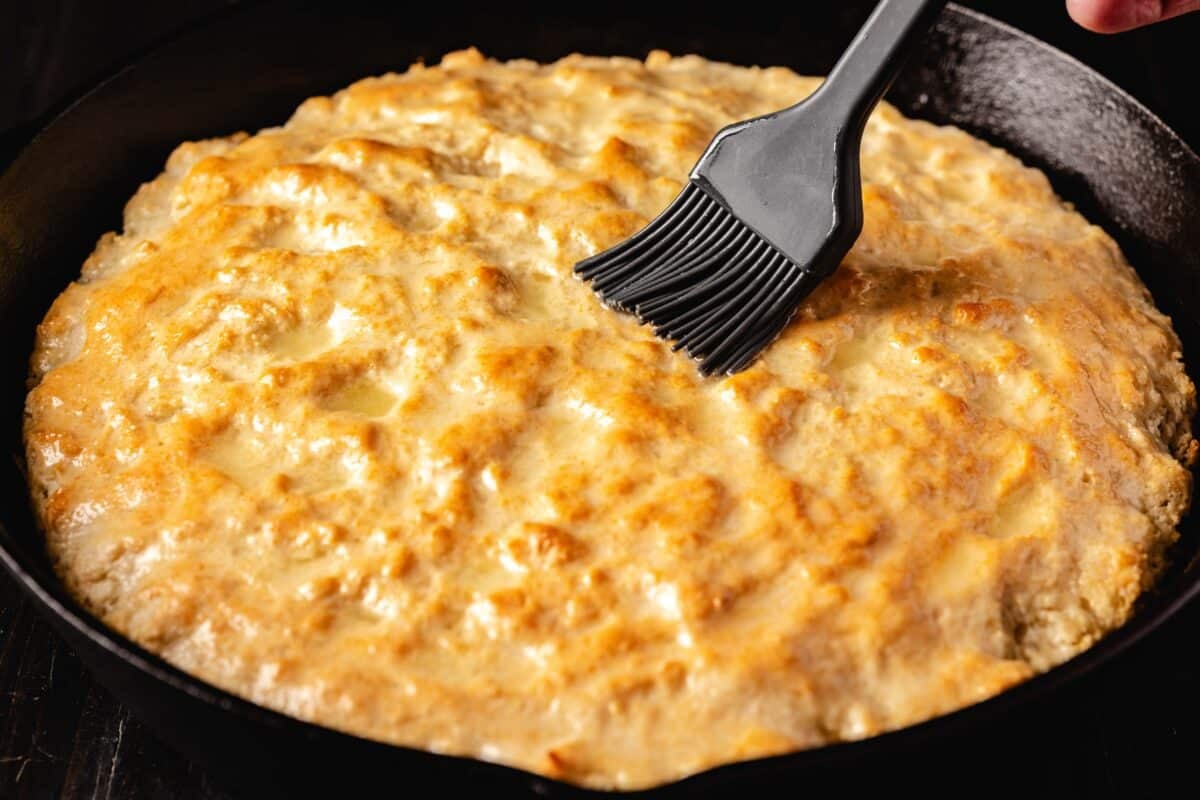
- Butter and enjoy! While the biscuits are still warm, brush them with a little melted butter. Allow the biscuits to cool slightly, and serve warm with honey butter, or eat as-is. I personally love these biscuits with this homemade Strawberry Freezer Jam from Feeding Your Fam.
Tips for the Best Homemade Biscuits
Cooking in cast iron will help you create some truly tasty biscuits, but I’ve got a few more tips to help take your buttermilk beauties over the top.
- Cube your butter. This recipe works best when you start with frozen butter. As I mentioned earlier, you can use a grater, but cutting the butter into cubes is quick and easy.
- Use cold buttermilk. Buttermilk not only adds a subtle tanginess to your biscuits, but contributes to their overall texture. Using cold buttermilk helps ensure the biscuits remain tender inside while the cast iron creates that crispy bottom.
- Don’t over-fold. When kneading your dough, you want to be gentle. The key to the awesome texture of these biscuits is a slightly shaggy dough.
Storage and Making Ahead of Time
The good news is any leftover Buttermilk Biscuits store easily for you to enjoy for up to a week. The bad news is there usually aren’t any leftovers. Butter. Milk. Biscuits.
If you are lucky enough to save a few for later, or you want to make them ahead of time, here’s how. Allow your biscuits to cool to room temperature before placing them in an airtight container or zip-top bag. Your biscuits will still be fresh and delicious for another 1-2 days stored on your counter. You can extend their life up to a week by storing in your refrigerator.
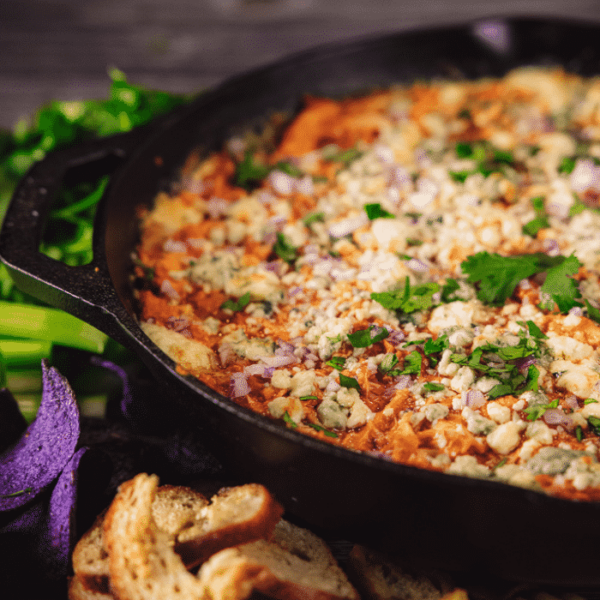
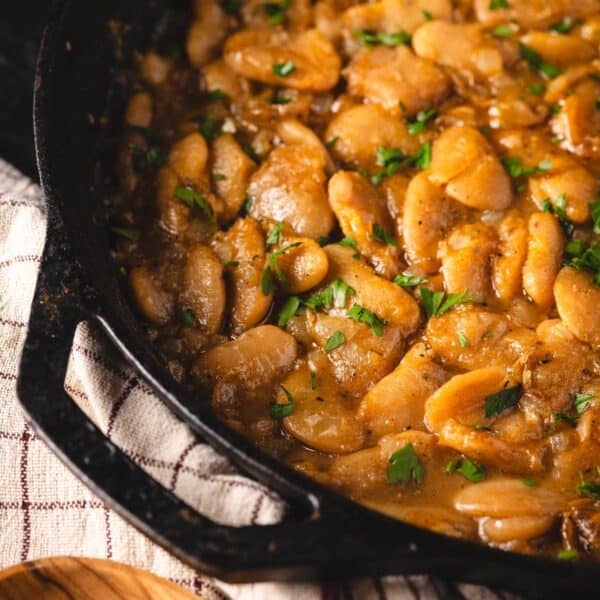
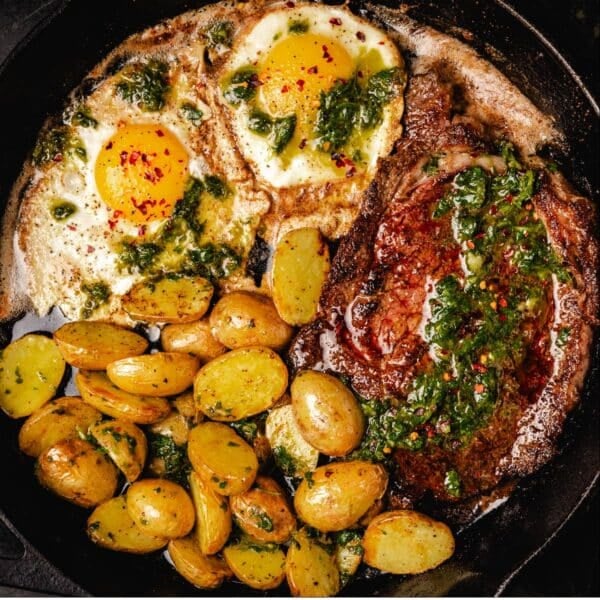
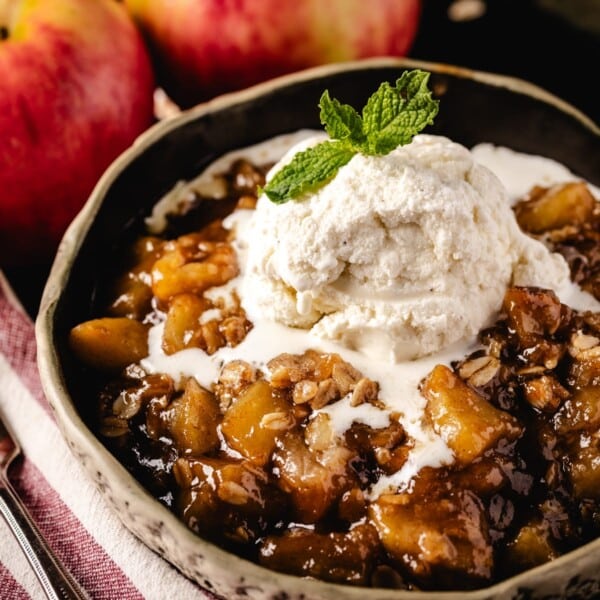
More Awesome Cast Iron Recipes
After you taste the impossibly-crispy edges your cast iron pan adds to these soft Buttermilk Biscuits, you’ll be hooked. (Wait until you try them with some of my savory sausage gravy.) You’ll also be looking for more cast iron classics.
Well, you came to the right place. You can find more than 50 recipes designed with this versatile cookware in mind in Hey Grill Hey App. For now, check out some of our family’s favorites:
Buttermilk Biscuit Recipe
Follow the recipe below and let’s make something delicious! I’m all about helping you make better BBQ, feed the people you love, and become a BBQ hero. If you want to see more of my recipes, tips, and behind the scenes action, follow along on my social channels. You can find me on Instagram, Facebook, and YouTube!
Buttermilk Biscuits
Ingredients
- 1 ¾ cups buttermilk
- 4 cups all purpose flour
- 4 teaspoons baking powder
- 1 teaspoon salt
- 1 teaspoon baking soda
- ¾ cup salted butter frozen and cut into cubes for divided use
- 1 Tablespoon salted butter melted
Instructions
- Preheat the grill. Set up your grill, oven, or smoker to 425 degrees F.
- Combine dry ingredients. In a large food processor, combine the flour, baking powder, baking soda, and salt. Pulse to combine.4 cups all purpose flour, 4 teaspoons baking powder, 1 teaspoon baking soda, 1 teaspoon salt
- Add the butter. Add 3/4 cups of frozen butter cubes to the food processor and pulse 8-10 times or until the butter is the size of small peas. If you don't have a food processor, you can grate the frozen butter on a cheese grater and add it to the dry ingredients.¾ cup salted butter
- Gently mix in the buttermilk. Remove the blade from the processor and gently mix in the buttermilk using a rubber spatula. Do not overmix. Stir until a loose and soft dough forms.1 ¾ cups buttermilk
- Knead the dough. .Pour the dough onto a lightly floured surface, and gently knead 5 or 6 times. Lightly pad dough into a 12" circle.
- Pre the pan. Butter a 12" cast iron skillet with the remaining 1 Tablespoon of butter.
- Cut the biscuits. Cut the dough into 12 or 16 biscuits and lay them into a buttered skillet or baking dish.
- Bake the biscuits. Place the skillet on your preheated grill (or in your oven). Close the lid, and cook for 10-12 minutes or until the biscuits are golden brown.
- Butter and enjoy! While the biscuits are still warm, brush with more melted butter (optional) and serve warm.1 Tablespoon salted butter
Nutrition
Nutrition information is automatically calculated, so should only be used as an approximation.
**I originally published this post in July 2019, but recently updated it with more information and helpful tips. However, the recipe remains the same.


Great biscuits! These would be great with sausage gravy. Thanks for the recipe.
What size skillet do I need?
At least a 12″!
Sounds delish..can’t wait to try
Just wondering, how much of the dry ingredients do you use? Also, how much of the buttermilk do you use? Love all your recipes.
The recipe card is at the bottom of the post!
I use a square cast iron skillet, just pat the dough into shape set in pan and use my dough scraper to cut into squares then bake. no cutting then rolling and more cutting for me.
I need to get a square skillet! The only square one I have is a grill pan.