Baby Back Ribs Basics
On March 20, 2025
This post may contain affiliate links. Please read our disclosure policy.
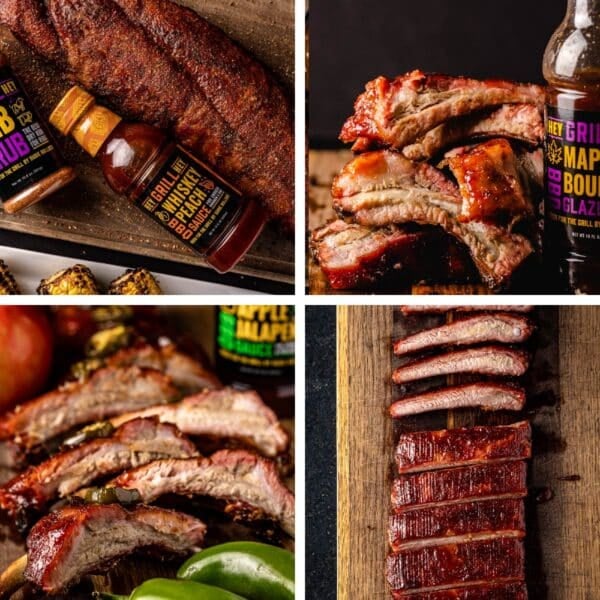
This guide will serve as an introduction to baby back ribs basics, including some helpful tips and some recipe ideas to help you get started.
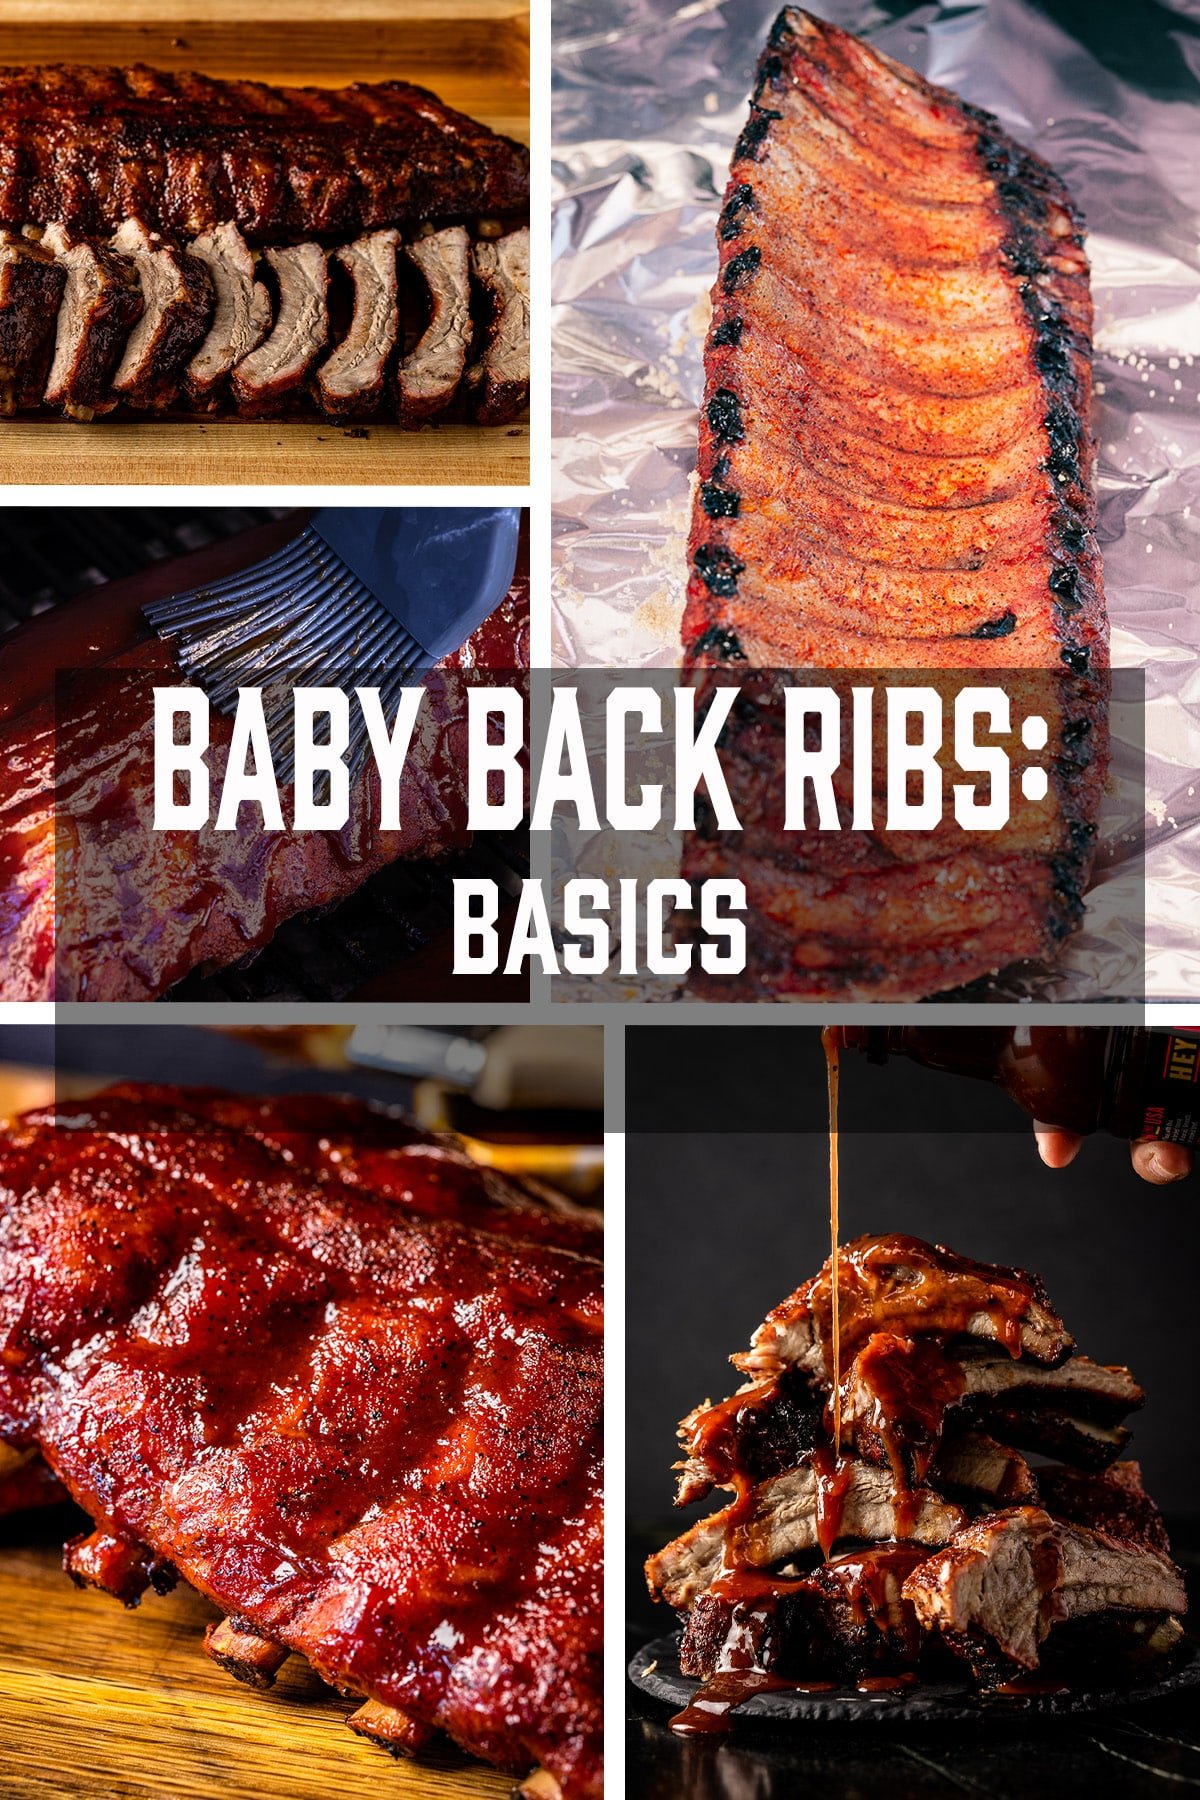
The Basics of Baby Back Ribs
Baby back ribs are a delicious and fun option for get togethers with family and friends. One of the best things about them is that you have tons of options to customize them to your tastes and preferences. Whether you prefer them with just a dry rub, or dripping with sauce, knowing how to go from start to finish will help your next rack become the talk of the gathering.
Getting Started
You’ll need to choose how you’d like to cook your baby back ribs. The most common options are either grilling or smoking them. Later on, we’ll cover some “how to” recipes for both methods so regardless of what you have available, you’ll have options. But first…
We need to discuss the membrane. This is completely optional and again, comes down to personal preference. The membrane is a thin layer of tissue on the underside of the ribs themselves. When cooked, this membrane can become really chewy and almost leathery. You can leave it on if you don’t think you’ll mind the additional texture, remove it completely to avoid it all together, or you can even score it in a crisscross pattern that will make it into a bit more manageable eating experience.

To remove the membrane, you can make a break at the end of the rack on the bone side of the ribs between the membrane and the bone with your fingers or a butter knife and loosen it until you have enough to get a grip on it. From there, you can pull it off with your hands but I’ve found it’s really helpful to just get a paper towel and use it to grab on. This helps with grip and improves the chances of being able to pull the entire membrane off in one go. Also, it’s no big deal if it rips while pulling. Just pick up where you left off and make sure to get the entire thing.
Seasoning Baby Back Ribs
When applying your chosen seasoning, you can choose to use a binder or go without and let the meat grab what it can. Options for binders include mustard or a high smoke point oil such as avocado oil. Don’t worry about your ribs ending up tasting like mustard. You won’t be using enough to drastically influence the flavor. Using a binder will really help your rubs and seasonings stick to the meat to help increase and lock in flavor.
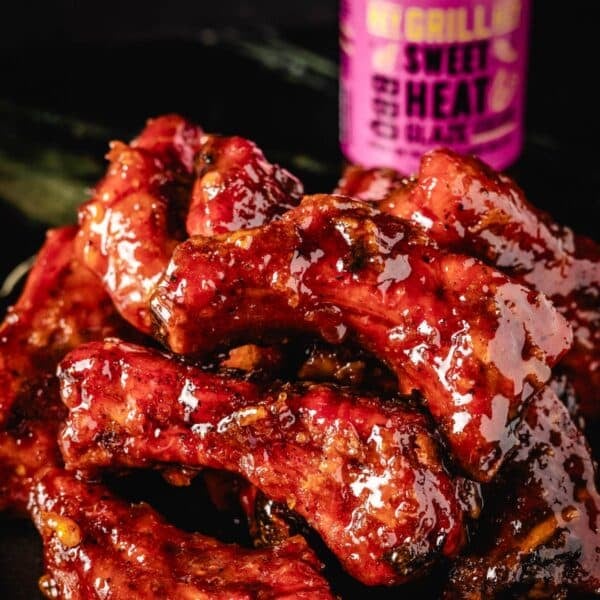
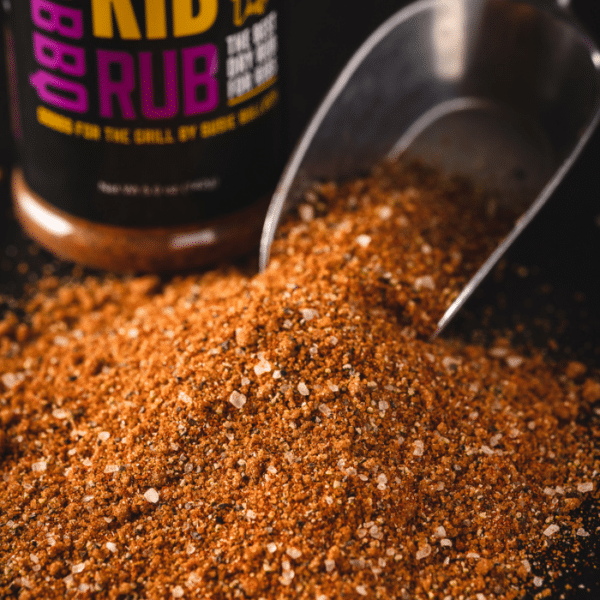
Next up is adding the seasoning itself. This step is where you can really make the flavor your own. I made a rub specifically for ribs that includes things like garlic, paprika, and brown sugar that makes a sweet and savory mix of classic bbq flavors. If you’d like to pick up some Hey Grill Hey Rib Rub, grab it here. If you want to add more of a kick, you could add some chili pepper flakes or cayenne pepper. Mix and match to your hearts content to find the perfect blend that’s right for you.
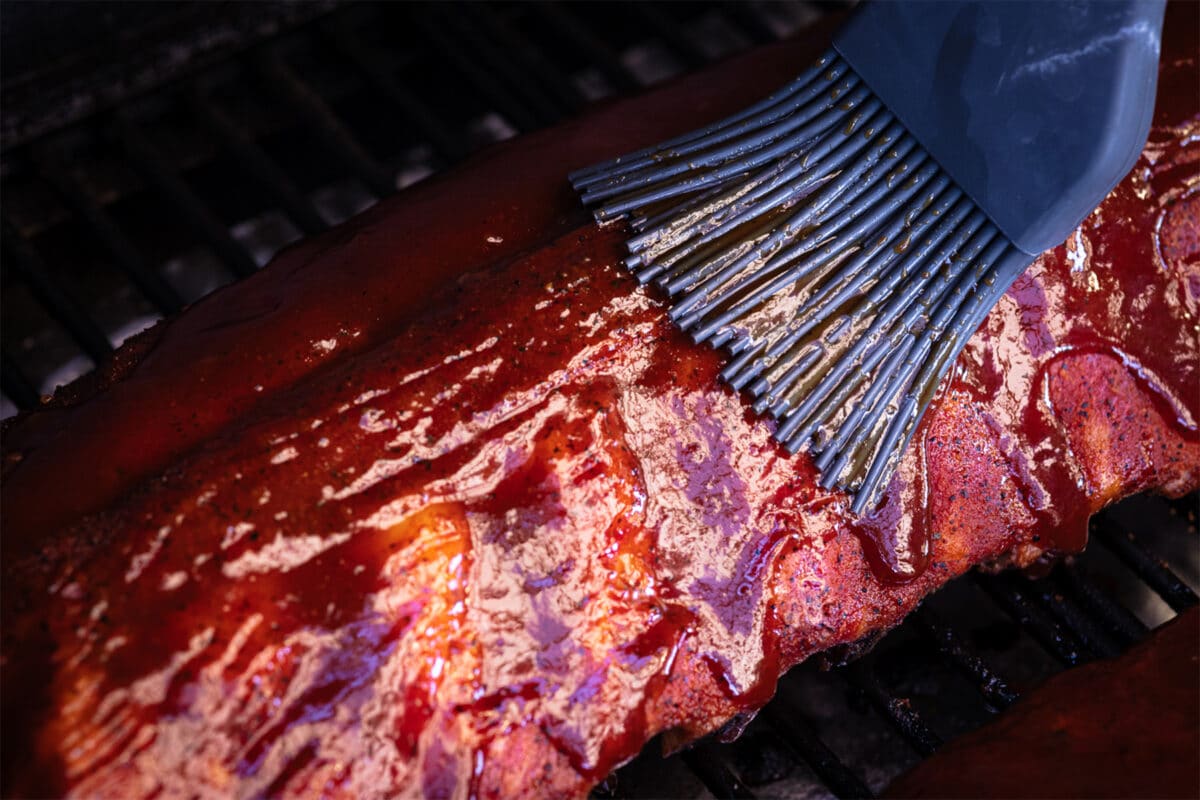
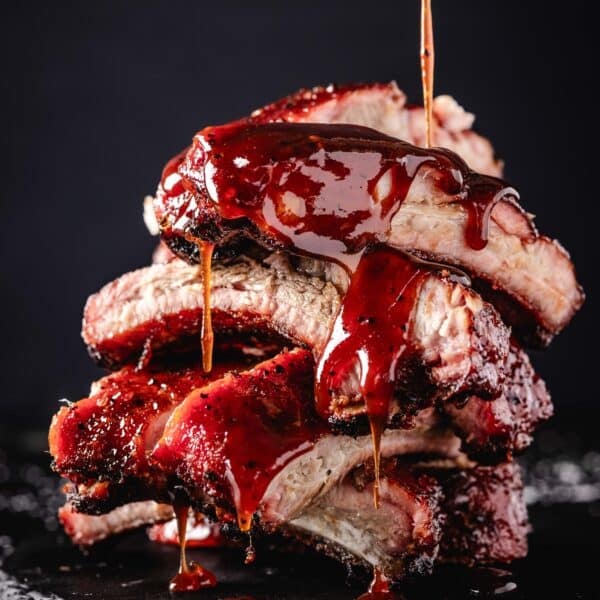
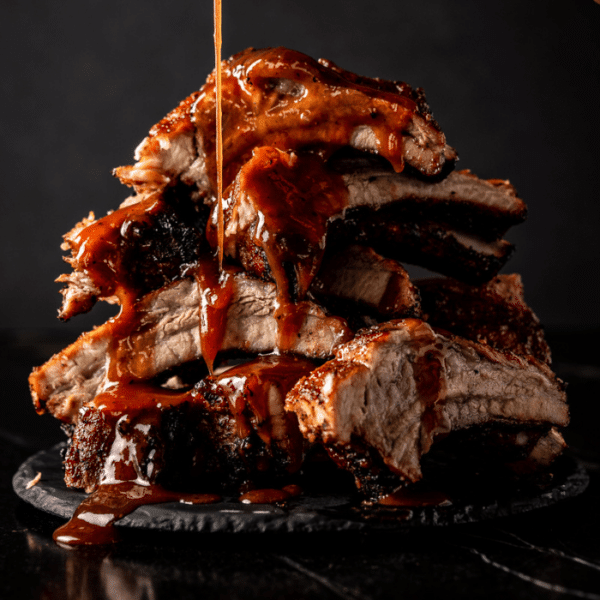
When finishing the ribs and adding the sauce, simply grab your sauce of choice and apply it with a basting brush. Be sure to coat the ribs evenly, but don’t overdo it. Think of this step as a finishing glaze. You can add more sauce after the ribs have cooked and rested if you want a saucier experience.
Different Ways to cook Baby Back Ribs
As I mentioned earlier, there are a few ways to cook baby back ribs. The first one I want to share some pointers on is grilling them. For grilling ribs, I recommend the two zone method. This just means there are two different heat zones on the grill. One zone has direct heat, and the other has indirect heat.
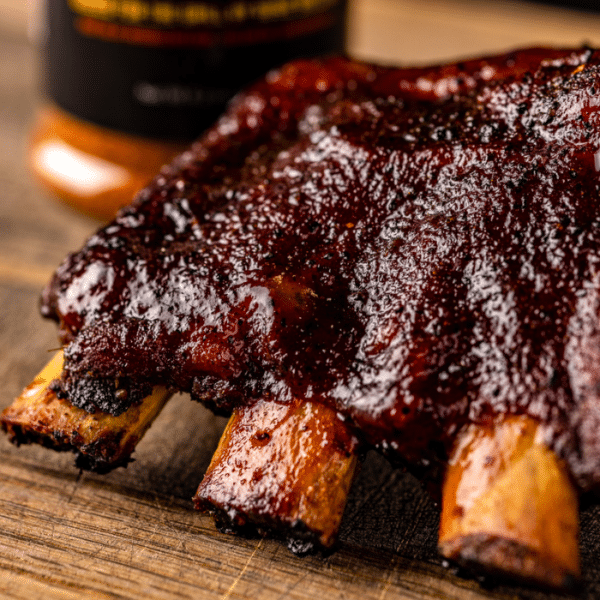
Grilled ribs will have a different flavor and final texture than those that are cooked on a pellet smoker. The grill will give the ribs a nice final char that provides some great color and crispiness. They’ll bite clean off the bone and sort of resemble a really juicy, really tender pork chop in rib form. I’ll leave a link to my recipe for grilled baby back ribs below, and if you’d like to see me make them, check out this video:
Smoking baby back ribs takes a bit longer than grilling them and they have a different flavor profile and final texture. With just a smoker, some heavy-duty aluminum foil, and your favorite sauces and seasonings you can cook them low and slow leading to some incredibly tender and juicy ribs with amazing color and flavor provided by the smoke. I’ll link the recipe for 321 ribs below as well. And again, for the visual learners out there, I have a video for that as well right here:
Finishing and Serving
One incredibly important step that is sometimes overlooked is letting your ribs rest. Moving them from the heat to a cutting board and allowing them to cool for 10-15 minutes does wonders for locking in moisture and ensuring the best possible final product.
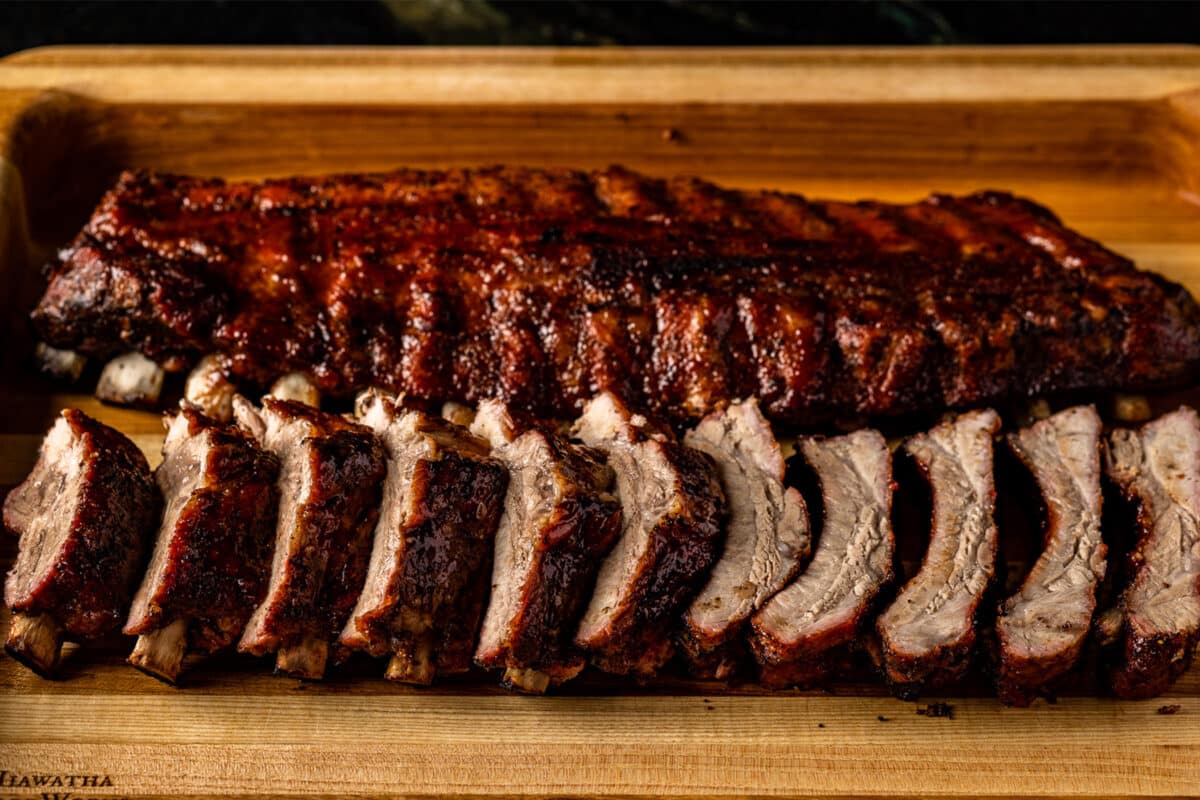
When it comes to cutting your baby back ribs, the first thing you’ll need is a nice sharp knife. Then stand the ribs up on their side and cut straight down between the bones. Depending on the shape of the ribs, this can sometimes be tricky. Baby back ribs are typically pretty straight so just take your time and be careful not to cut into yourself or one of the bones.
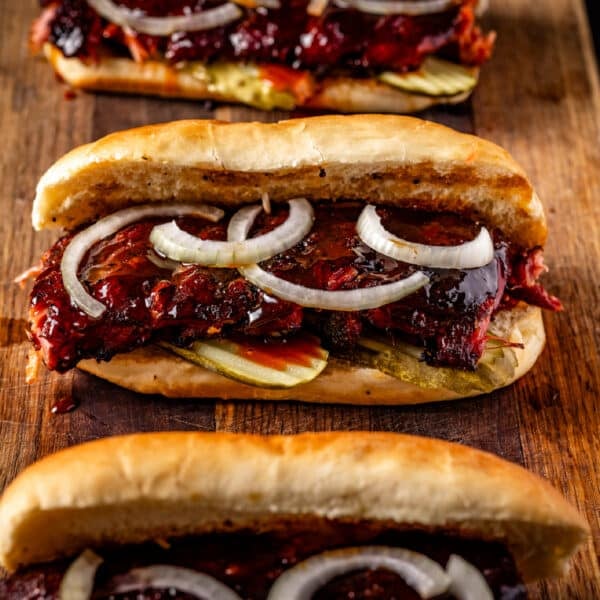
Easy Baby Back Ribs Recipes
There are all kinds of ways to make memorable baby back ribs. These are a few of my favorite recipes. Pick the one that looks the best to you and get out there and give it a shot! Or feel free to check out tons of other baby back rib recipes right here.

Beyond the Basics of Baby Back Ribs
Now that you know your baby back ribs basics, can have confidence when making some in your own backyard. It may take some practice to get it right, but once you do, you’ll have an incredibly versatile and delicious option to prepare whenever the craving strikes.
When you’re ready to take your pork ribs game to new heights, pop on over to The Grill Squad. I’ve got a whole BBQ Ribs Pitmaster Class, covering everything from selection tips to storing leftovers. Whether you’re looking to grill or smoke ribs, this class is for you.
And remember to follow my Instagram and Facebook pages so you can tag @heygrillhey with your mouthwatering baby back ribs!


Anxious to try your rub
this is very confusing. The cooking of the ribs was not described very well. I do hot and fast on my weber grill. 2 hours.
Hey, sorry for any confusion. This is a post getting to know baby back ribs, so it touches on several different cooking methods. If you’ve already got a preferred method, this might be a bit too basic for you.