Apple Crisp in a Skillet
On November 22, 2023
This post may contain affiliate links. Please read our disclosure policy.
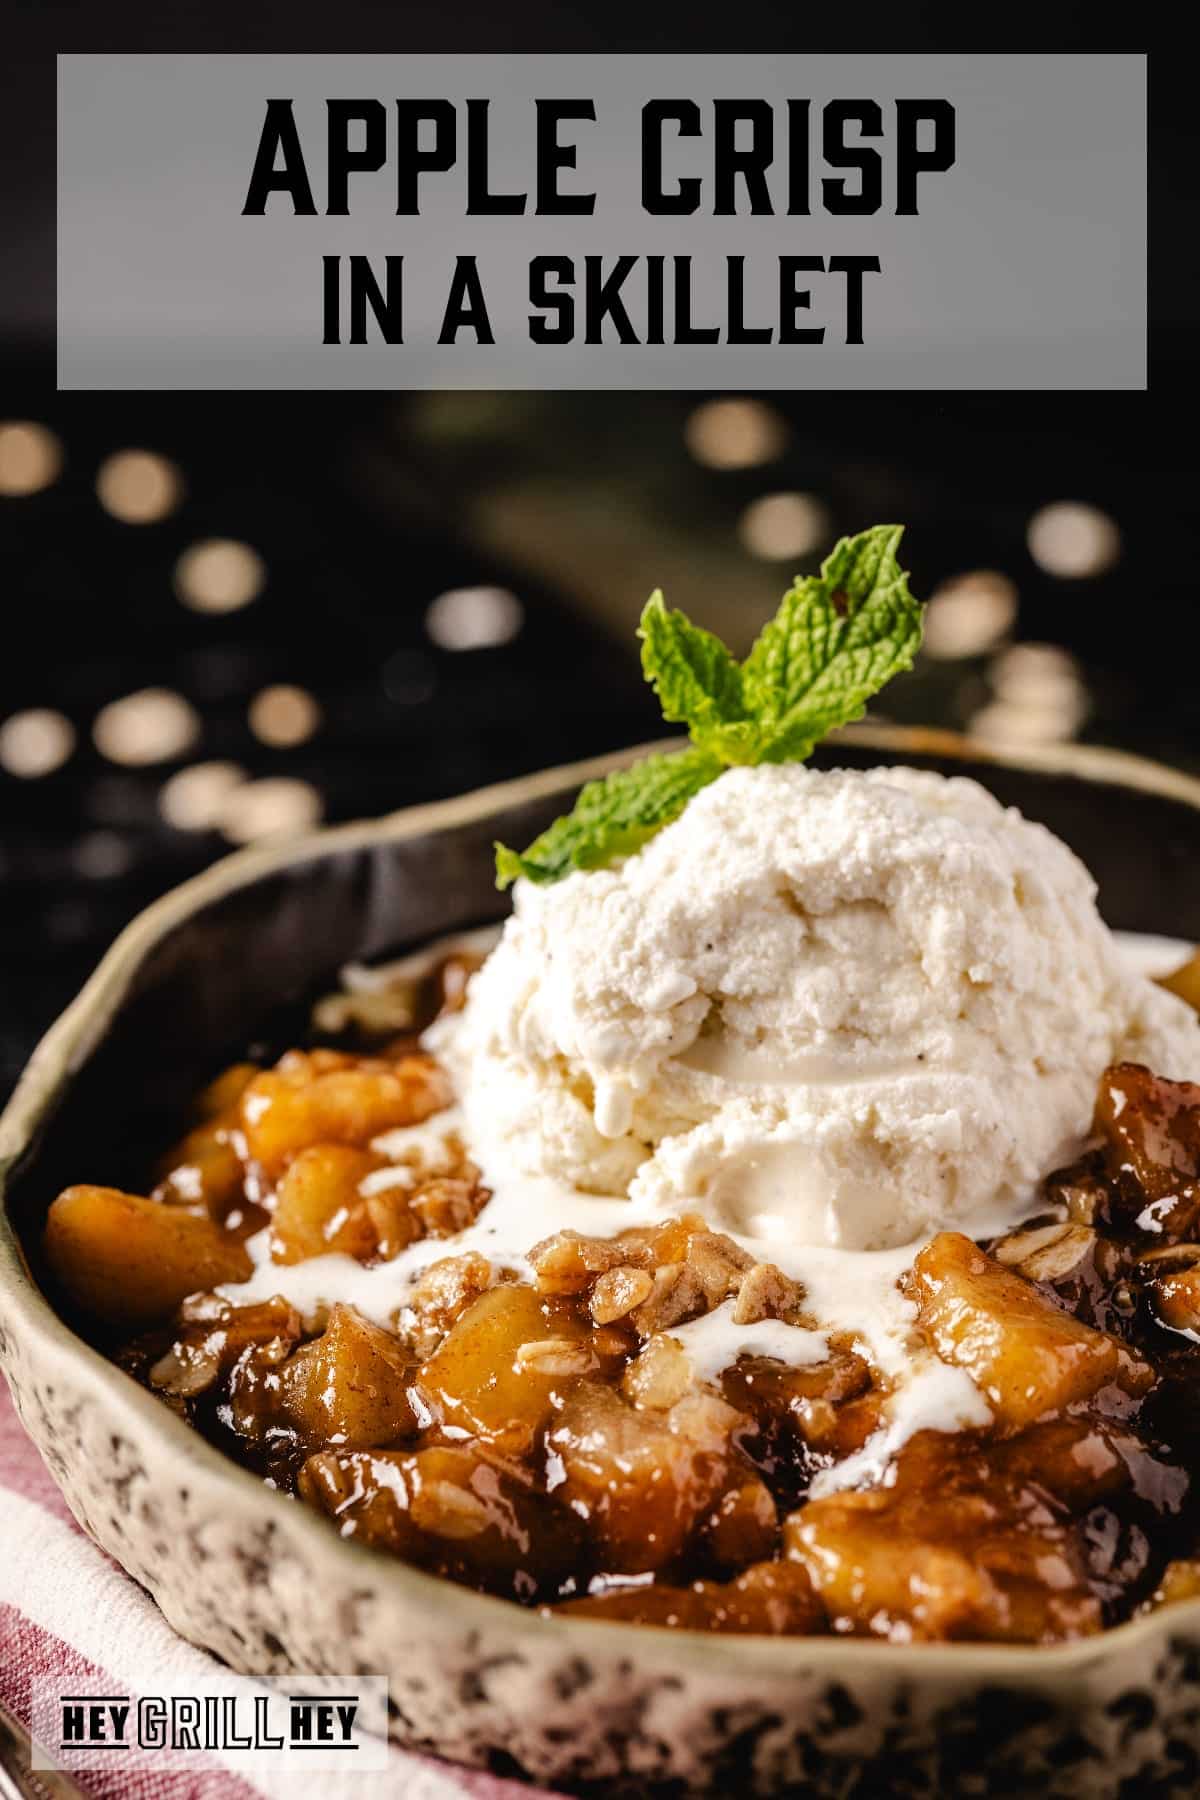
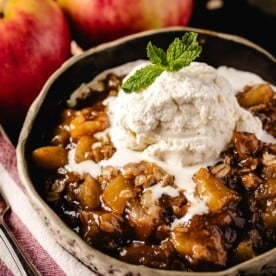
This Skillet Apple Crisp is warm, gooey apples covered in crispy, flaky oats and oozing cinnamon yumminess. This light and luscious dessert is the perfect tart and tangy partner for your next fall BBQ.
Skillet Apple Crisp
Whether you’re looking for the warm hug of tart, cinnamon apples, or the light and sweet smell of fresh apple pie in the spring, my Skillet Apple Crisp is going to help take you there. It has all the flaky, buttery joy you get with a pie, without all the time it takes to make a crust. You get the ease of a crumble, but get to bring it to a whole new level of crispiness by adding oats. It’s not grandma’s house, but it’s pretty close.
Easier Than Pie… and Cobbler
I’ll be the first to admit I love a good cobbler or pie. I have plenty of recipes for both of them available in the Hey Grill Hey app. But sometimes after a heavy BBQ meal, my family wants something just a little bit lighter to end the night. My Skillet Apple Crisp is the perfect option. You don’t have to make a crust, it’s minutes of hands-on time, and everyone soothes that sizzlin’ apple fix.
The Best Apples for a Crisp
How to know the best apple to use when making apple crisp really comes down to which apples you prefer the most. It’s really that simple. If I’m looking for something more on the tart side, I’m going with a Granny Smith apple. If I want my crisp to be more sweet, I’m reaching for a honey crisp apple every time.
Another chance you have to put your personal touch in is whether or not to peel your apples. Slicing your apples is an important step in the cooking process, but leaving the skin on, that’s completely your choice. Some people prefer the texture of a caramelized apple, so they take the time to peel the apples before cooking. Going with peels on is going to give you a more rustic look when your crisp is finished. Both are great options.
Topping for Apple Crisp
One of the keys to nailing the perfect apple crisp is in the crisp topping itself. The reason this is such a desirable alternative to pie is because you still get that crispy, flaky craving fulfilled. That’s because while a crisp is as easy to make as a crumble, it differs in that it includes oats.
Using oats is how my crisps get that highly sought-after, buttery crisp on top of those sweet, tangy apples. It’s how you’ll give your apple crisp a flaky, almost-crust-like streusel to rival even the most American of apple pies. You can use different nut alternatives for the oats, or just go without, but at that point it’s basically a crumble. And you didn’t come here to crumble.
Preparing Crisps Ahead of Time and Freezing
If you want to prep my Apple Crisp ahead of time and then freeze it, you can totally do that. Simply follow all the steps to combine the ingredients, cover with heavy duty aluminum foil, and freeze before the cooking process. It will keep up to 3 months this way. You’ll want to let it thaw overnight in the refrigerator before cooking and enjoying.
How to Make an Apple Crisp
Unlike pie crusts that take a lot of time, attention, skill, and more time, this crisp is ready to bake in a few easy steps. It’s the perfect way to bring the most out of sweet, juicy apples.
- Preheat grill and skillet. At the same time you set your oven or or pellet grill to 350 degrees F, preheat a 12 inch cast iron skillet over medium-high heat. If you’re using a conventional oven, you’ll want to do this over a burner on high heat. If you’re using your pellet grill, it will work right on the grates.
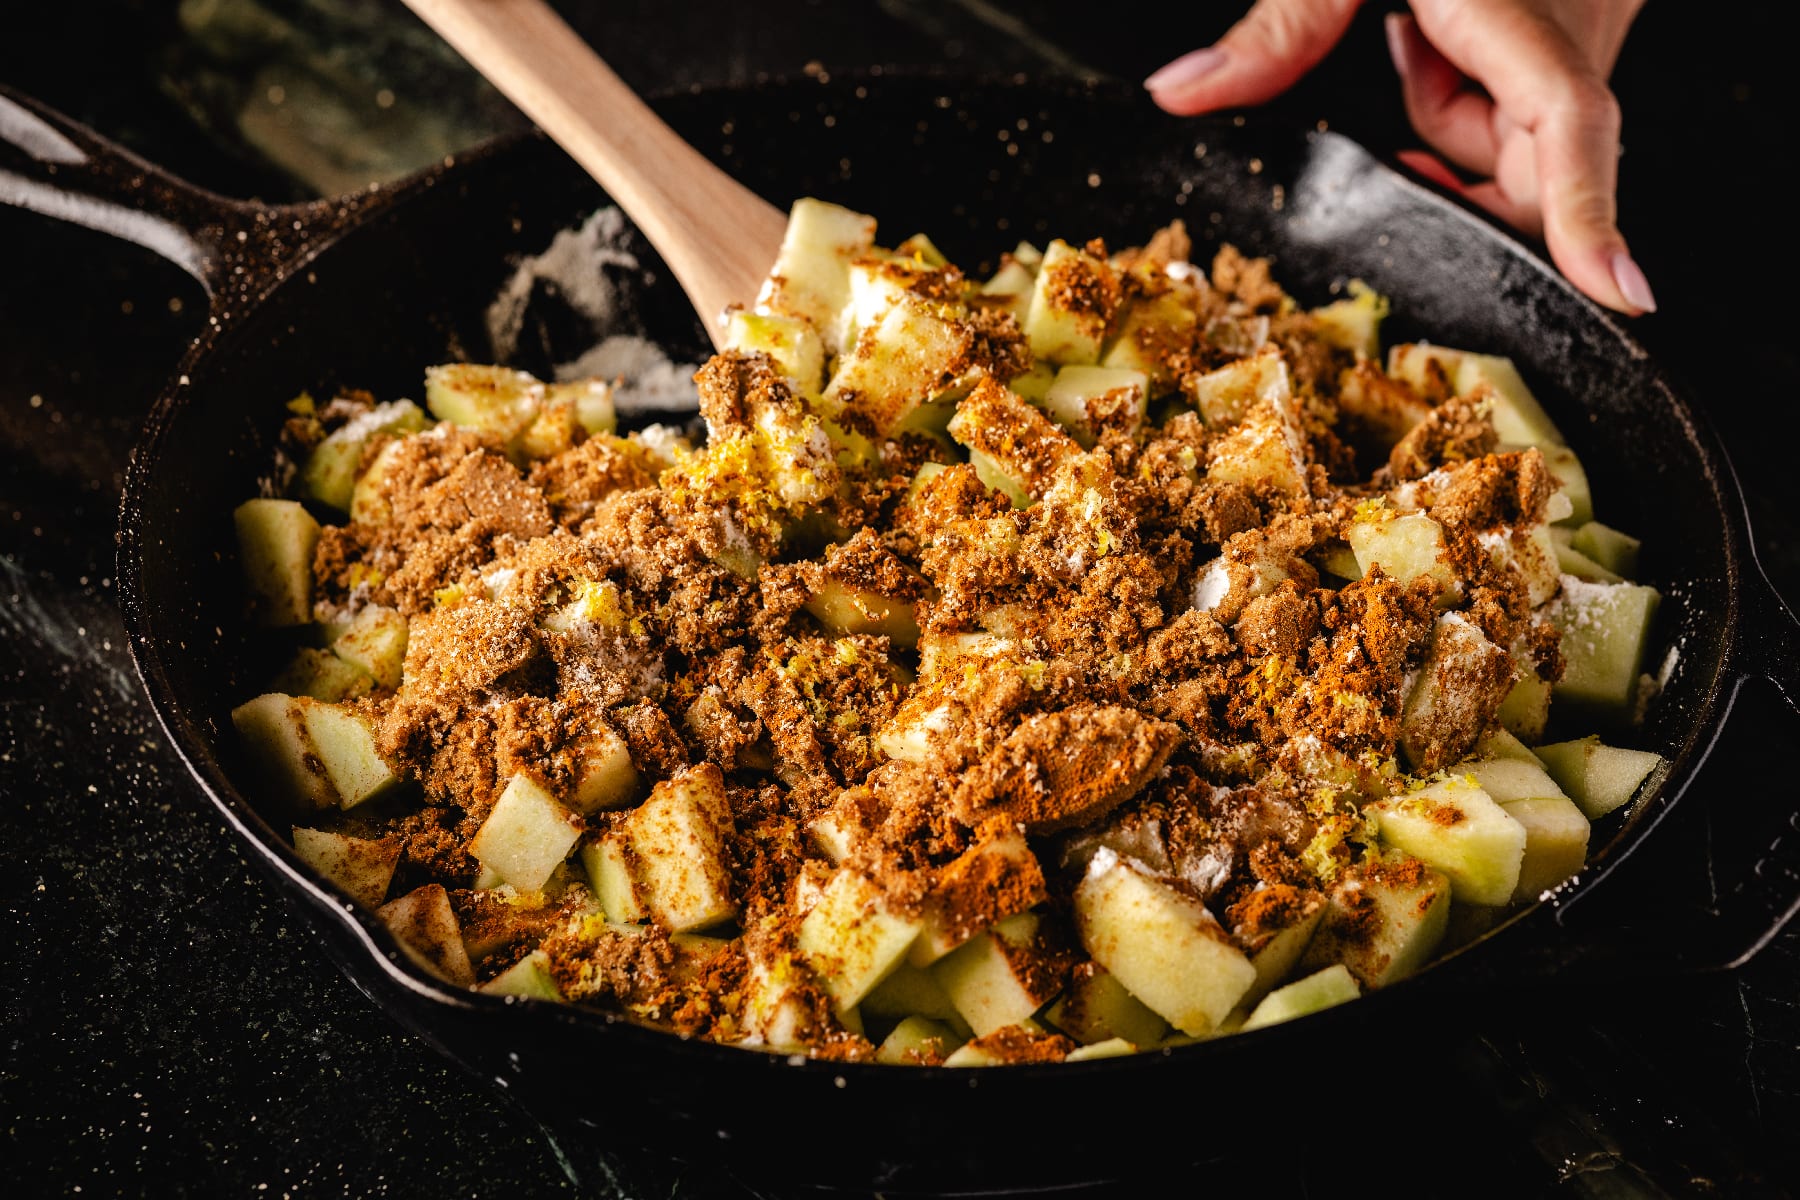
- Make filling. Place your sliced apples in a large bowl. Leaving the skin on is totally optional, and will give your crisp a more rustic look. Top evenly with your dry ingredients, and mix gently with a rubber spatula to coat. Once everything is combined well, transfer filling to your preheated skillet.
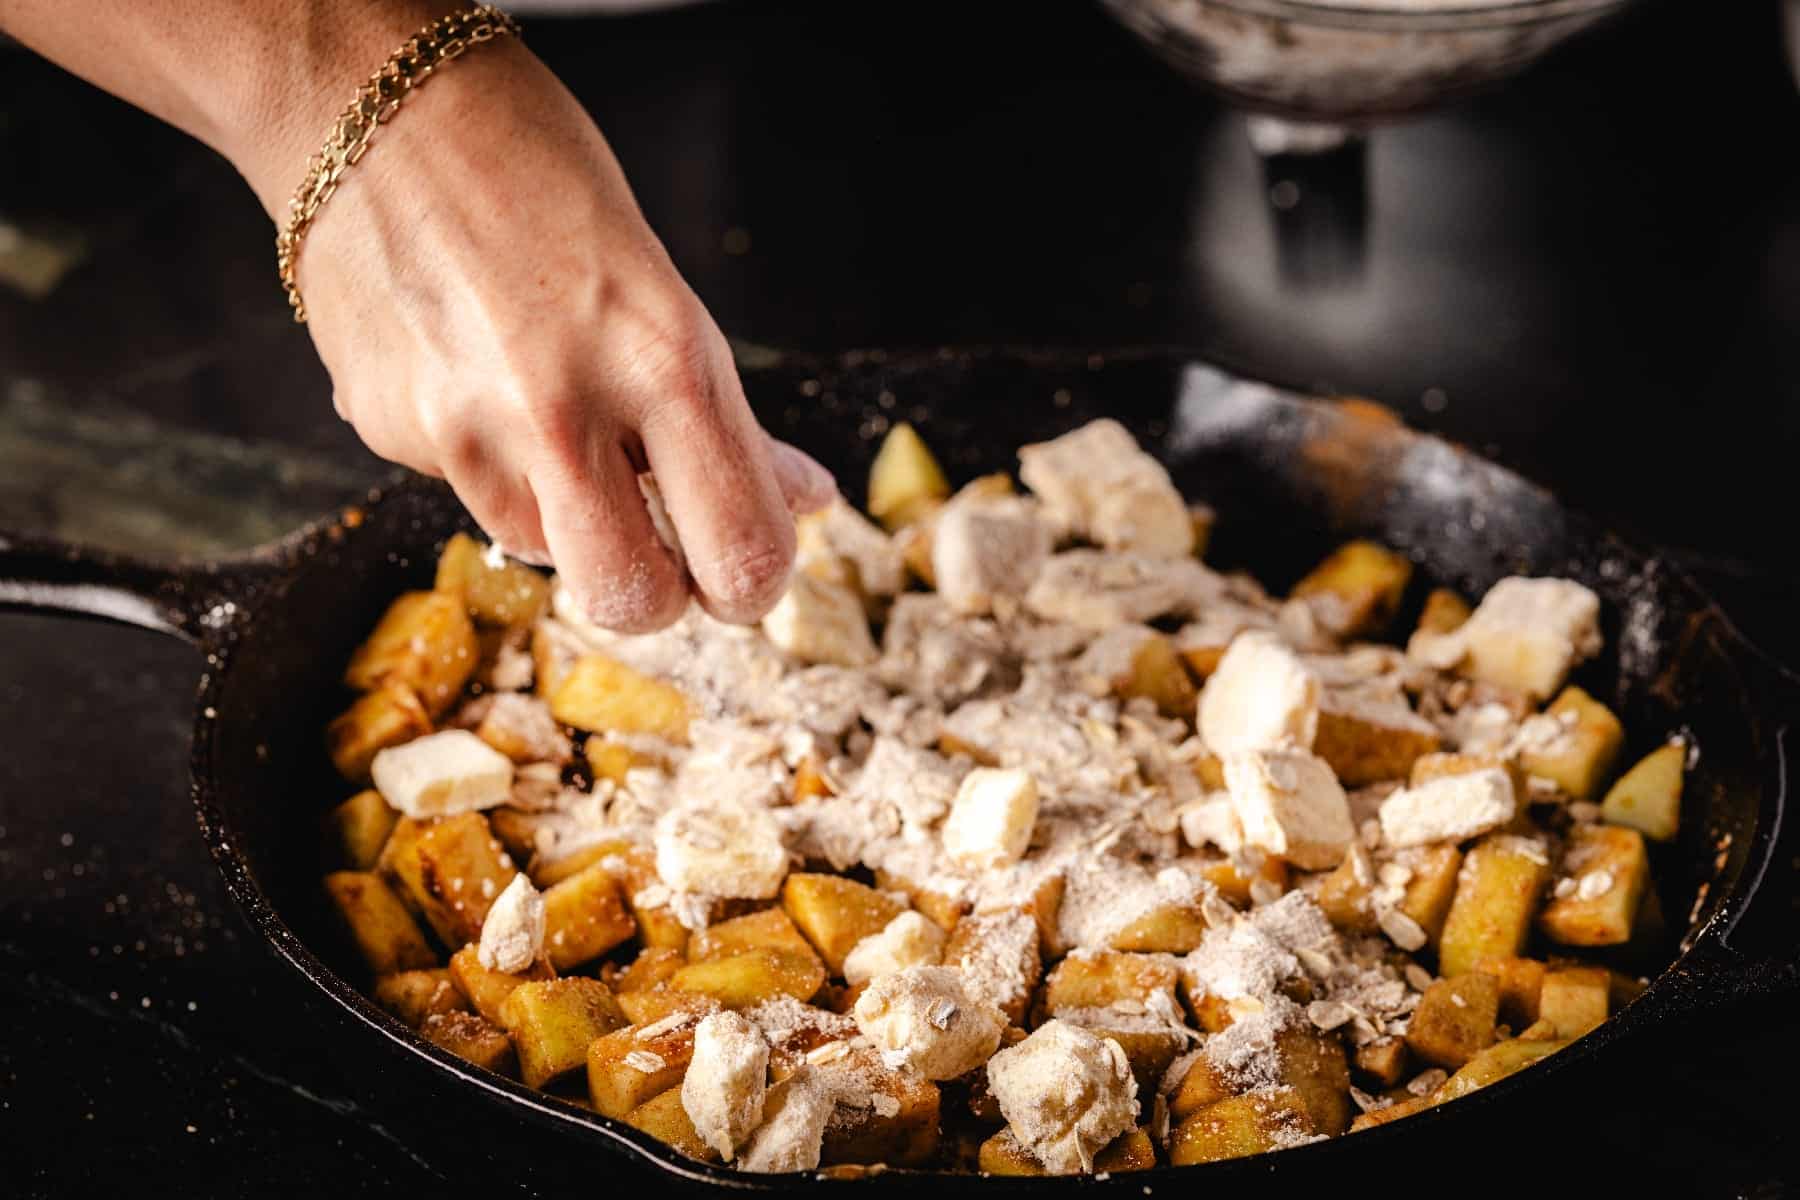
- Prepare crisp topping. In a separate bowl, combine all ingredients for the streusel topping. Be sure to cut cold butter into small cubes, and use your fingers to break it up while combining it with the dry ingredients. Once it feels like a nice, even mixture, sprinkle it directly on your apples, covering most of the filling.
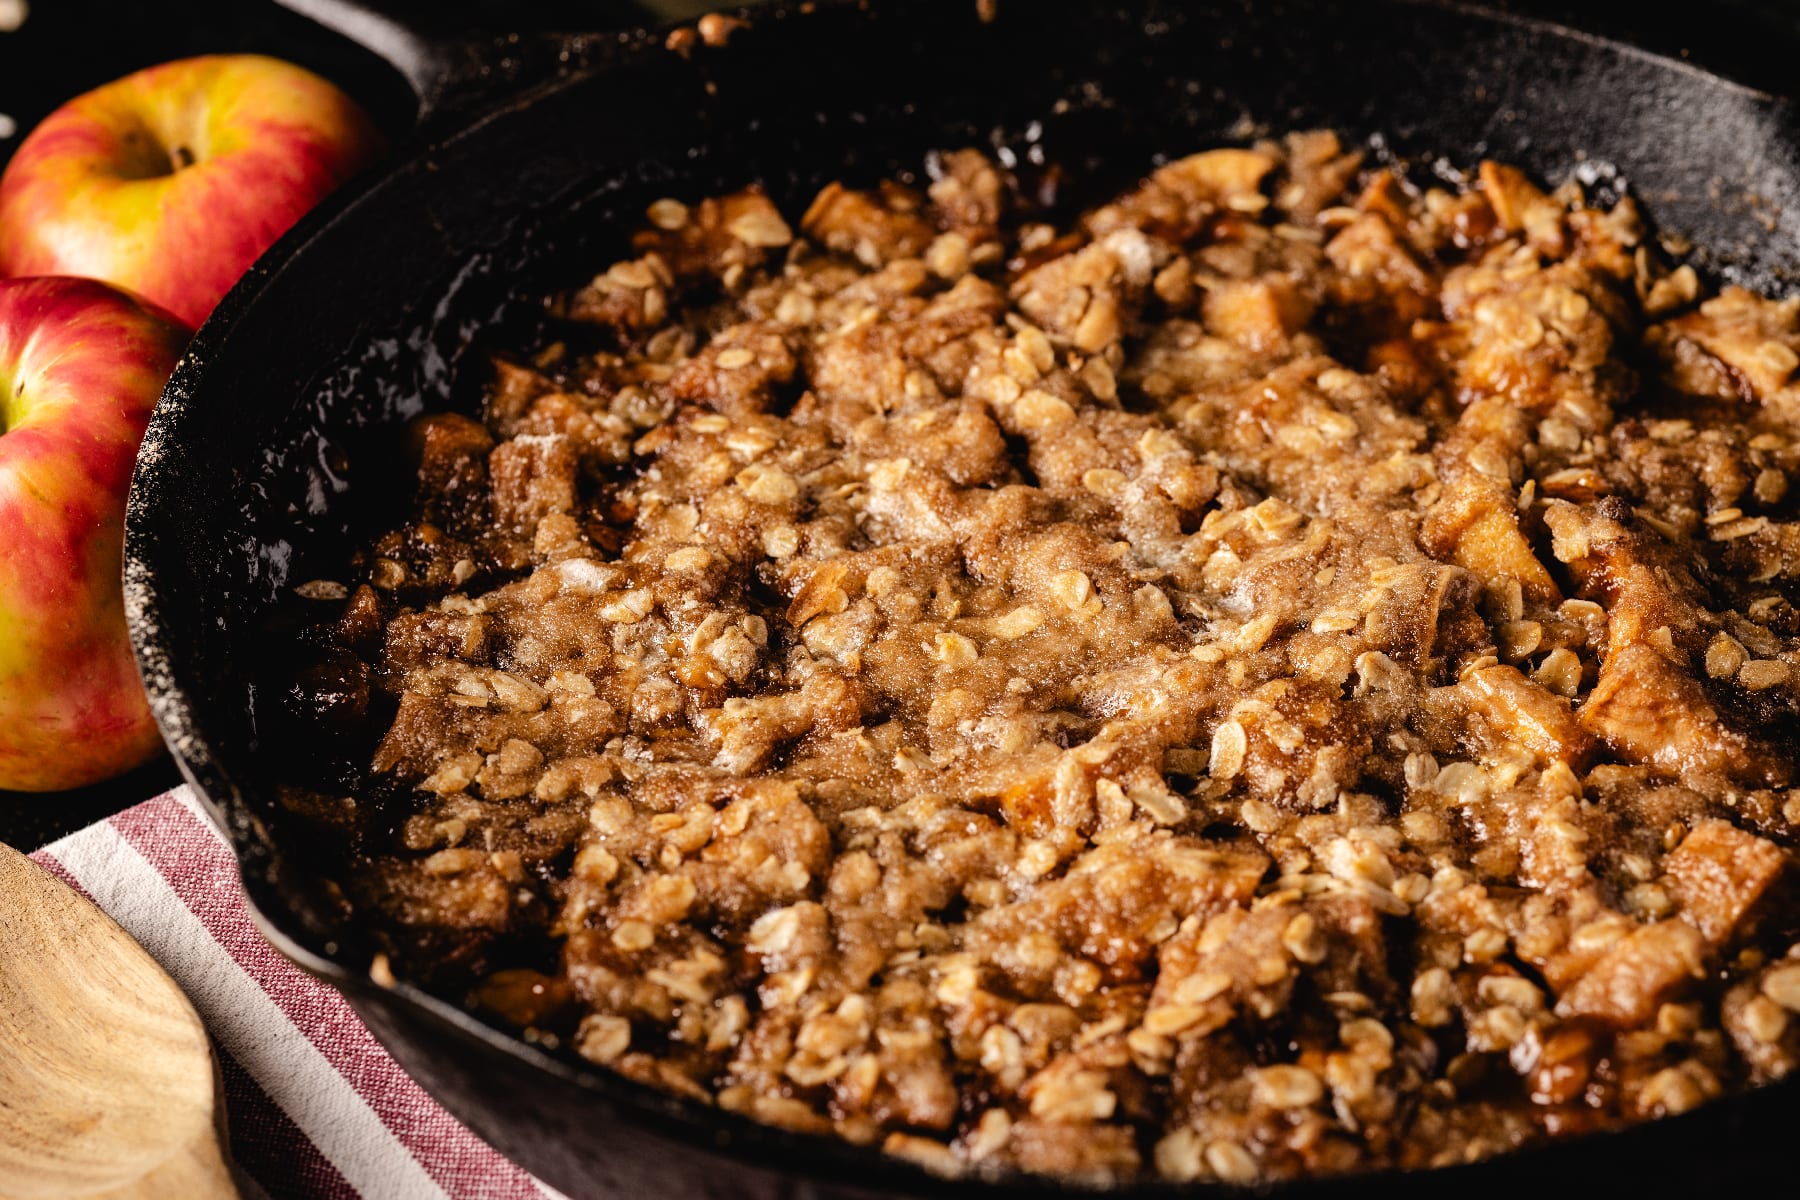
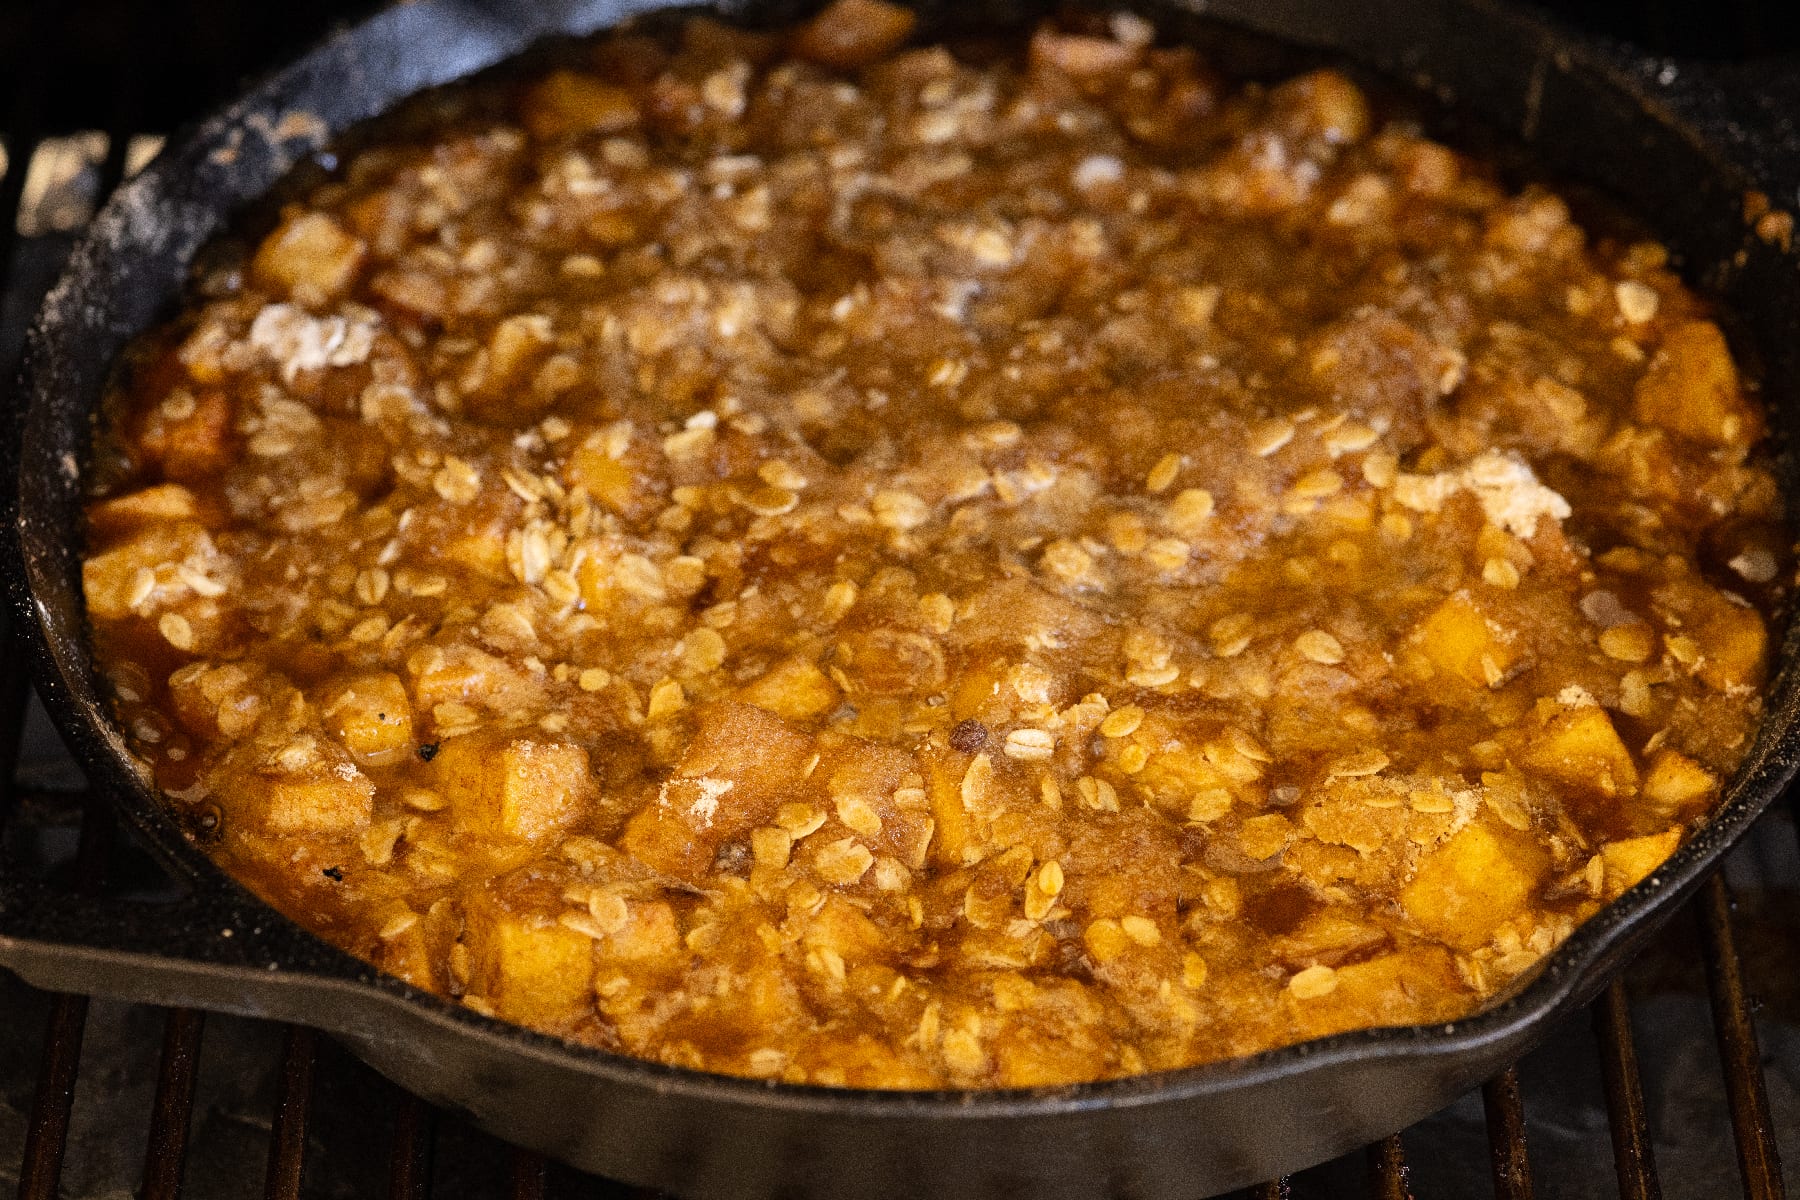
- Bake your crisp. Once it’s evenly coated, place assembled apple crisp in your oven or on grill for around 45 minutes. You want to cook it until that sweet apple filling is bubbling and your streusel topping has a beautiful golden brown crust.
- Cool, serve, enjoy. You’ll want to allow your crisp to set and cool in your skillet for about 5 minutes. Then you’re ready to go. Dish it up and serve with some of your favorite ice cream.
How to Store Apple Crisp
A fresh baked apple crisp stored in an airtight container or zip top bag can be left out on the counter for 1-2 days. If your party fights the urge to finish this in one sitting, it will keep in the refrigerator for 4-5 days in the same container or bag.
More Ways to Enjoy Apples on the Grill
Now that you know how easy and delicious this light alternative to pie can be, here are some of my favorite ways to enjoy apples on the grill, and even a few more crisp recipes.
- Cinnamon Grilled Apples
- Smoked Apple Pie
- Peach Crisp in a Skillet
- Skillet Bacon Apple Crisp with Salted Bourbon Caramel
Skillet Apple Crisp Recipe
Follow the recipe below and you’ll be making this Skillet Apple Crisp in no time. You can find this and hundreds more of my personal favorite recipes on the Hey Grill Hey app. Be sure to check out Hey Grill Hey on YouTube, Instagram, and Facebook, to help you feed the people you love, and become a backyard BBQ hero.
Easy Skillet Apple Crisp
Video
Ingredients
Filling
- 4 pounds apples Granny Smith or honey crisp, sliced
- 2 Tablespoons all-purpose flour
- 1½ cup dark brown sugar
- 1 lemon zest
- 1 teaspoon ground cinnamon
- ½ teaspoon ground nutmeg
- 1 pinch Kosher salt
Topping
- ½ cup salted butter cold, cut into pieces
- ½ cup rolled oats
- ½ cup all-purpose flour
- ½ cup dark brown sugar
- ¼ cup sugar
Instructions
- Preheat grill and skillet. Set your oven or pellet grill to 350 degrees F. Preheat your cast iron skillet.
- Make filling. In a large bowl, combine all ingredients for the filling and mix gently with a rubber spatula to coat. Transfer filling to a 12 inch cast iron skillet.4 pounds apples, 2 Tablespoons all-purpose flour, 1½ cup dark brown sugar, 1 lemon, 1 teaspoon ground cinnamon, ½ teaspoon ground nutmeg, 1 pinch Kosher salt
- Prepare topping. In a separate bowl, combine all ingredients for the topping. Use your fingers to break up the butter and mix it with the dry ingredients. Sprinkle the topping on the apples, covering most of the filling.½ cup salted butter, ½ cup rolled oats, ½ cup all-purpose flour, ½ cup dark brown sugar, ¼ cup sugar
- Bake Crisp. Bake the apple crisp for around 45 minutes, or until the filling is bubbling and the topping is golden brown.
- Cool, serve, enjoy. Allow to cool and set for 5 minutes before dishing up and serving with ice cream.
Nutrition
Nutrition information is automatically calculated, so should only be used as an approximation.
