Baby Back Party Ribs
On July 22, 2024 (Updated April 24, 2025)
This post may contain affiliate links. Please read our disclosure policy.
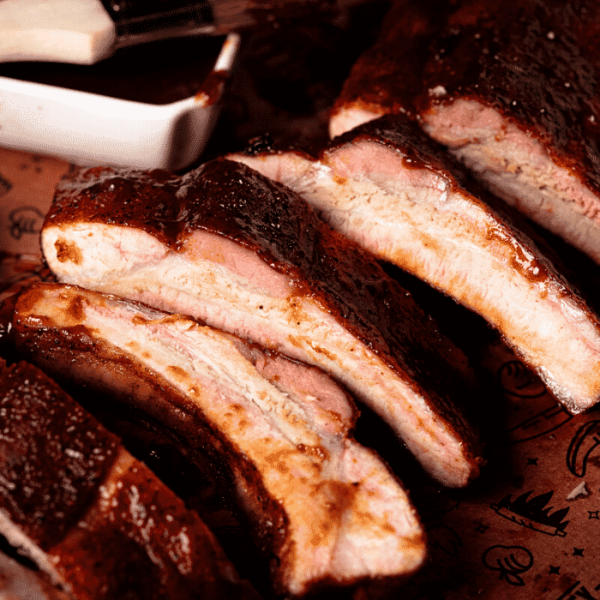
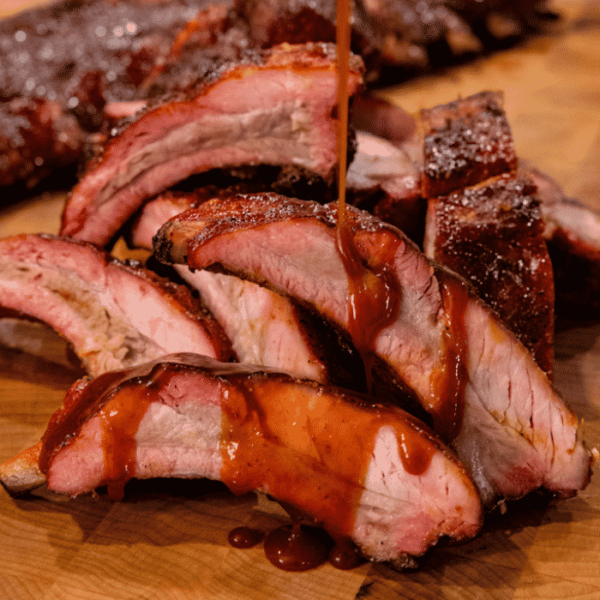
For a unique twist on ribs where everyone can have their own flavor in just over an hour, you have to give my Baby Back Party Ribs a try
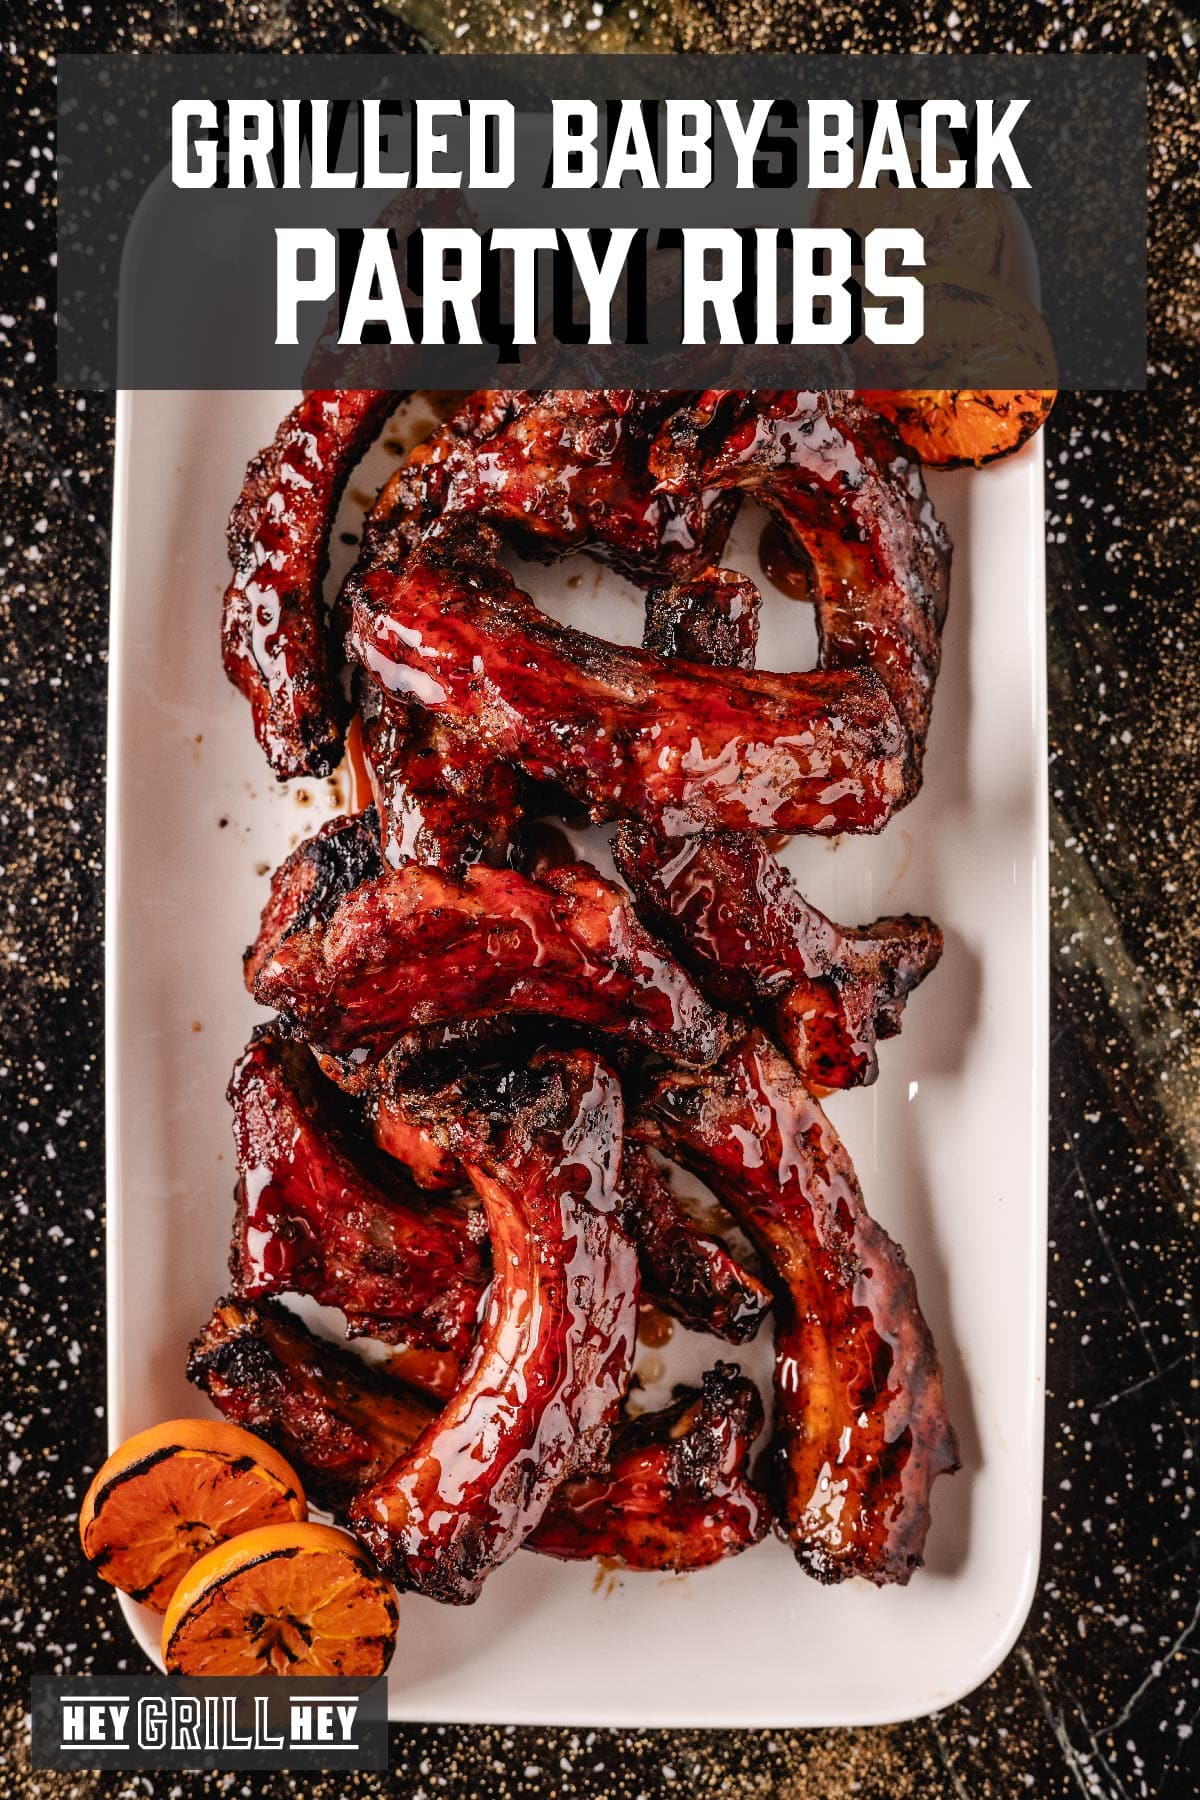
Baby Back Party Ribs
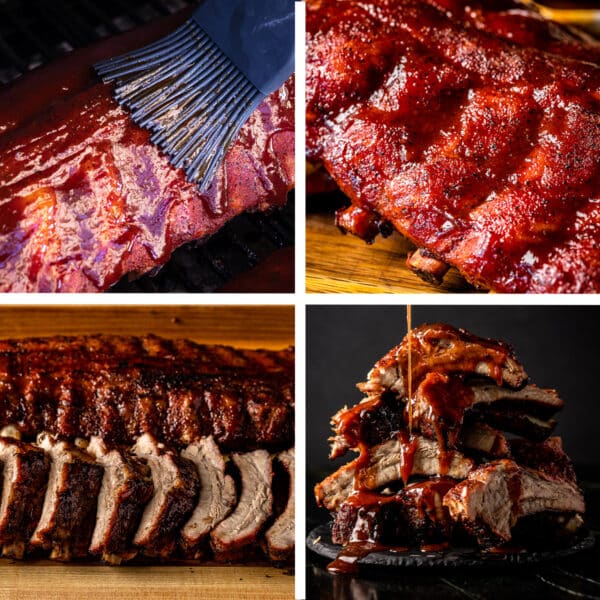
The name says it all, Baby Back Party ribs aren’t just a simple meal, they’re a BBQ party experience. Cut into individual ribs before seasoning and grilling, this recipe gives you a finished product bursting with BBQ flavor. Not only does this method double the surface area for your ribs to soak in your added flavors and smoky goodness, it gives you the option to make several different types of ribs all at the same time. This makes party ribs the ideal meat for, well, parties. No more picky eater problems with these guys. Everyone can have exactly what they want, all with a one-of-a-kind bite you just can’t get with a full rack of ribs.
What are party ribs?
Party ribs are a twist on traditional BBQ, and they’ve become a viral trend. Instead of cooking a whole rack, individual ribs are separated before seasoning and grilling. This method allows for faster grilling times, more surface area for your rub, and the ability to customize for everyone at your gathering. Party ribs cook differently than a full rack, offering more flavor flexibility and a totally unique experience.
Baby Back, Spare, and St. Louis Ribs
While you can make party ribs from any cut, I use baby back ribs for this recipe. Compared to spare ribs or St. Louis style, baby backs are leaner, more tender, and cook faster. They come from the upper part of the pig’s rib cage, near the loin. Baby backs have a curve and are shorter than spare ribs, making them perfect for individual serving. Their meat-to-fat ratio also provides you with some serious flavor.
You can learn more about what makes this cut so special in my post on Baby Back Ribs Basics.
Trimming Baby Back Ribs
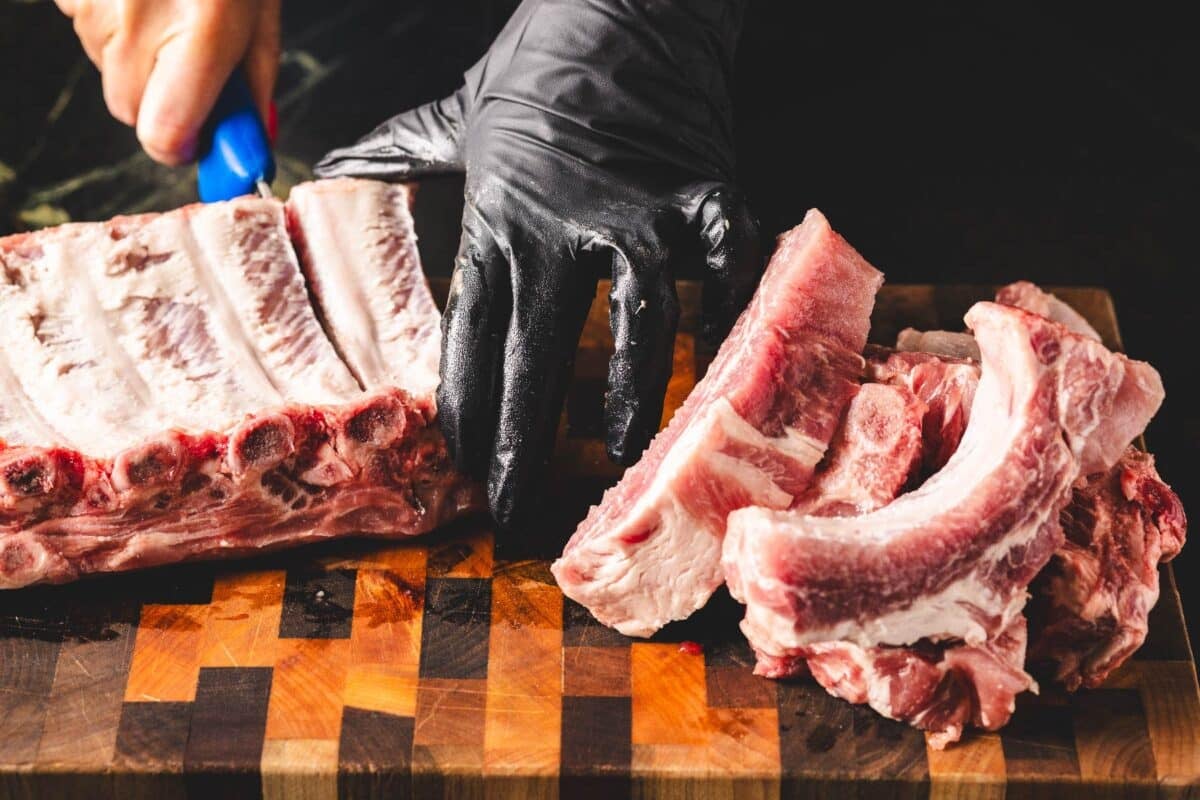
Making the best baby back party ribs all starts with trimming and slicing them. Start by removing the membrane from the back of the ribs. This tough layer can prevent seasonings from penetrating and becomes chewy when cooked. Use a paper towel for grip and peel it off in one piece if possible. Trim any excess fat, but leave a thin layer for flavor and moisture.
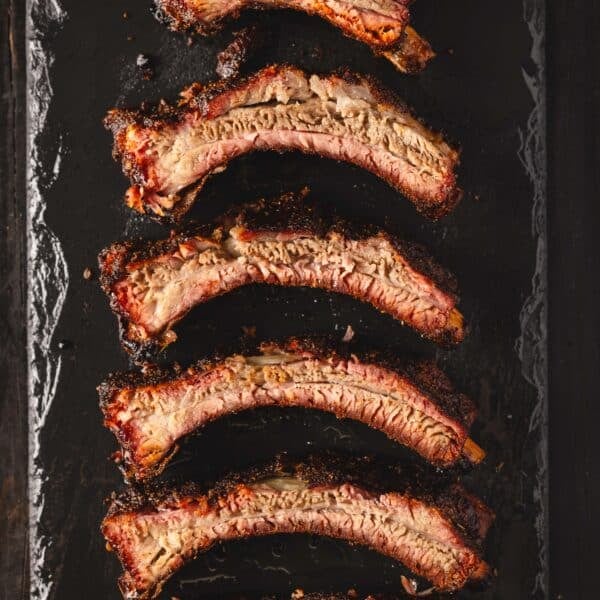
Next up, it’s time to slice your ribs. That’s right, the secret to these baby back party ribs is slicing them before seasoning and grilling. Use a sharp knife to carefully separate each rib between the bones. This allows for a much shorter cooking time because each rib is getting heat on all sides. It also helps seasoning coat more surface area and creates those coveted crispy edges.
Ingredients for This Recipe
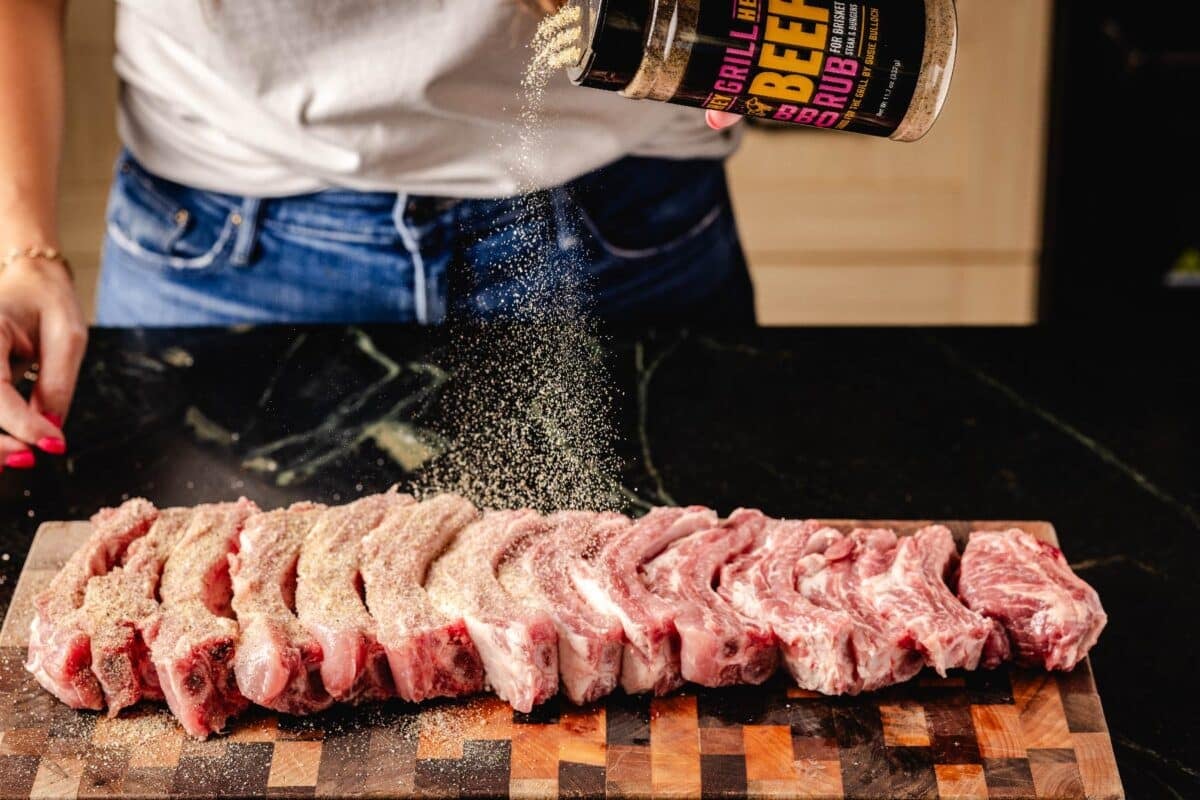
For this recipe, I start by seasoning the individually sliced ribs on all sides before putting them on the grill. Then, once the ribs get close to being done, I hit them with some glaze before finishing them off. Here’s what I use for this recipe:
- 2 racks baby back ribs (trimmed and sliced)
- 2 Tablespoons Beef Rub (or equal parts salt, pepper, and garlic powder)
- 1 cup Spiced Citrus BBQ Glaze
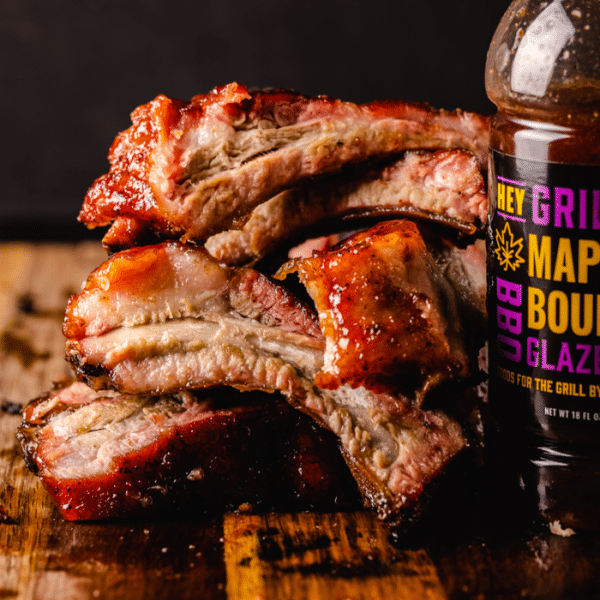
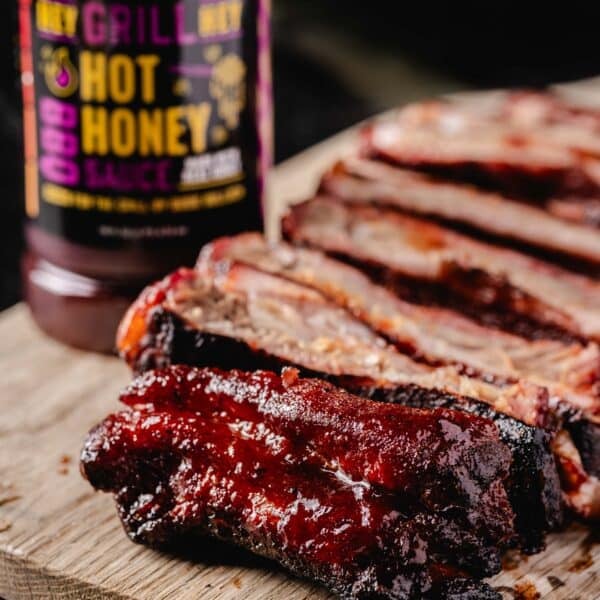
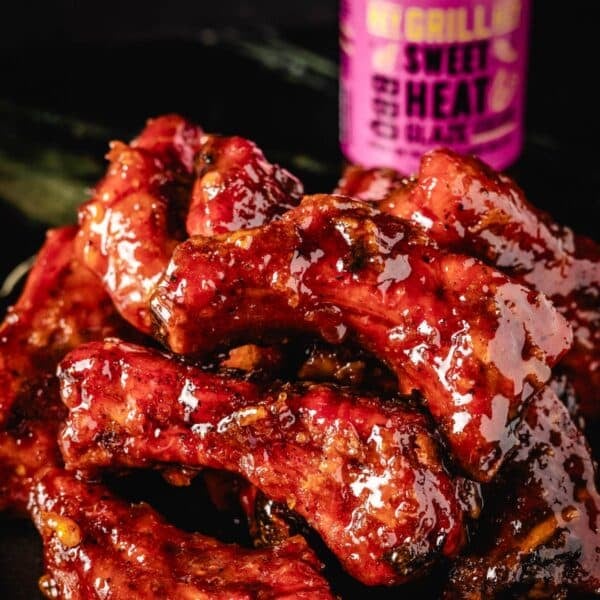
Keep in mind that you can totally customize this recipe. Not only can you use a rub and sauce you prefer, but you can get crazy with customizing these party ribs. Because you slice the ribs before seasoning, you can make multiple flavor profiles in the same cook. Check out the Hey Grill Hey store for more rubs, sauces, and glazes you can use.
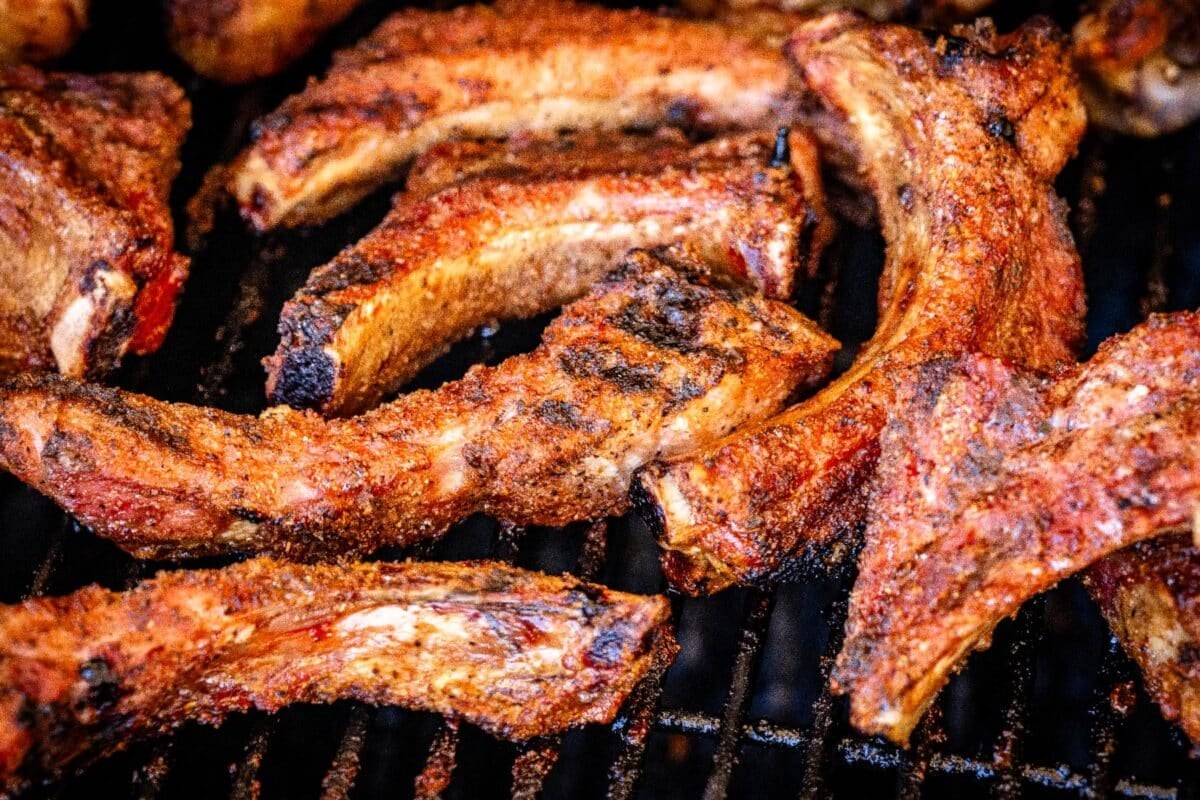
How Long to Grill Ribs
Once you’ve seasoned your ribs and picked out the perfect glaze, it’s time to get grilling. I make these party ribs using the two-zone grilling method, which means setting half your grill with heat and the other with indirect heat. If you want a refresher on grilling this way, check out my post on how to cook with Two-Zone Grilling. You want an overall temperature of around 350 degrees F, and then you’re ready to make some party ribs.
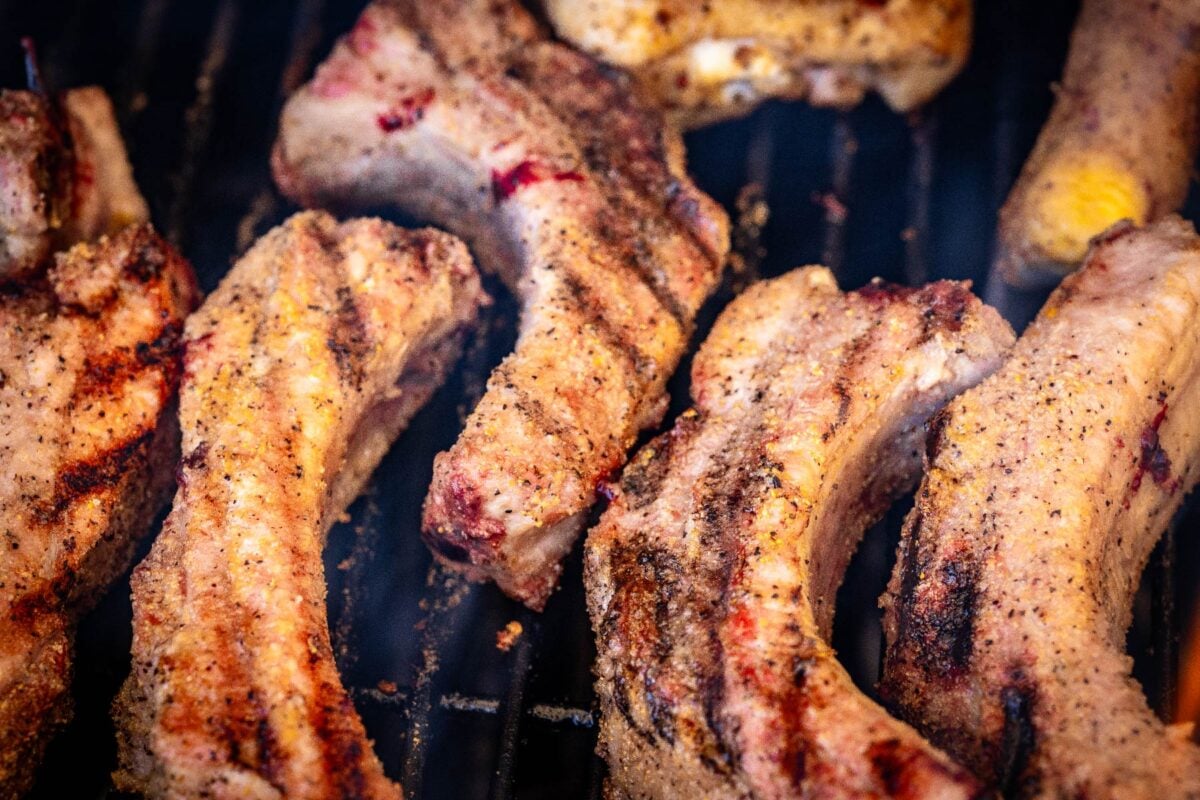
First, place your seasoned ribs on the indirect heat side of your grill and close the lid. You want to grill for 45 minutes to an hour, flipping 3-4 times throughout. This will ensure your single ribs cook evenly on all sides. Then, hit your ribs with the glaze and move them to the direct heat side of your grill to develop a nice bark. If you want a smoother, smokier finish, stick to the indirect heat.
When your ribs reach an internal temperature of 205 degrees F using a reliable instant-read thermometer, go ahead and transfer them to a serving platter to cool for a few minutes before serving.
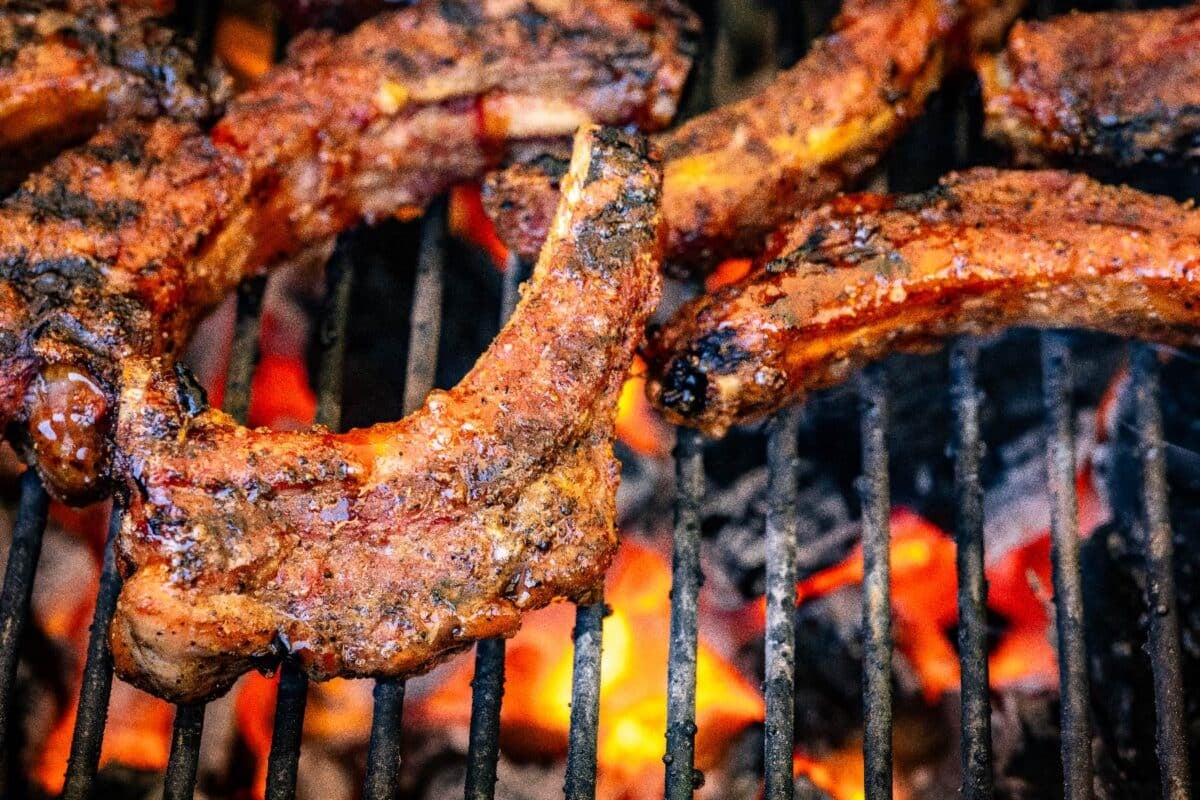
How to Make Party Ribs on the Grill
Alright, you’ve got your ribs trimmed and sliced for individual grilling, hit them with some Beef Rub, now it’s time to get them on the grill. Follow these simple steps for party ribs your guests will keep coming back for:
- Preheat grill. Set up your grill for two-zone cooking, aiming for an overall temperature of 350 degrees F. This gives you indirect heat to bring your ribs to temp while rendering the fat for that unmistakable pork flavor, and direct heat to help them finish strong.
- Trim and slice ribs. First, remove the membrane by lifting a corner with your finger or a butterknife. Then, carefully separate the ribs by slicing between the bones with a sharp knife. This crucial step is what makes them into party ribs, with a unique barky bite all the way around.
- Season Ribs. After your ribs are sliced, generously coat each one with some of my Beef Rub, or whatever seasoning you love on your ribs. Remember, you can customize this recipe with multiple flavors so everyone can have their favorite.
- Grill ribs. Next, place your seasoned ribs on the indirect heat side of your grill. Let them cook for 45-60 minutes, rotating 3-4 times to get a nice, even cook all the way around. This slow process allows the fat to render and the meat to tenderize.
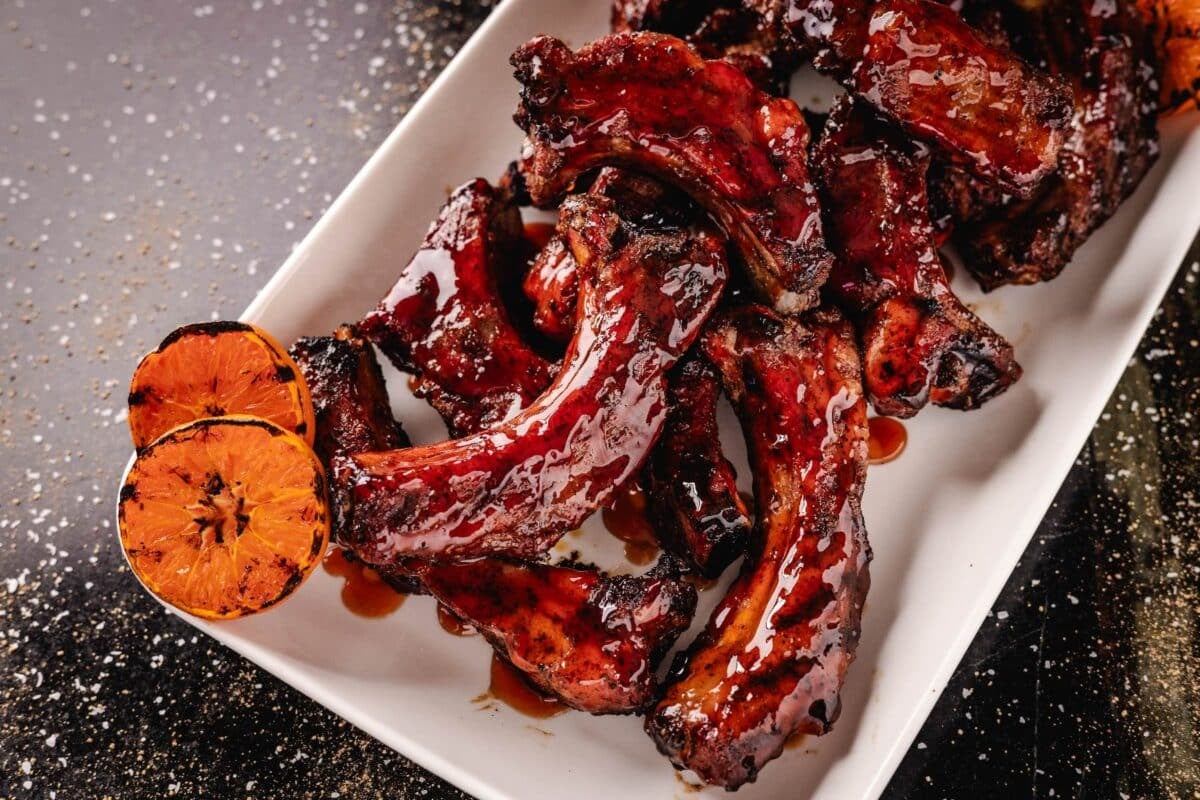
- Glaze and finish. Once your ribs reach an internal temperature of around 195 degrees F, hit them with some Spiced Citrus BBQ Glaze, or your favorite BBQ sauce. Move your glazed ribs over direct heat and continue grilling until they reach 205 degrees F.
- Rest and serve. Transfer the ribs to a cutting board and let them rest for 5 minutes before serving. Be prepared, they’re going to go fast.
More Rib Recipes
If these party ribs left you wanting even more porky rib goodness, then make sure you check out the Hey Grill Hey app. I’ve got dozens more rib recipes for fans of every flavor you can try next, or for some inspiration for your party ribs. Here are a few of my favorites to kickstart your next party:
Easy Baby Back Party Ribs Recipe
Throw a flavor party with these Baby Back Party Ribs, and give this recipe a 5-star rating if you loved making it. If you want to hone your rib skills even more, head over to The Grill Squad. I’ve got an in-depth class on how to make pork ribs, including how-to videos and a workbook to help you every step of the way. I’ve also got some awesome BBQ 101 videos up on my YouTube channel to help you on your journey to become a backyard BBQ hero.
Baby Back Party Ribs
Ingredients
- 2 racks baby back ribs
- 2 Tablespoons Hey Grill Hey Beef Rub or equal parts salt, pepper, and garlic powder
- 1 cup Hey Grill Hey Spiced Citrus BBQ Glaze or your favorite BBQ sauce
Instructions
- Trim and slice ribs. Remove the white membrane from the bone side of your ribs using a paper towel. Using a sharp knife, remove slice your ribs between the bones for individual grilling, then arrange them for seasoning.2 racks baby back ribs
- Season Ribs. Season your ribs on all sides with Beef Rub, or equal parts salt, pepper, and garlic powder.2 Tablespoons Hey Grill Hey Beef Rub
- Grill ribs. Place your ribs on the indirect heat side of your grill. Allow them to cook for 45 minutes to an hour, or until they reach an internal temperature of 195-200 degrees F.. Rotate your ribs 3-4 times to give all sides even heat.
- Glaze and finish. Glaze your ribs with Everything BBQ Sauce, or your favorite BBQ sauce. The benefit or party ribs is you can use multiple sauces for different flavor options. Give your ribs around 5 minutes to grill until they reach an internal temperature of 205 degrees F. If you want more char, finish on the direct heat side of your grill. If you like a softer, smokier rib, then finish over indirect heat.1 cup Hey Grill Hey Spiced Citrus BBQ Glaze
- Rest and serve. Remove your ribs to a cutting board, then allow them to cool for 5 minutes before serving. Your ribs are already sliced, so they’re ready to enjoy once rested.
Nutrition
Nutrition information is automatically calculated, so should only be used as an approximation.



Tried this one out today.
Using a Traeger, I had to bump the temp a little higher, but it was a huge hit!!!
Who knew ribs in less than 90 minutes would have so much flavor and be so perfect.
I did let them rest for 20 minutes in a covered aluminum pan with some apple juice in the bottom prior to serving.
Thank you for this one
How would you tweak this recipe for a pellet grill? I don’t really have a 2 zone option. Thank you
You can do the first part in your pellet grill at 275 degrees F, which should take 45 minutes to an hour. Remember though, use a meat thermometer and go off the internal temperature of your ribs. Then I would crank up the heat to high to finish after glazing.
These were a huge hit. No more fighting over the end of the rack. Every piece is like an end piece, so good!
I have a electric grill how would I cook on that grill
You can set your grill up for two-zone heat, with one side hot and the other side off. You can also just set the temperature for each stage separately. Play around with it and see which method works best for what you want.