Smoked Pulled Beef Chuck Roast
On December 14, 2020 (Updated August 27, 2024)
This post may contain affiliate links. Please read our disclosure policy.
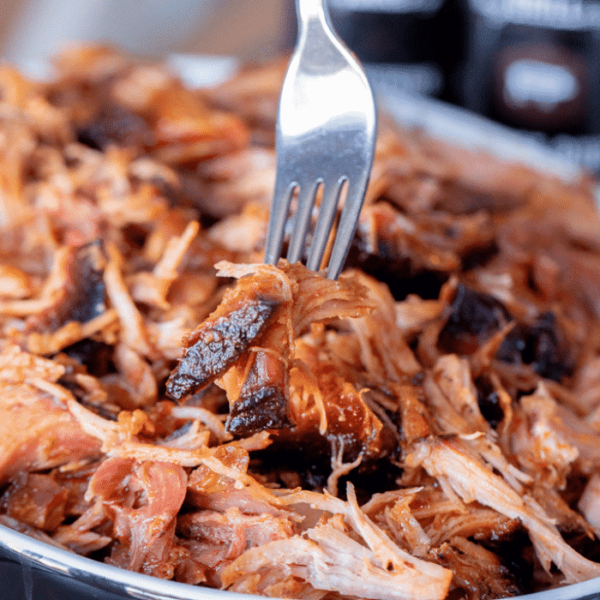
moked Pulled Beef Chuck Roast is like best Sunday pot roast you’ve ever had with an extra kiss of smoked flavor you never knew you wanted. Tender, melt in your mouth, full of beefy flavor.
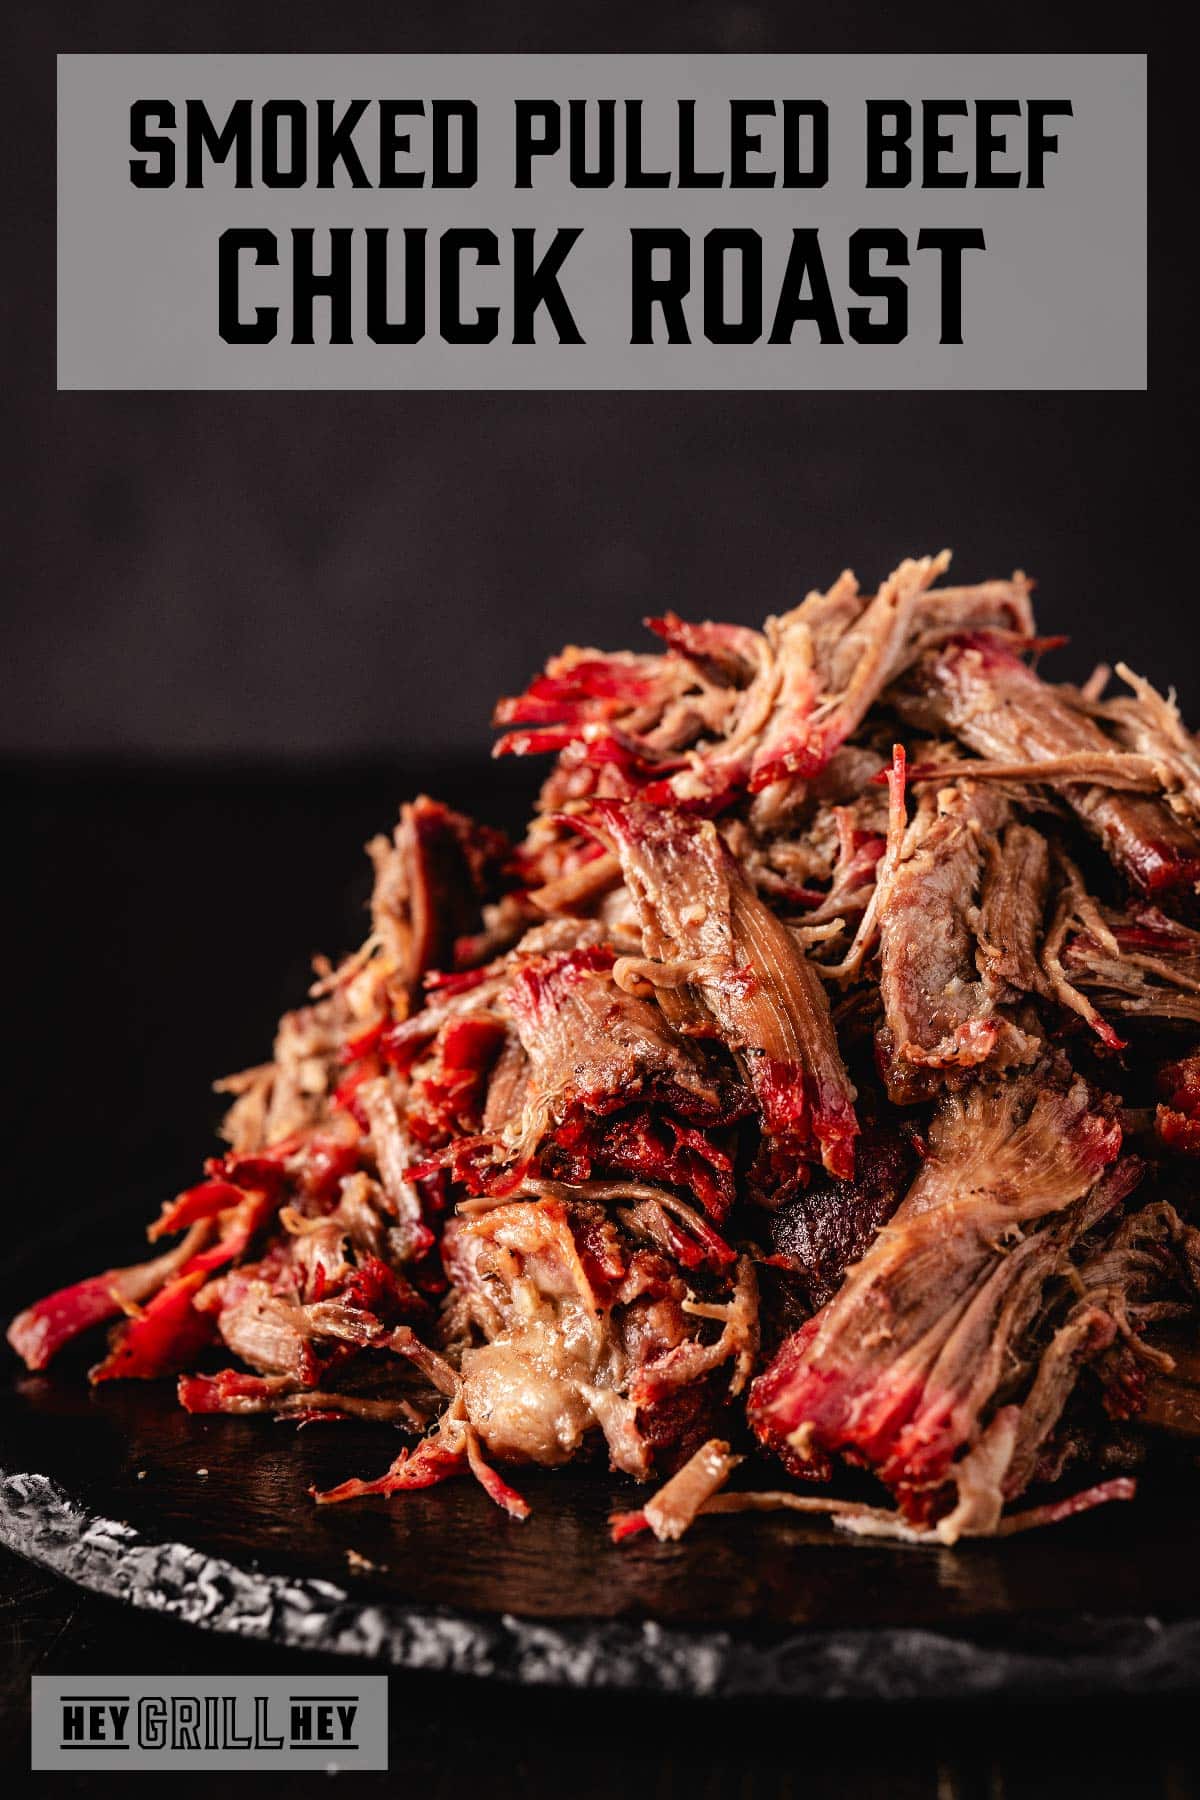
Smoked Chuck Roast
Chuck roasts are well marbled pieces of beef with some really tight connective tissue. They tend to be a tougher cut of meat, but some TLC from the smoker can make them ultra tasty. By smoking a chuck roast low and slow, you allow that fat to slowly render and the low heat to break down and soften that connective tissue that can make chuck roasts chewy.
Chuck roasts are popular for making pot roast, and while many folks are familiar with cooking these in a slow cooker or oven, smoking them is the way to go, IMHO.
You also can’t go wrong with this recipe! It’s beyond easy to make with only 4 INGREDIENTS. Yes. You heard me. Four. Chuck roast, onion, beef stock, and some nummy beef seasoning are all that stand between you and dinner.
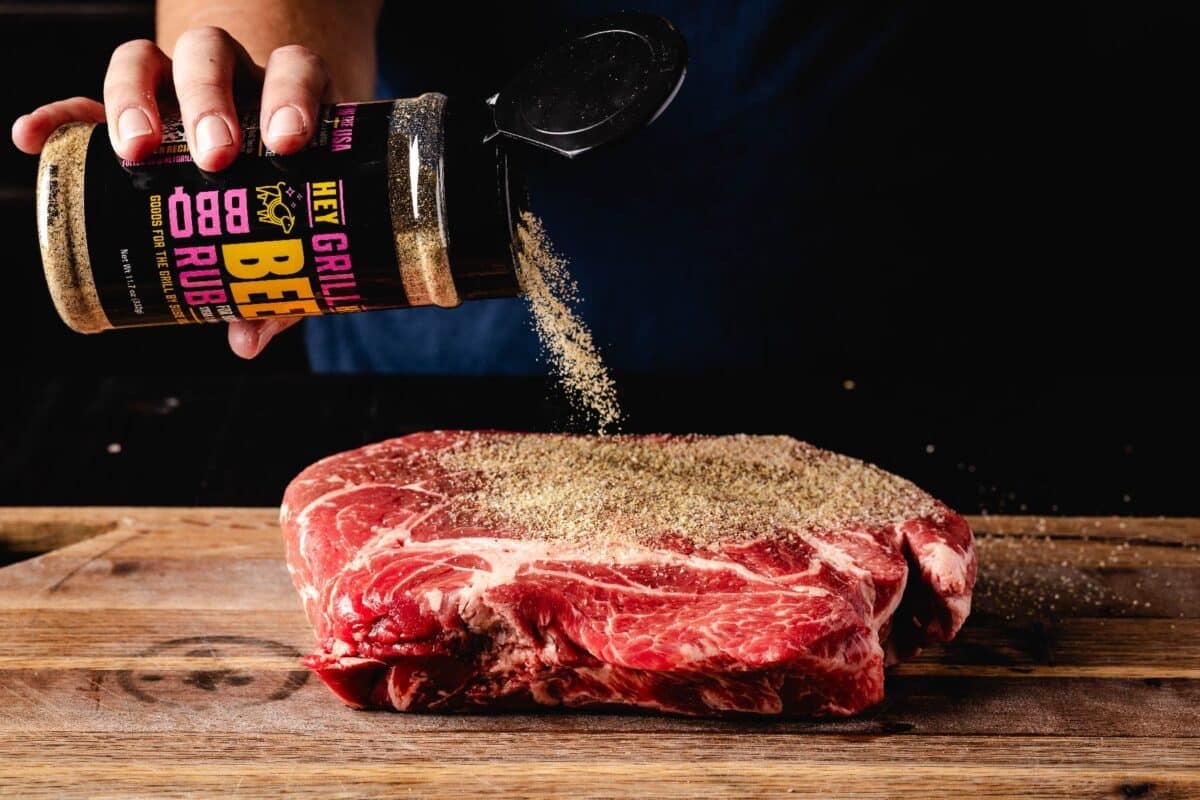
How to Smoke a Chuck Roast for Pulled Beef
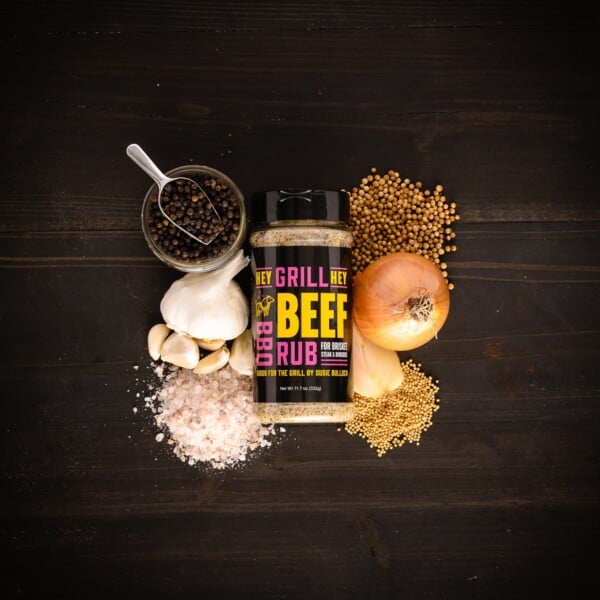
I season my chuck roasts liberally with my Signature Beef Seasoning, but you can also use equal parts salt, pepper, and garlic powder to add flavor without masking or covering up the beef. From there, the chuck roast hits the smoker at 225 degrees F. I use oak wood for this recipe, because I feel like oak can really stand up and support that rich beef flavor. While the chuck roast smokes during this first step, I like to spritz with beef stock every hour to keep things moist.
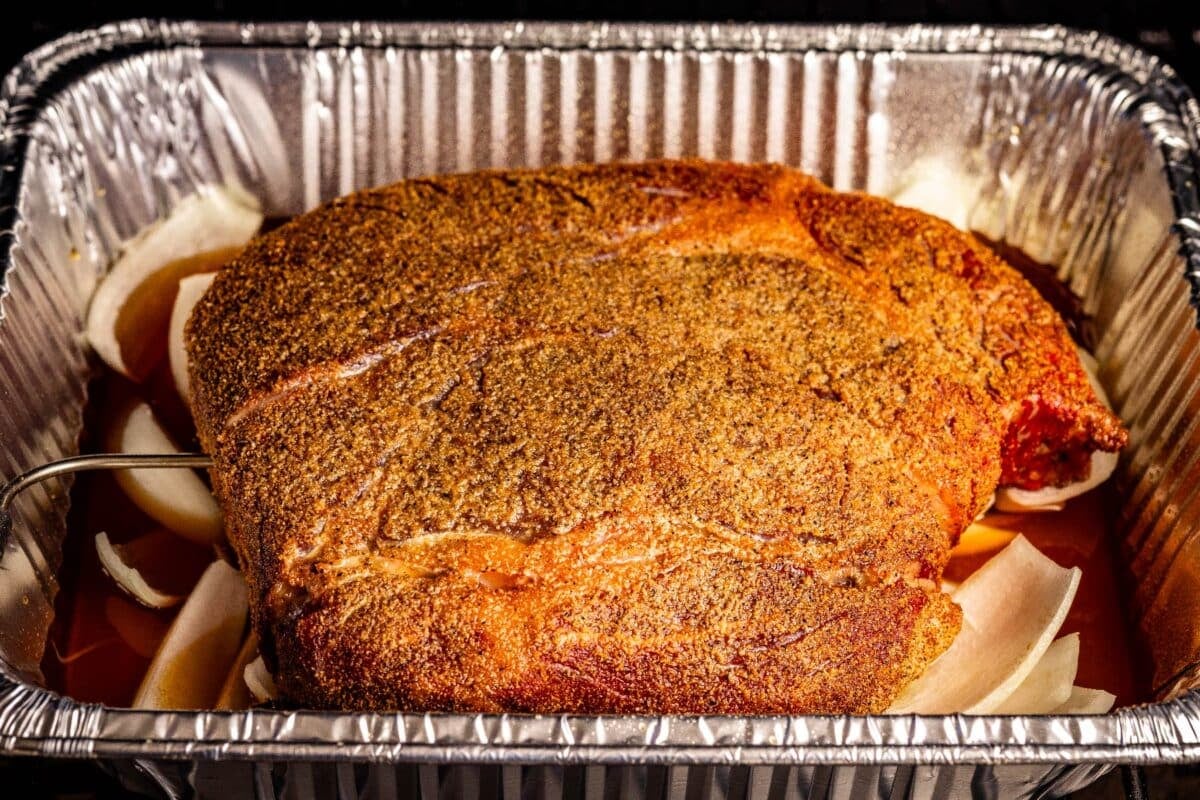
Next step is to increase the heat on the smoker to 250 degrees F. Add the smoked chuck roast to a pan of beef stock and onions and return to the smoker to keep on cooking! You’re shooting for an internal temperature of 165 degrees F before you cover the whole pan tightly with foil and let that chuck roast finish cooking.
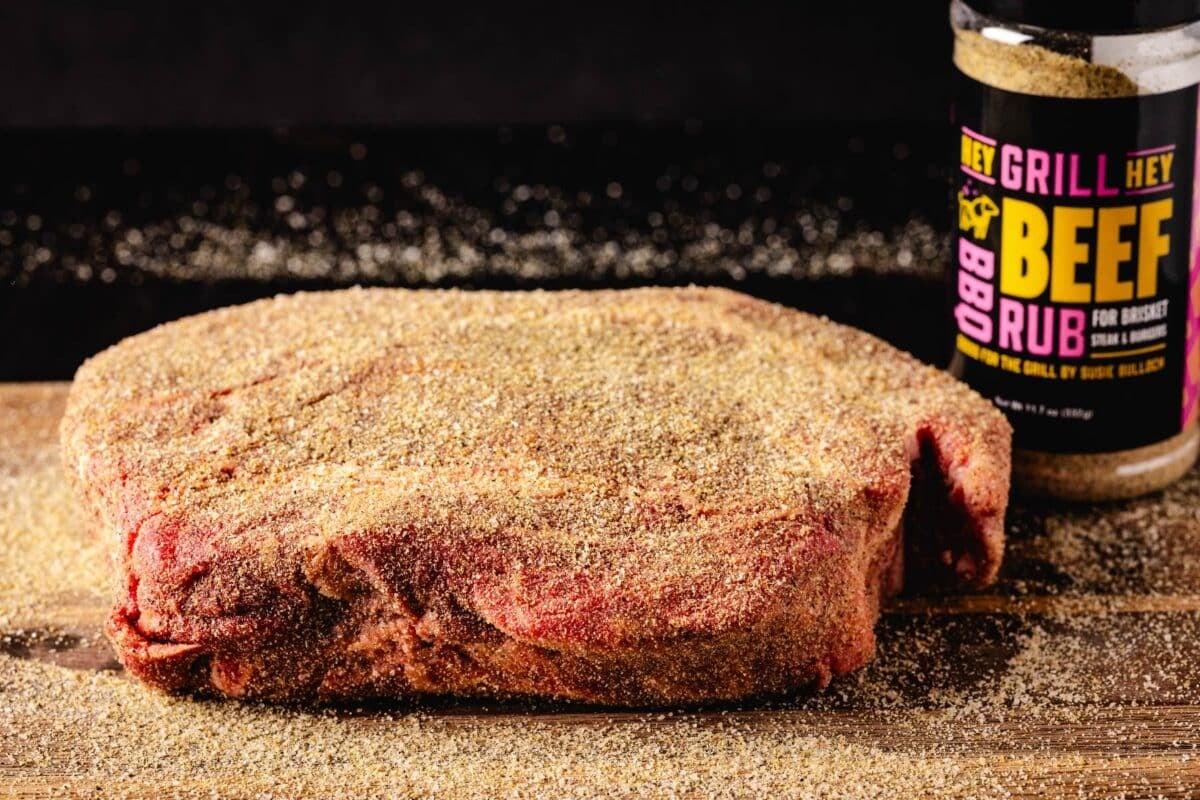
Internal Temperature for Smoked Chuck Roast
My recommended internal temperature for chuck roast is at least 200 degrees F. At that temperature, the connective tissues in the chuck will have broken down and gelatinized so they just melt in your mouth. Since we also covered the roast and braised in liquid, the roast will be incredibly juicy and tender as well.
If you don’t already own one, I really recommending getting a high quality instant read thermometer. I’ve used Thermoworks products for years and love their quality.
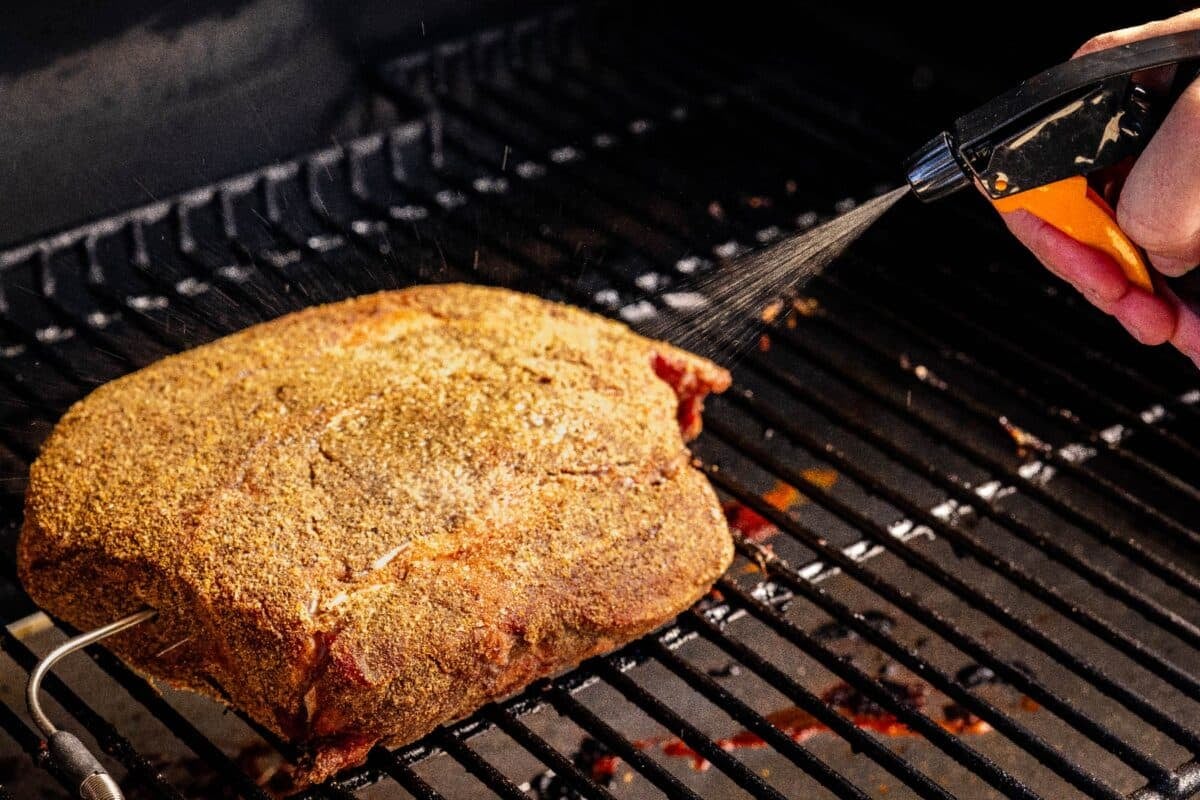
Tips for Smoking Pulled Beef
Hold up, meat lover! Before you dive into this tasty recipe, check out these tips for getting the most out of your meat:
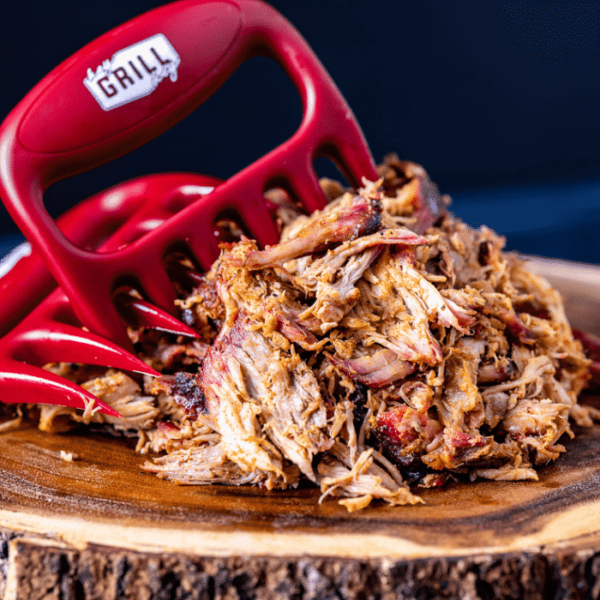
- Grab some claws. Snag some meat shredders to make quick work of shredded the meat.
- Cook to tenderness, not time or temperature. Getting your roast up above 200 degrees is where you’ll start to see the roast get tender. Some chuck roasts need to hit 210 before they are ready to shred. Keep checking for tenderness and meat that easily pulls apart.
- Add your favorite flavors! Beef broth and onions are classic flavors. You could also add in herbs, red wine, potatoes, carrots, or mushrooms to braise with the beef.
More Pulled Meat Recipes
Whether you’re a fan of pulled beef, chicken, or pork, Hey Grill Hey has all the recipe to keep your meat tooth satisfied! Check out more tasty recipes below!
Smoked Chuck Roast Recipe
Smoked Chuck Roast (for pulled beef)
Video
Equipment
- Smoker I highly recommend this one!
Ingredients
- 1 chuck roast 3-4 pounds
- 1 yellow or white onion sliced
- 3 cups beef stock divided use
- 3 Tablespoons Hey Grill Hey Beef Rub or equal parts salt, pepper, and garlic powder.
Instructions
- Preheat the smoker. When ready to cook, start your smoker going at 225 degrees F and preheat with the lid closed, for 10 to 15 minutes.
- Season the chuck roast. Season the roast liberally with the Beef Seasoning (or equal parts salt, pepper, and garlic powder), using your hands to press the rub into every surface of the meat. (Optional, rub your meat the night before smoking and refrigerate).1 chuck roast, 3 Tablespoons Hey Grill Hey Beef Rub
- Smoke the roast. Put the roast directly on your grill grate, fat-side up, and cook for 3 hours, spraying with 1 cup of the beef stock every hour (reserve the other 2 cups of stock).3 cups beef stock
- Add the broth and onions. Place the sliced onions in the bottom of a large disposable aluminum foil pan and pour the remaining 2 cups of stock in the bottom of the pan. Transfer the roast into the pan on top of the onions and set the pan in the grill.3 cups beef stock, 1 yellow or white onion
- Finish smoking. Increase your grill temperature to 250 degrees F, and cook until the internal temperature reaches 165 degrees F (about 3 more hours). If you're watching a thermometer, you'll notice the temperature will stay between 155 and 165 degrees for quite a while. This is called the stall period and is totally normal.
- Cover with foil. Once your roast hits 165, cover the pan tightly with aluminum foil and continue cooking until an instant-read meat thermometer inserted in the thickest part of the meat registers at least 200 degrees, up to 202 degrees F (this step can take another 3 hours). Every roast will be done at a slightly different temperature, so look for your probe to slide into the meat like it is sliding into softened butter.
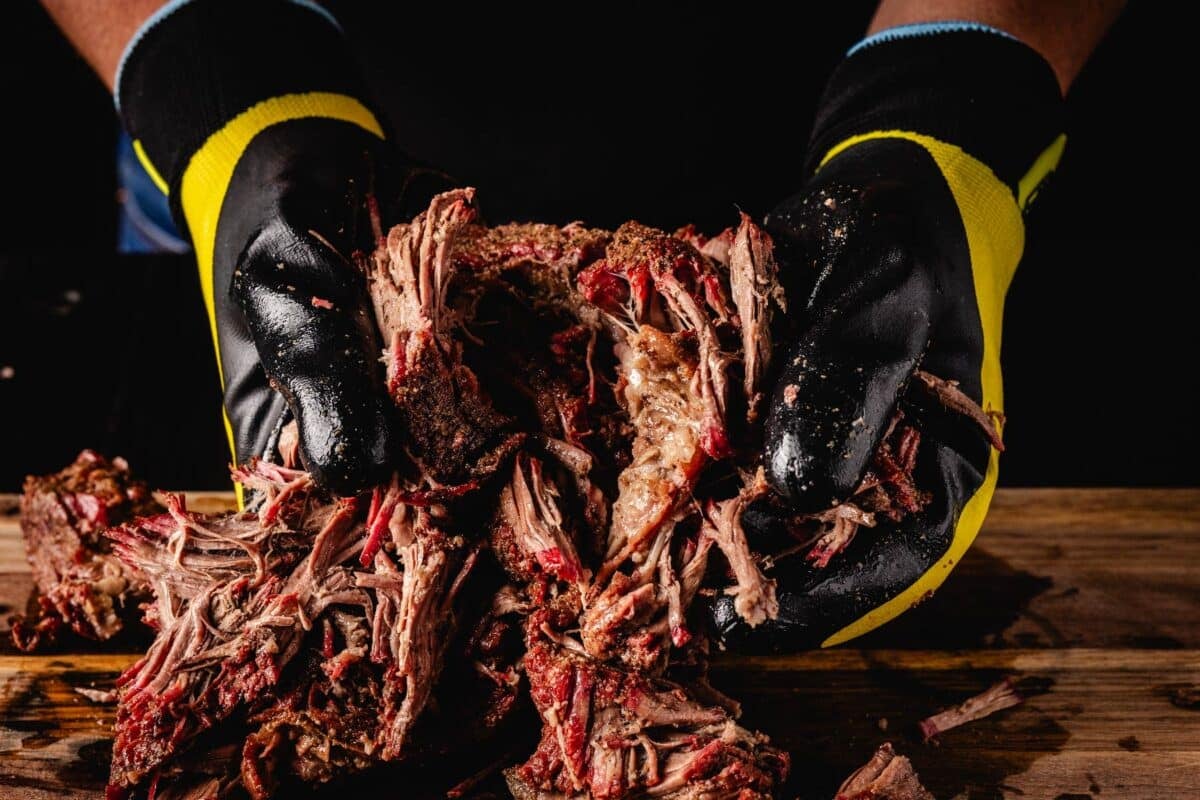
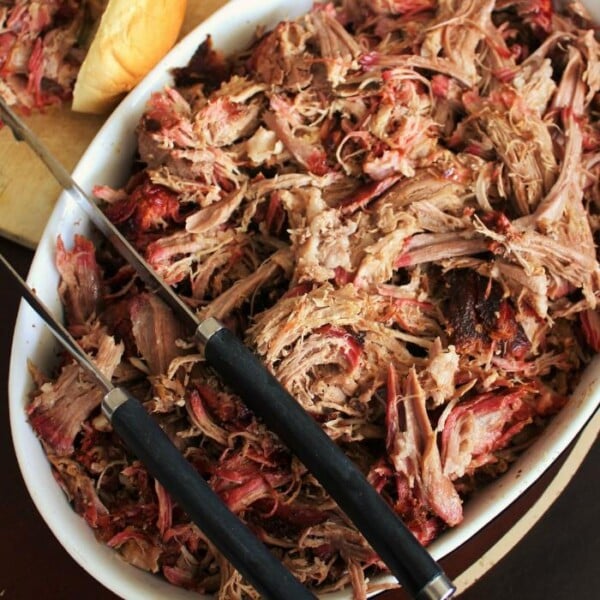
- Rest, shred, and enjoy. Remove the pan from the smoker and let rest for 15 minutes. Separate the roast from the cooking liquid. Shred the roast and separate the fat from the cooking liquid. Moisten the roast with the remaining cooking liquid, or make it into au jus for dipping, or turn it into gravy.
Notes
Nutrition
Nutrition information is automatically calculated, so should only be used as an approximation.
**This post was originally published in March 2018. We recently updated it with more information and helpful tips. The recipe remains the same.

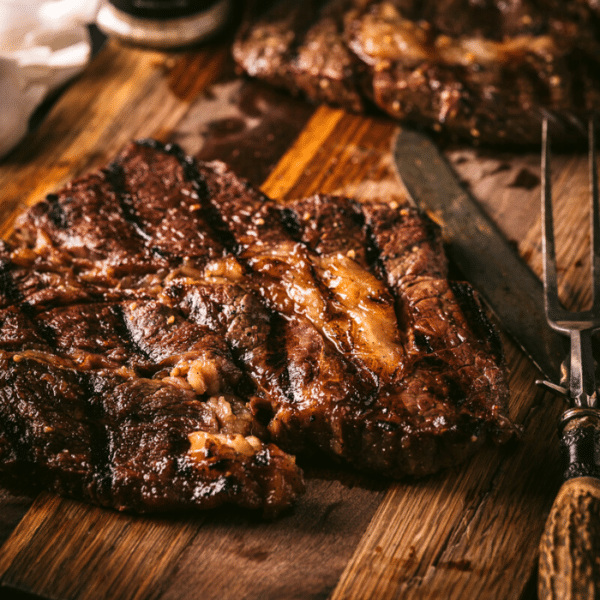
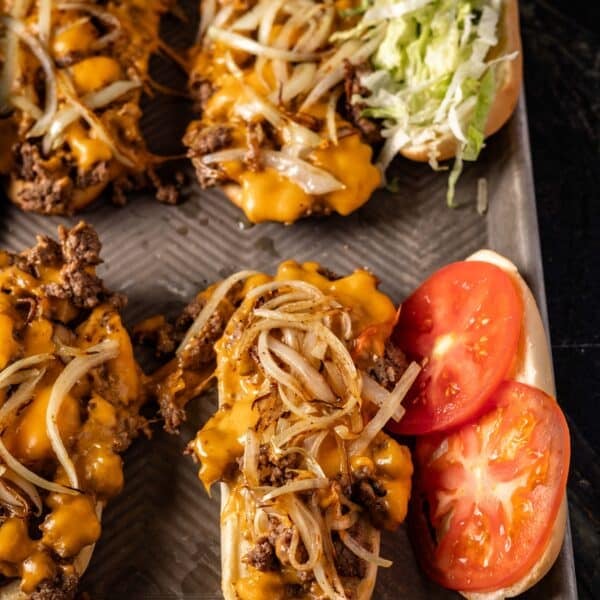


Made this recipe today. 3.25lb chuck roast. It was amazing!!!! Followed the recipe exactly, except let it go 3 1/2 hours in the broth uncovered to get to 165 degrees. 9 1/2 hours total cooking time. 207 degrees when we took it off. Had a nice red ring. Took your advice and put it on ciabatta rolls for the best french dip ever.
Fantastic! I’m glad it worked out so well for you!
I cooked this yesterday, using mesquite. Turned out EXCELLENT. I modified slightly by using 1/2 beef stock, 1/2 cheap burgundy for the braising liquid. Made that into a gravy, seasoned with some thyme & rosemary, thickened with corn starch and cut a bit with some additional beef stock. Served with creamy mashed potatoes & baby carrots. Raves from my partner & her daughter.
I’m still new to smoking, so I don’t have a great feel for probe testing yet. In hindsight, I should have left the chucks on the smoker braising for a bit longer, they could have been slightly more tender. I also will use a milder wood next time. But I’m very happy with the result, and I’m learning what I like!
This is awesome Dan!!
This is one of my new secret recipes.
Haven’t done this yet, but how does gravy turn out using the beef stock from the pan after the smoke? Anyone try this and can comment? Flour or corn starch?
Gravy turns out EXCELLENT! Ive only used flour and can tell you from personal experience that it tastes amazing.
Have a question. I have a Masterbuilt 40″ propane smoker. It was mentioned that the beef stock could be put in the water pan. Wouldn’t it still be okay to put the stock liquid and onions in the aluminum pan and put the roast on top of it? Also, should I put water in the water pan at the beginning of the smoking time for the 3 hours?
You can place the roast in the roasting pan if you would like. I am not familiar with your smoker, if the manufacturer recommends using a water pan, than I would follow that.
I am trying this today it’s a chilly 45 degrees this morning in alabama. I have the same smoker as you hope it turns out. Glad I found your website.
I followed this recipe for my first smoker attempt and it was great! Used electric smoker and kept water and wood pans filled and sprayed with broth every hour. Took all day, but was delicious! Thank you for sharing your recipes.
Thanks Chris! So happy you liked it!
HELP! I tried this and was a disaster. cooked 2 roasts (2.5-3 lbs each). 1 fresh, 1 frozen from different stores. followed recipe explicitly but with small size the covered cook took only 2 hours to reach 201. both pieces were a disaster. was able to get maybe 1 cup of meat but still tough. the remainder was tough as nails, grissly, totally unedible. I’m consider myself a pretty advanced griller, but this one really confuses me. thought it could be just the meat, but with each from a different store…just don’t know. NEED SOME SUGGESTIONS.
I just pulled mine off at 205 and still way too tough to shed
My experience is the smaller the roast the longer it takes to reach 200-203. Bigger is actually better in this case as well as making sure you have a well marbled piece of meat
Need some help here. I did 2 roast at about 2.5-3 lbs each. One fresh and one frozen. Followed directions explicitly, for covered portion they reach 201 in about 2 hours because of the size. They were a disaster…tough, grissly…i got about a cup of edible meat, although I thought even that was tough. Don’t know if it was the meat or what. Each cut came from a different store but it was all throw away. Suggestions?
Hmmm…I am wondering if the thermometer was in the wrong spot (like a chunk of fat) or something was off, because it should have taken a bit longer than 2 hours and the meat should have been very tender. My suggestion would be, next time, to keep an eye on the texture of the meat. You want your thermometer to just slide into the meat like it’s going into softened butter.
Hi. Can I use a Dutch oven instead of a foil pan?
You could, but you might want to preheat it first.
I just tried this recipe in my electric smoker. I followed all instructions as described. However, despite using a leave in thermometer(which is always accurate for me) and an instant read thermometer in multiple spots which confirmed the temperatures, the roast cooked a lot faster than the timeframes given, despite using a 4.5lb roast. Going by the temperature of the roast, it was done within 6 hours! However, when I tried to shred it, it was very dry and could not be pulled apart. So following my wife’s suggestion, I put it back in the pan covered, and put it in the oven at 225 for a few more hours. After it was done this time, it was soft as butter. My recommendation for doing a chuck roast like this is, don’t focus so much on the temperature, just make sure you follow her timeframes for cooking it. It’s difficult to get an accurate temp on a chuck roast, and even when you do, the length of time spent braising it is still more important than the temperature reading. Your gonna get to the temperatures you need if you follow the amount time she recommends cooking it for.
Thanks for sharing your experiences! I’ve never had the same phenomenon occur, the temps have always been my guide, but I’m so glad it all worked out in the end.
This is spot on. I had to cook mine to almost 210 degrees before it pulled really easy. Make sure you probe test before trying to shred.