Pulled Pork Stuffed Mac & Cheese Bombs
On October 12, 2016
This post may contain affiliate links. Please read our disclosure policy.
Making these Pulled Pork Stuffed Mac & Cheese Bombs for National Pulled Pork Day (October 12th!) was the highlight of my week! I partnered with Sonny’s BBQ on this post to help launch the first official #NationalPulledPorkDay and celebrate all of the things I love about one of my favorite meats. After thinking for weeks about the best way to prepare my pulled pork for this post, I caught a pic of some Sonny’s pulled pork egg rolls and I knew instantly that somehow, someway, my recipe was getting deep fried.
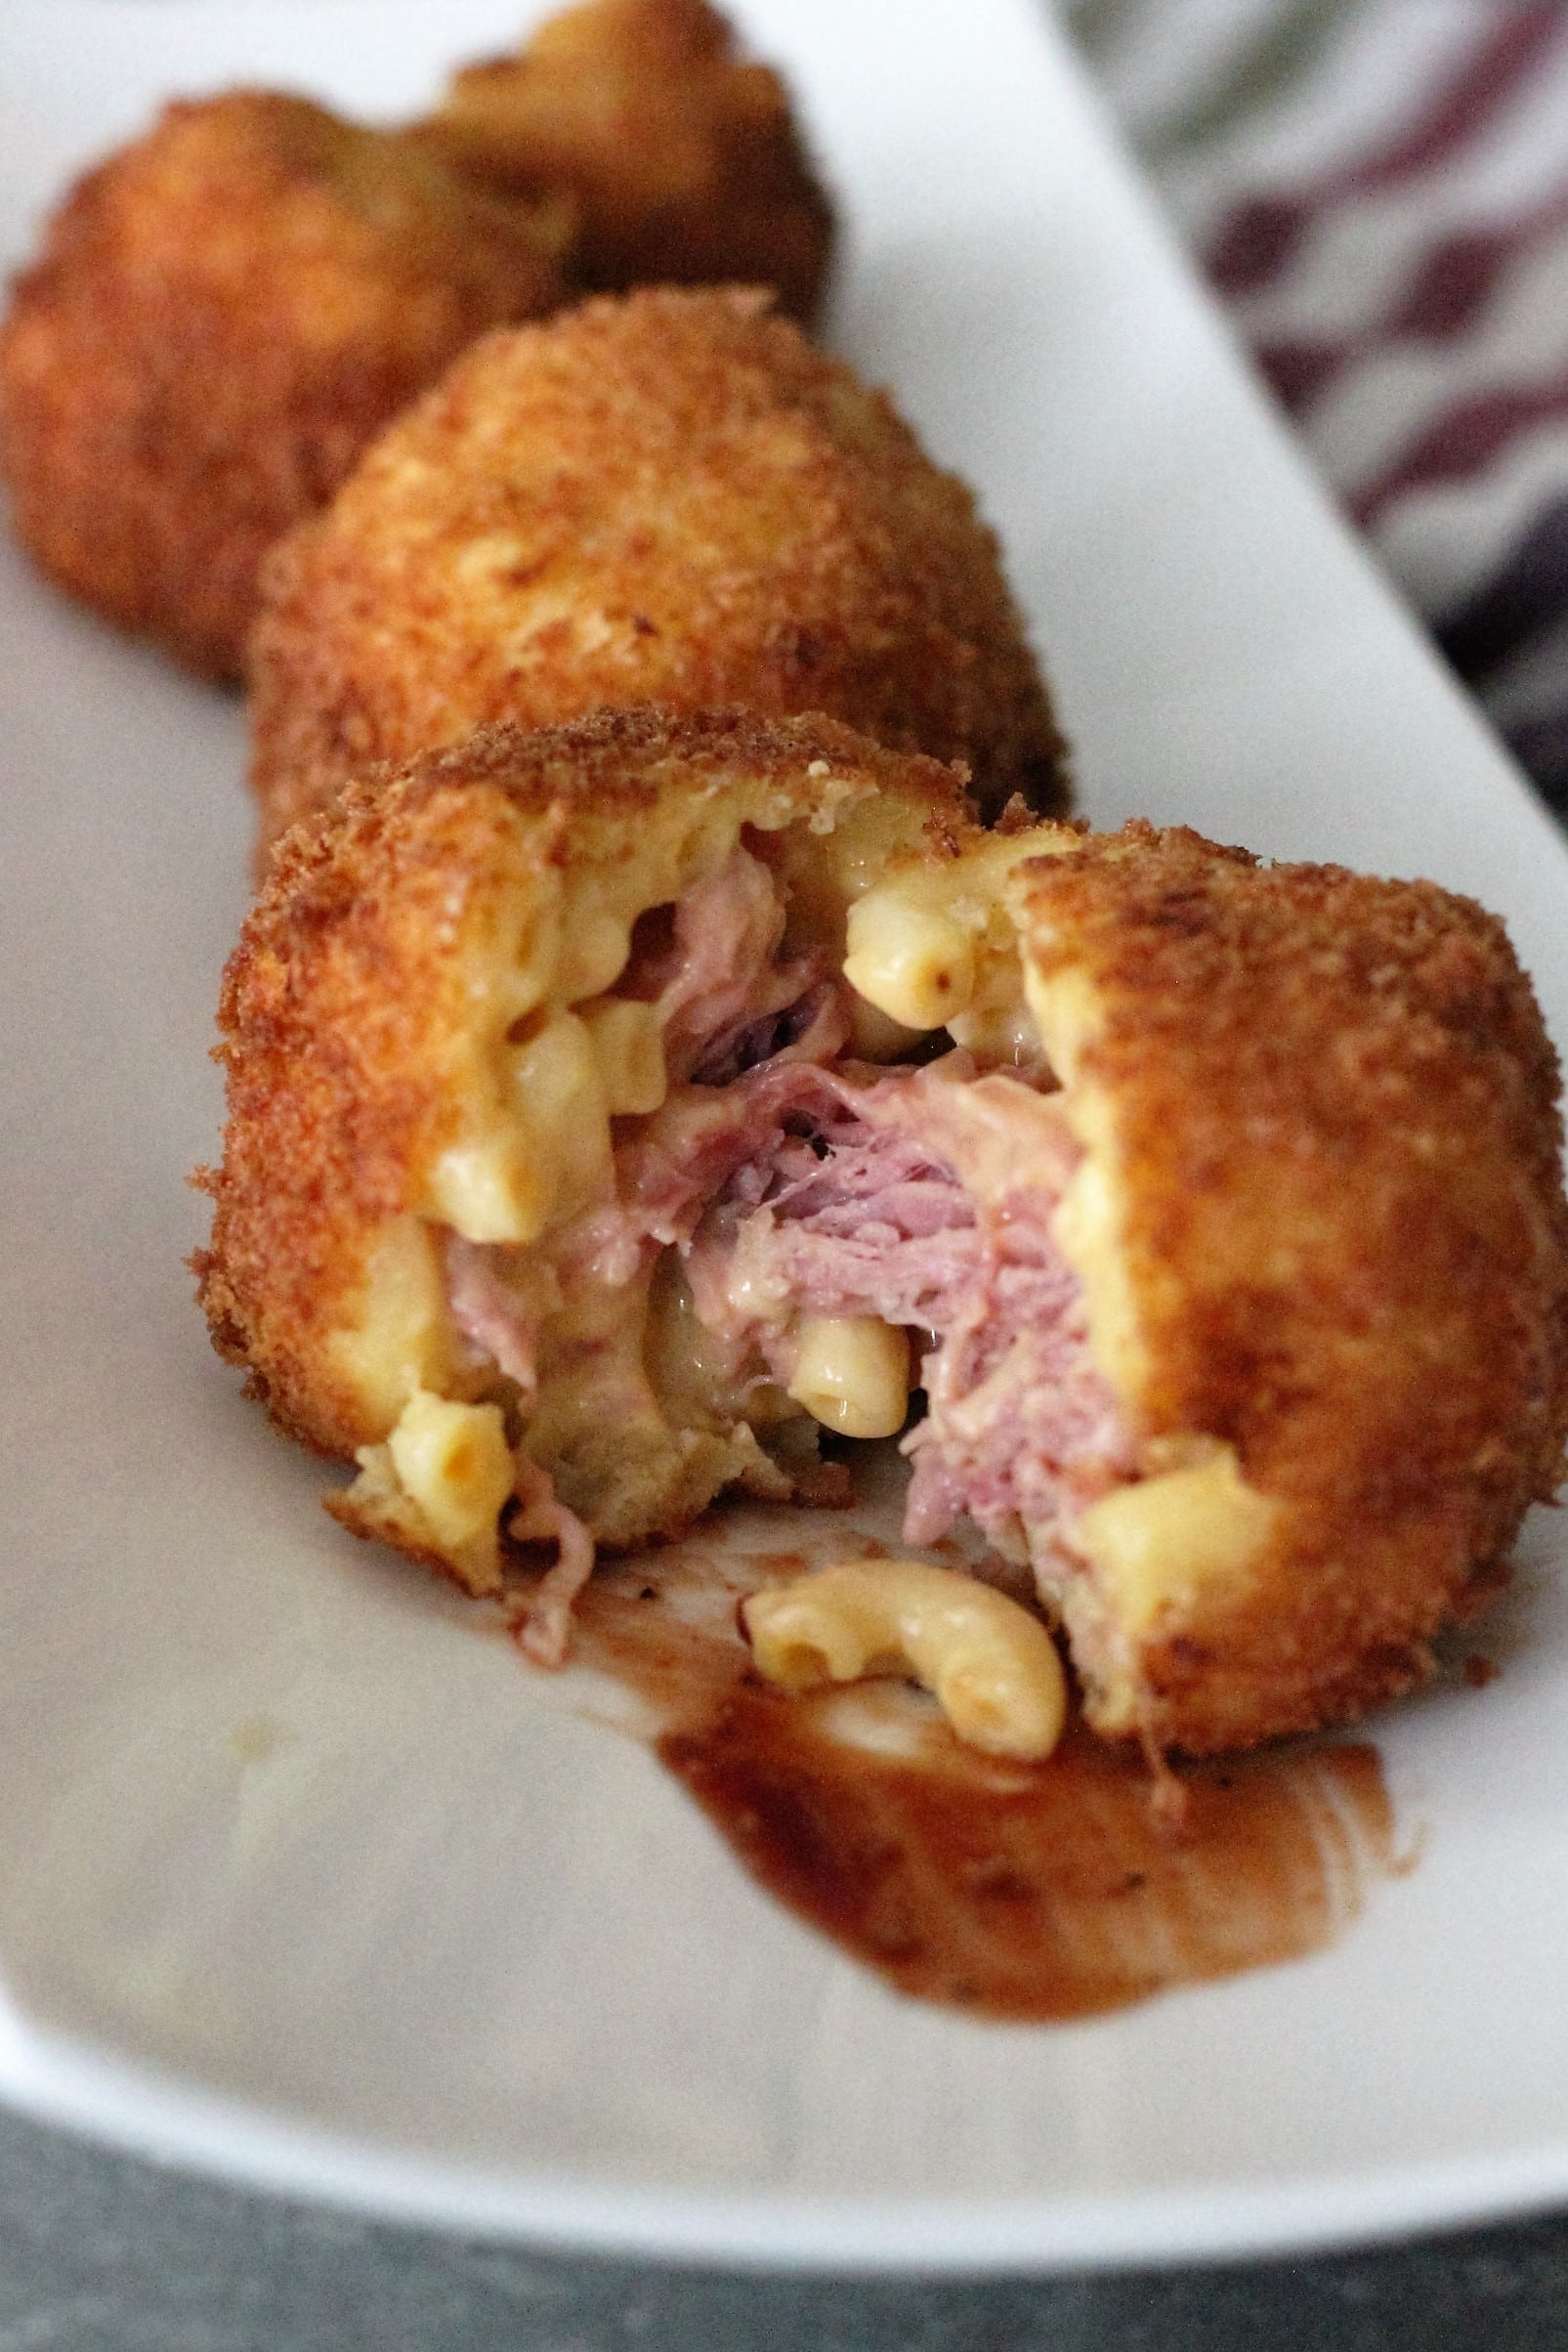
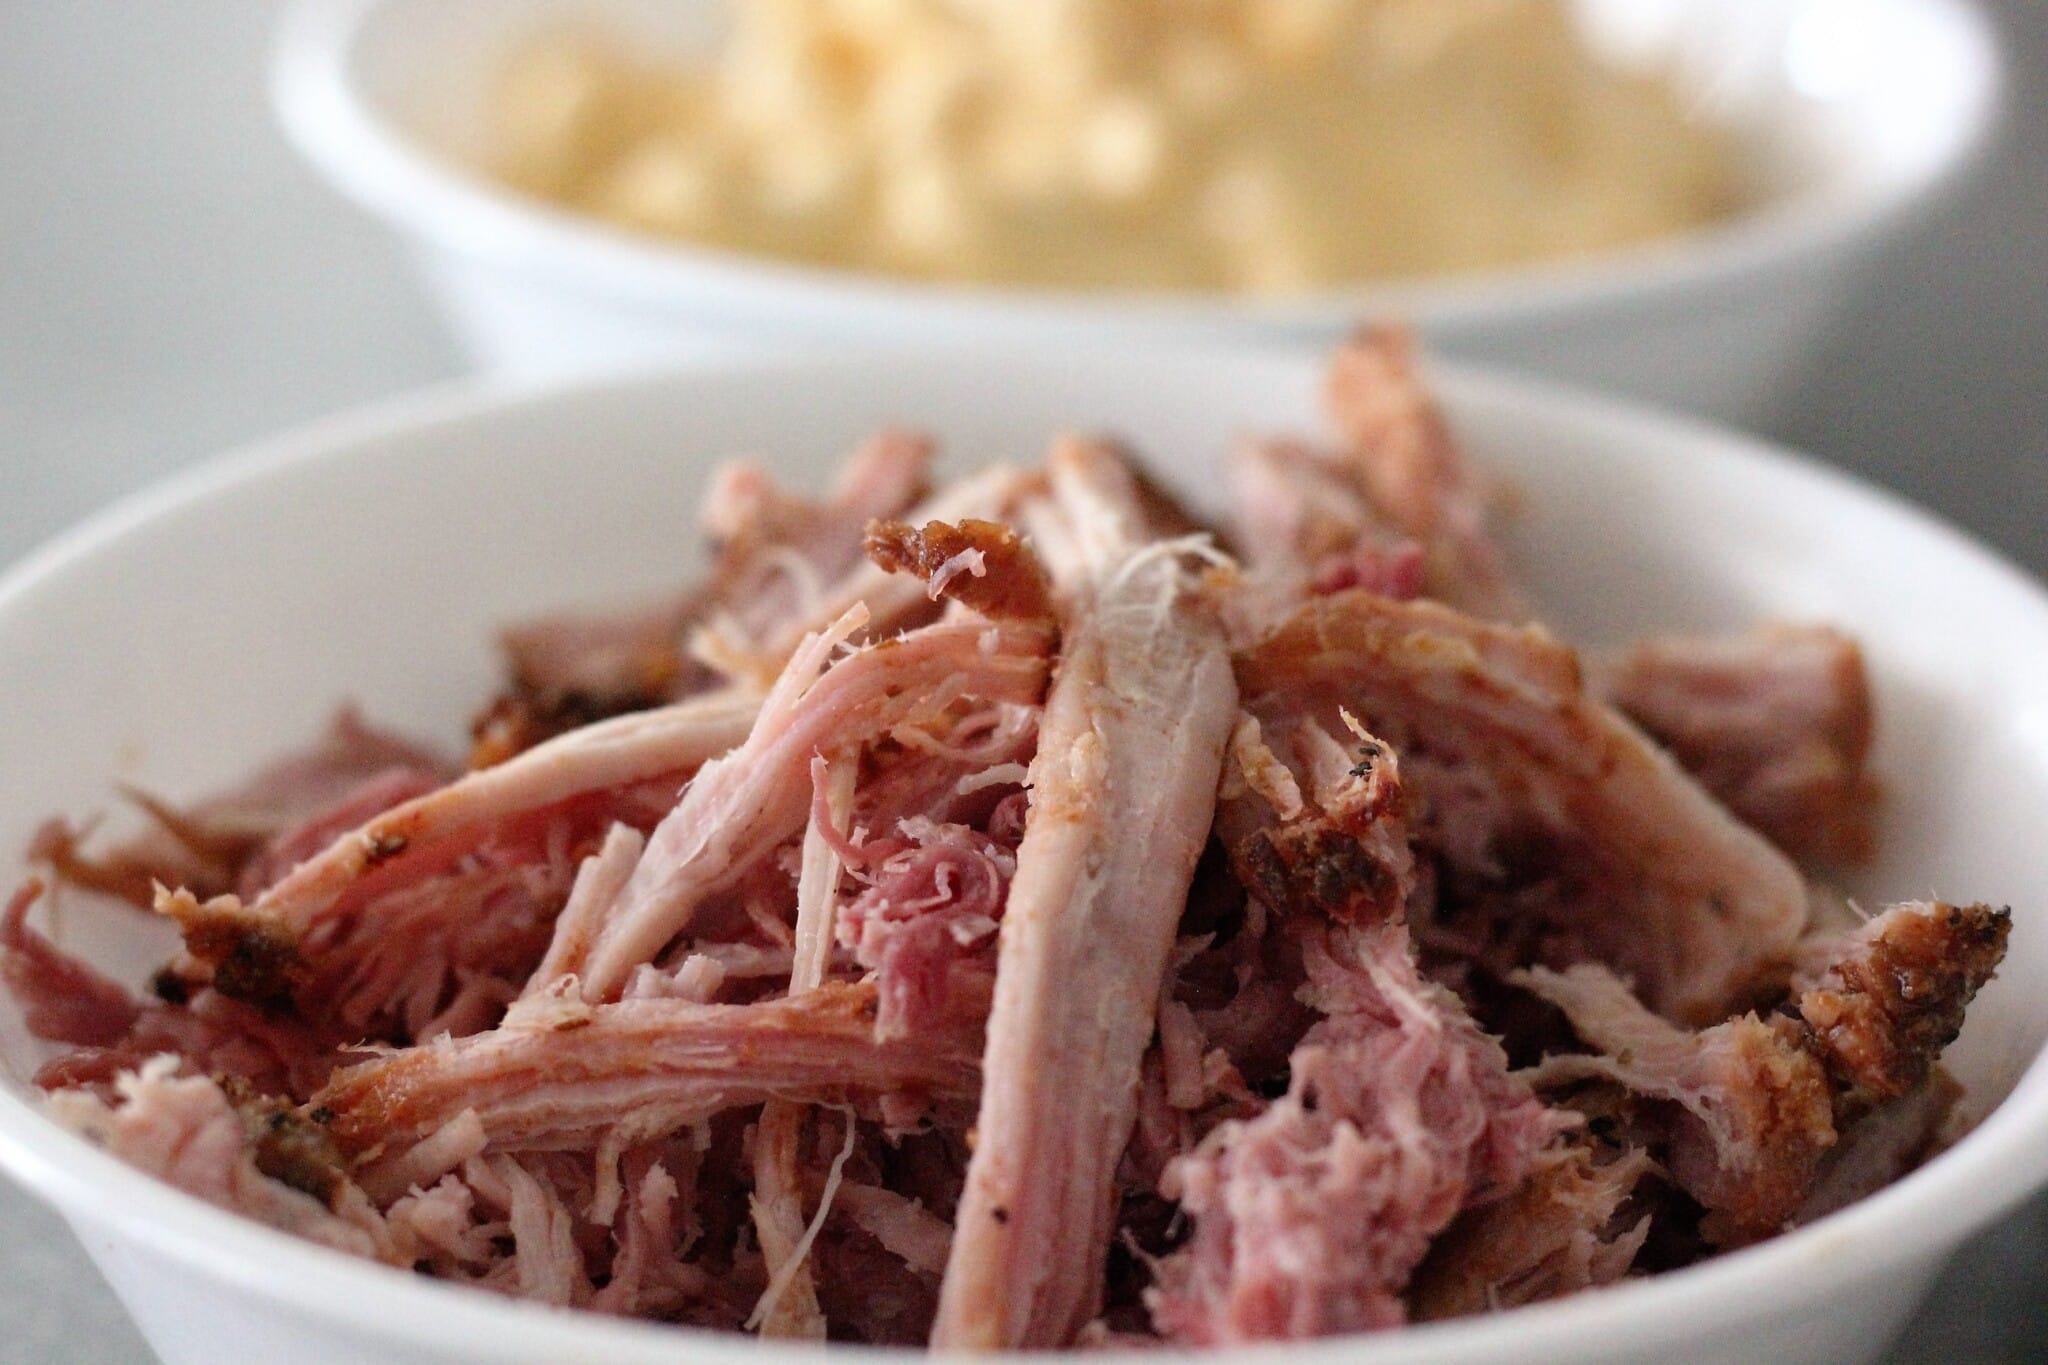
Honestly, sometimes inspiration comes from whatever I have sitting around in my fridge and I just so happened to have some leftover mac and cheese in there. Ding went the lightbulb and I was ready to rock! I cook this Simple Pulled Pork recipe really often so I always have some on hand (especially for these Huevos Rancheros, and these Cuban Sandwiches, and these Baked Beans).
Between the leftover mac and cheese and the leftover pulled pork, these flavor packed bombs only took a few minutes to put together! If you are making from scratch, you can make the pulled pork and mac and cheese for dinner the night before and then get a second meal out of the leftovers by whipping up these bombs.
PRO-TIP: It is actually crucial that both the mac and cheese and the pulled pork be cold when you are prepping this recipe. The chilled noodles stick together better and hold up during the breading process. Another key element is properly preheated oil. Use an instant read thermometer (I like this $29 ThermoPop from Thermoworks) to make sure your oil is an even 375 degrees F. When the chilled bombs hit the deep fryer everything gets ooey gooey and melty inside while the outside gets cooked to golden, crispy perfection!
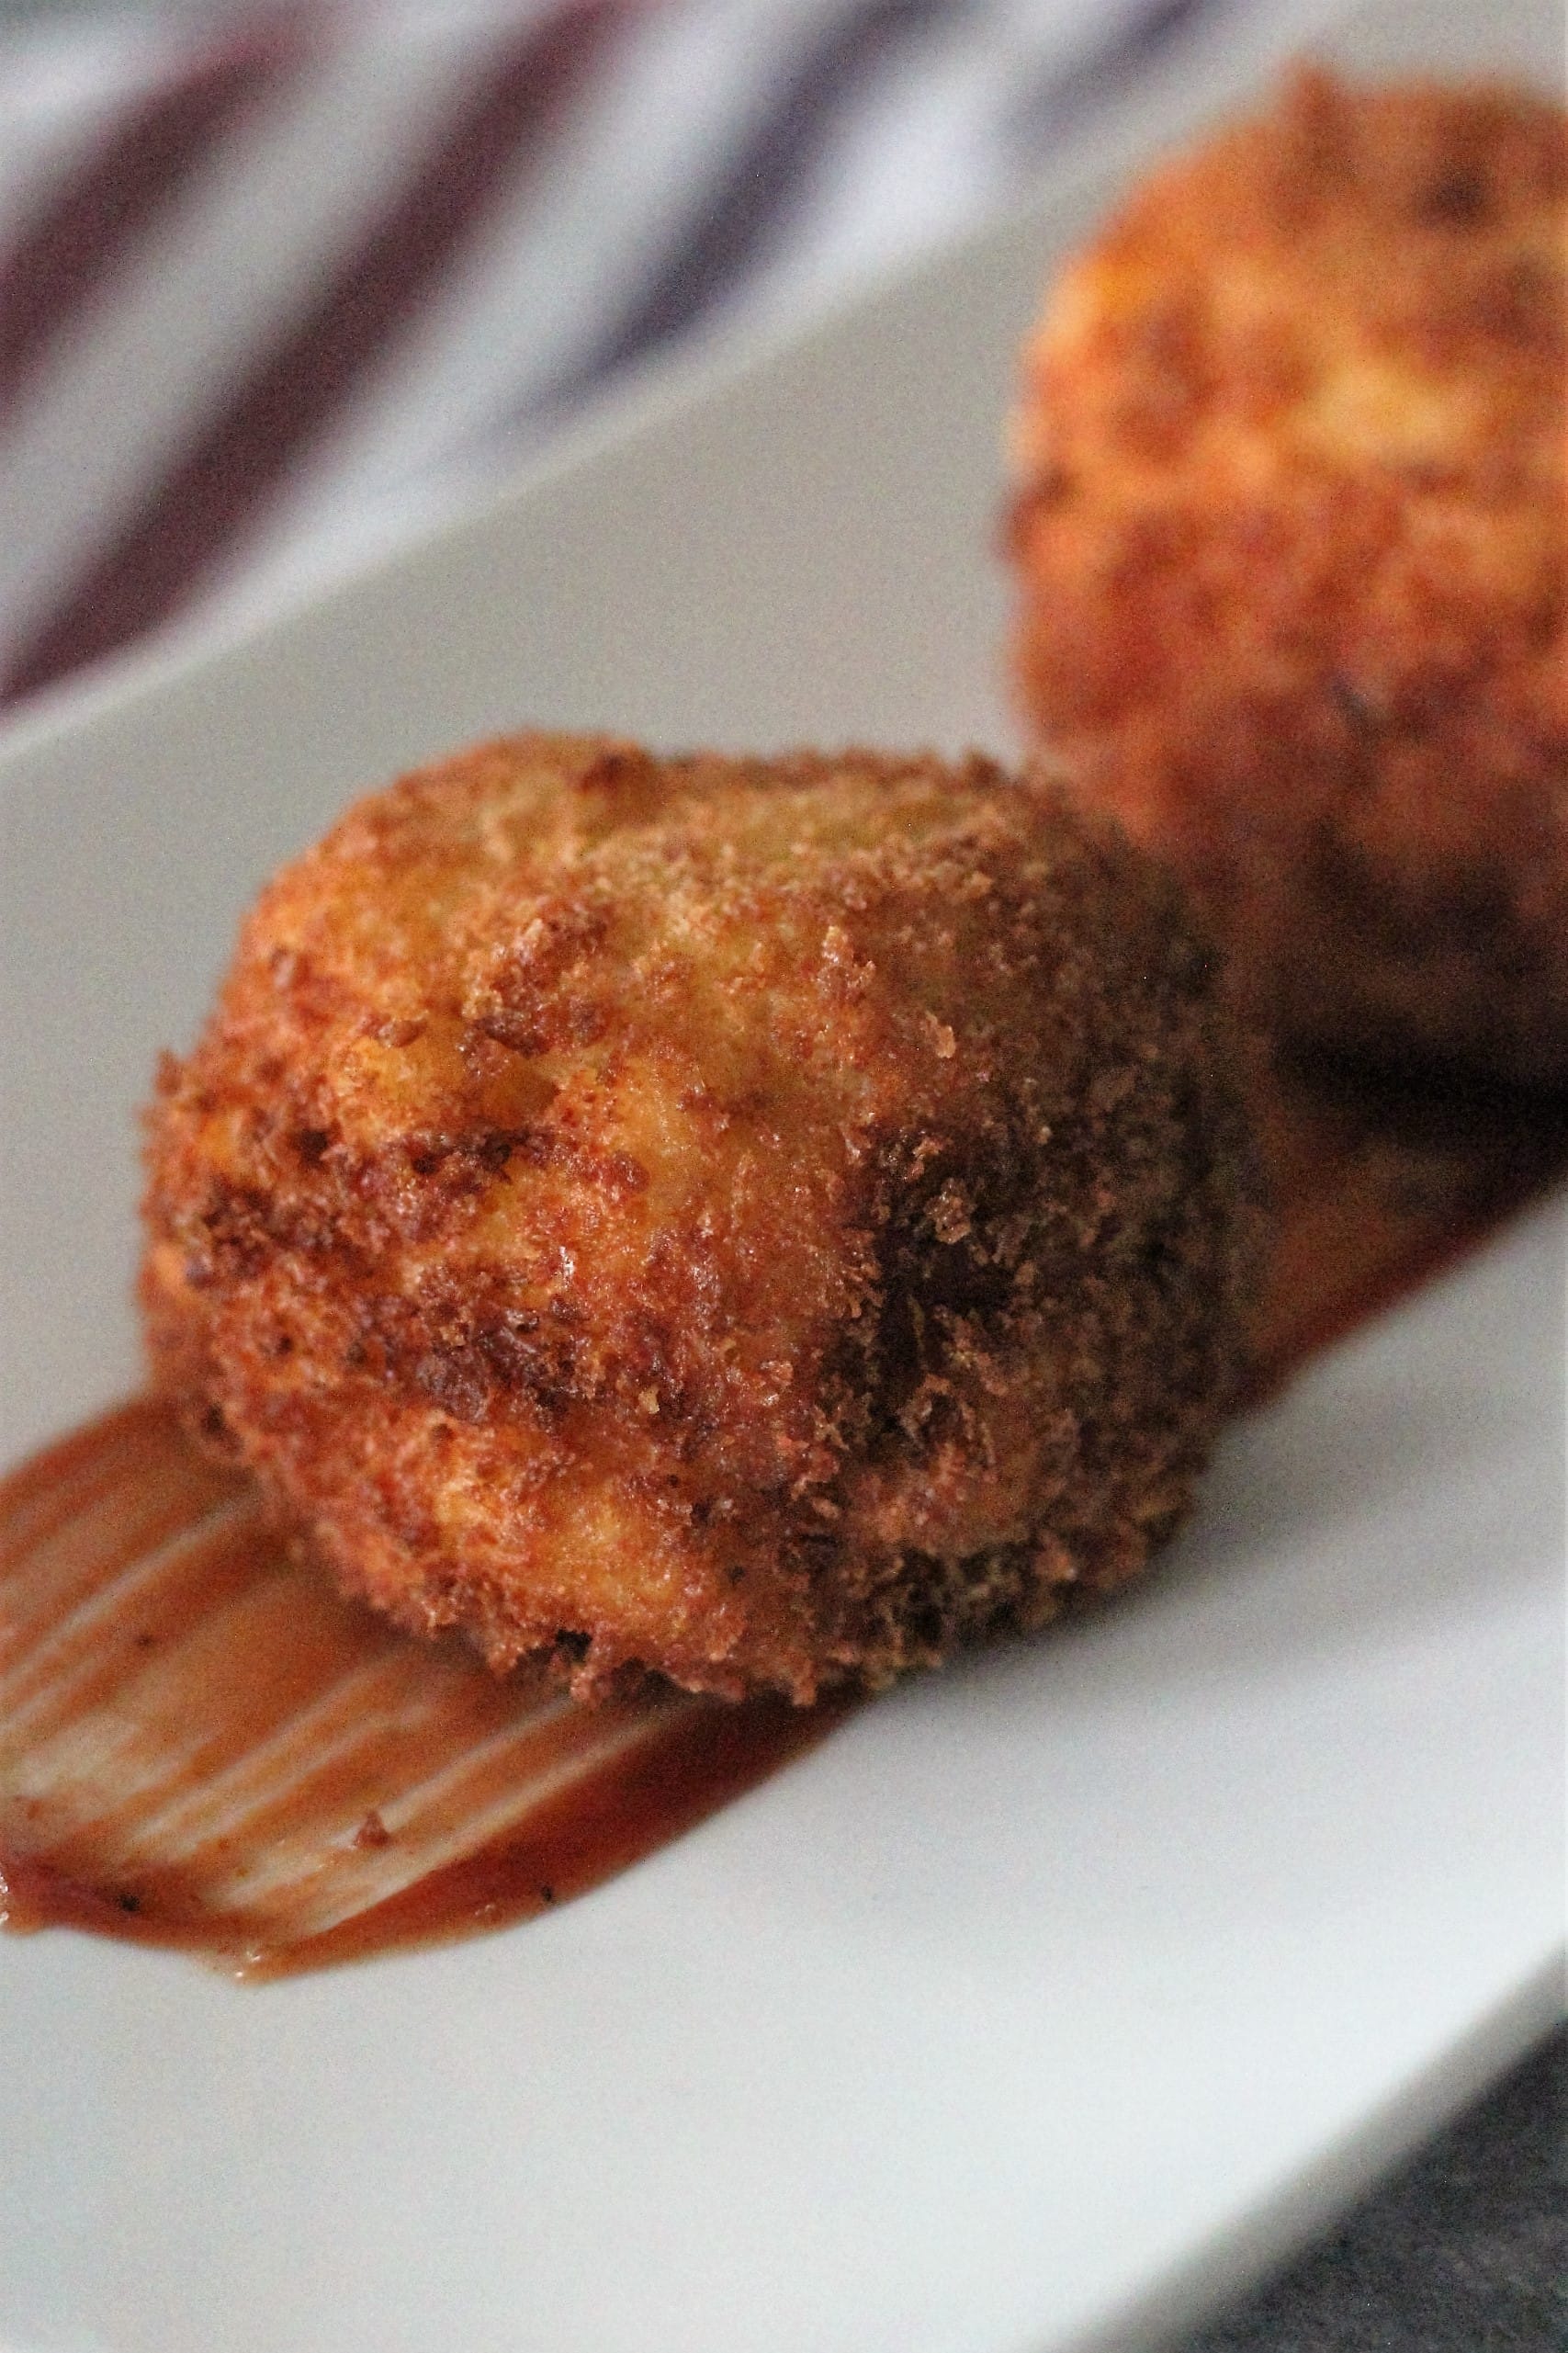
Serve your pulled pork stuffed mac & cheese bombs with your favorite BBQ sauce for dipping, and you’ve got food worth eating. These little bombs are pretty easy to customize for your crowd as well. If you are going for an appetizer, just make your balls on the smaller side. If you are going for a main dish, shoot for balls that are about the size of your palm.
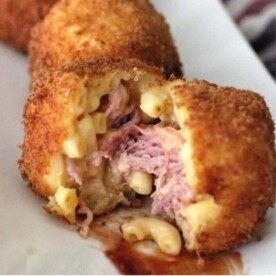
Pulled Pork Stuffed Mac and Cheese Bombs
Ingredients
- 1 ½ cups elbow macaroni noodles
- 8 ounces cream cheese softened
- 8 Tablespoons salted butter softened
- 1 cup heavy cream
- 1 cup sharp cheddar cheese
- ½ cup smoked pulled pork
- ½ cup all-purpose flour
- 2 large eggs lightly beaten
- ½ cup panko bread crumbs
- salt and pepper to taste
- 3 cups vegetable oil
Instructions
- Bring a pot of salted water to a boil and cook the elbow noodles according to package directions. Drain.
- In a medium saucepan over medium high heat, whisk together the cream cheese, salted butter, and heavy cream until well combined. This can take a few minutes, so just keep whisking until it all comes together. Remove from the heat and slowly stir in the sharp cheddar cheese. Season with salt and pepper to taste. Slowly stir the cooked noodles and the sauce together and chill thoroughly.
- Set up your standard breading procedure by pouring the flour, eggs, and panko, each into their own shallow dish.
- Preheat your frying oil to 375 degrees in a deep sauce pan while you roll your mac and cheese bombs.
- Scoop a spoonful of the chilled mac and cheese into the palm of your hand. Place several pieces of pulled pork in the middle of the noodles and then spoon some more mac and cheese on top. Roll gently to form a ball.
- Carefully place the ball in the shallow dish with the flour and cover the whole exterior with a light dusting of the flour. Pick up and move to the dish with the beaten eggs and roll to coat. Finally, transfer the mac and cheese bomb to the panko dish and cover completely. Repeat with the rest of the mac and cheese/pulled pork.
- Once all of your balls are breaded, it's time to fry. Carefully place 3 balls at a time in the hot oil and cook for 2-3 minutes per side, rolling as necessary to fry all sides of the balls to a golden brown.
- Remove the bombs to a paper towel to drain off the excess oil and sprinkle each bomb with a little salt. Serve while still hot with some of your favorite BBQ sauce for dipping.
Nutrition
Nutrition information is automatically calculated, so should only be used as an approximation.






Trying out the Pulled pork mac and cheese bombs today, prep was pretty simple and everythings tasting amazing so far cant wait to see how everyone likes them!
Big kudos on your Runner Up Award on TV’s latest BBQ Contest. Those were heavy hitters you were up against. Fell for your simple classy approach to cooking. Seem like a really neat gal and you’ve posted some delicious looking stuff. Please keep em coming! Best wishes on your cooking career & personal endeavors. ????????