Peppered Beef Jerky
On November 12, 2024
This post may contain affiliate links. Please read our disclosure policy.
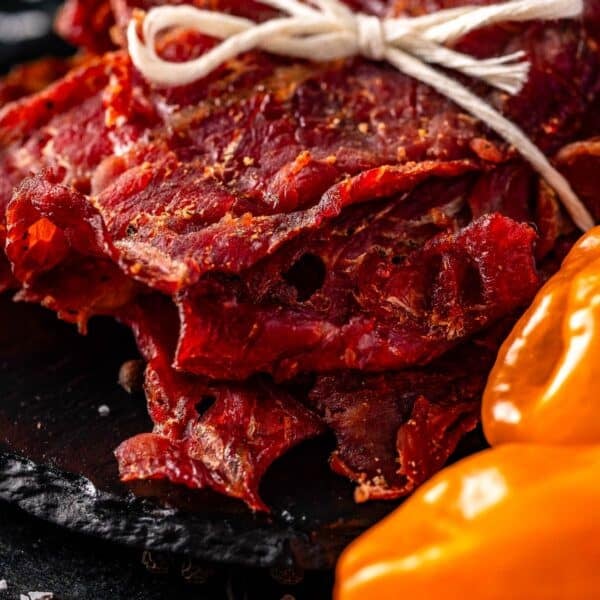
This Peppered Beef Jerky recipe is packed with classic jerky flavor and a black pepper kick. It’s the perfect recipe to try if you’re making beef jerky for the first time. I dehydrate my beef jerky on my smoker, but I’ve included adaptations for the oven and classic dehydrator.
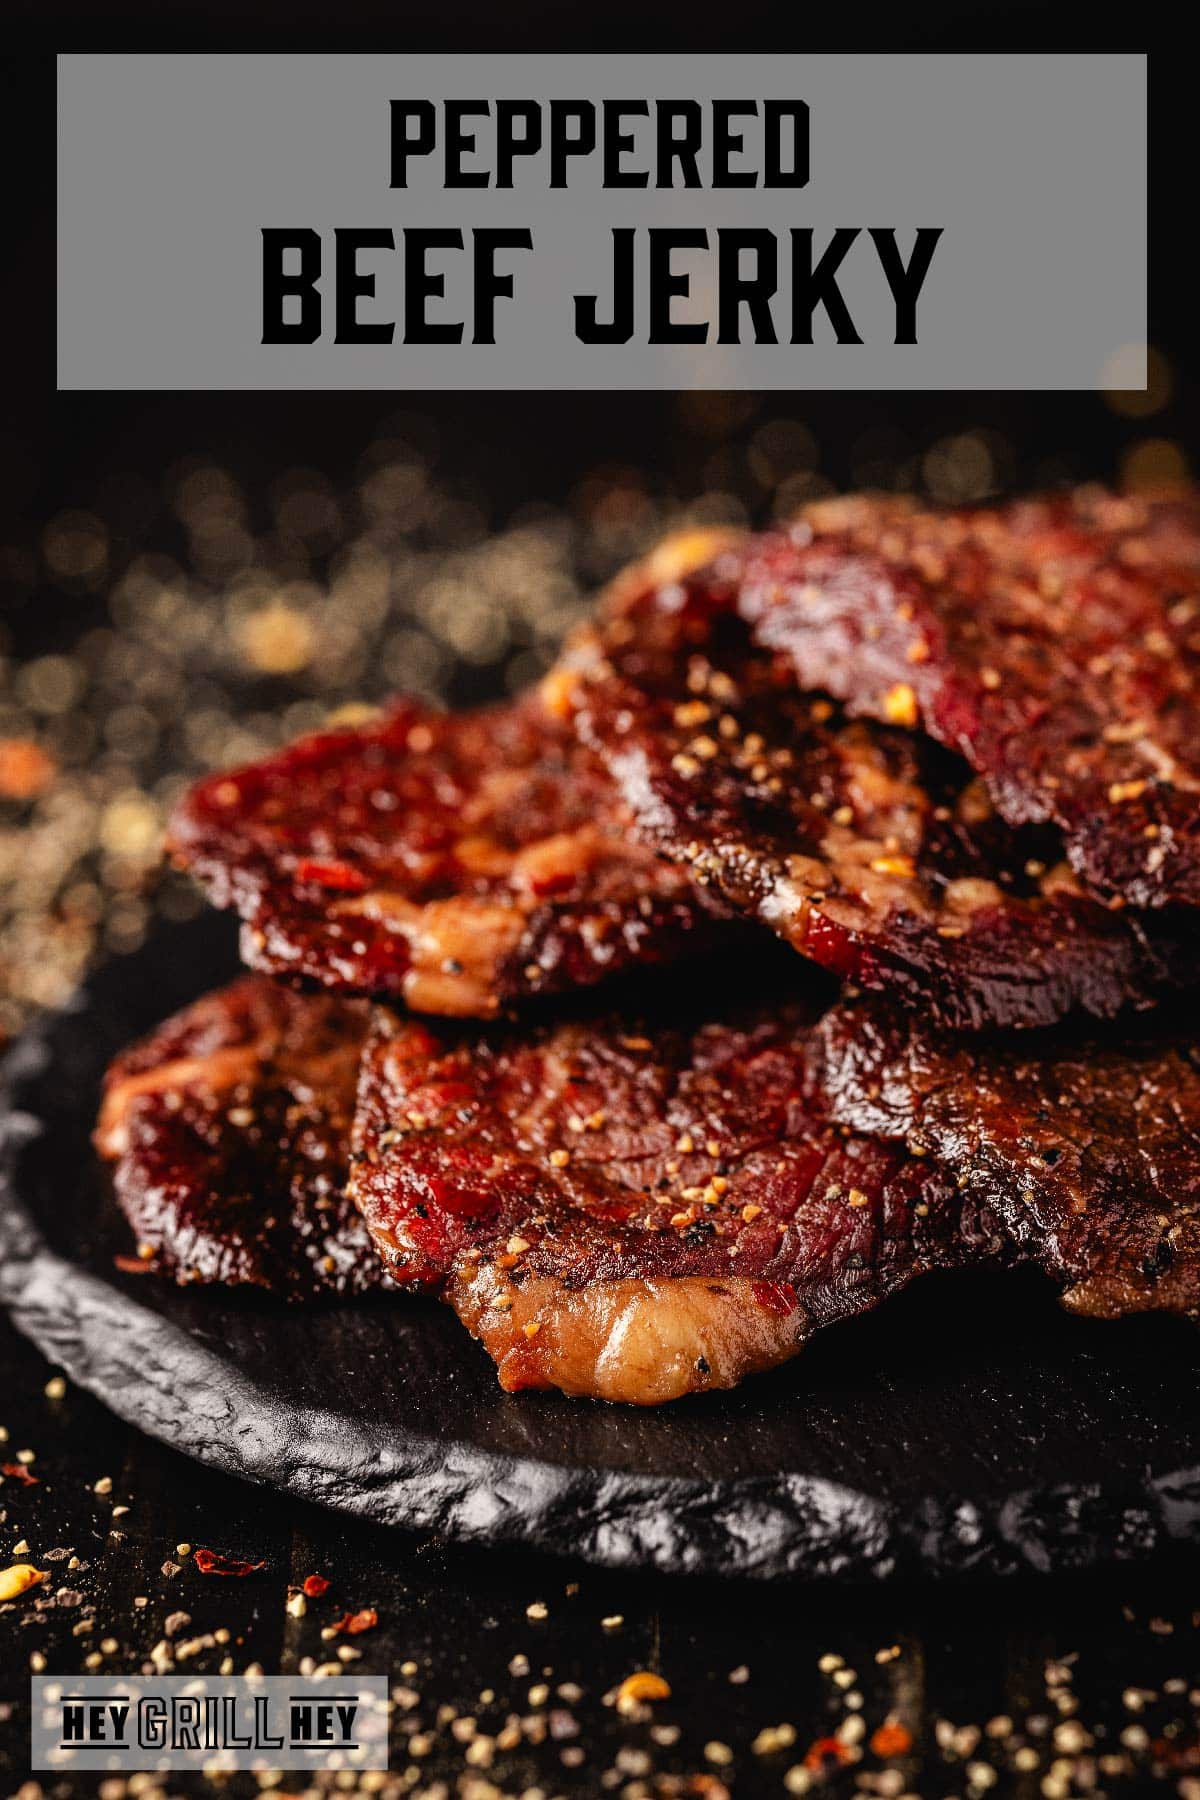
Peppered Beef Jerky
Beef jerky is one of my favorite things to make. Be it on the smoker, in the oven, or in a dehydrator, I just love it. Jerky is that awesome meaty treat that you can take with you anywhere – camping, hiking, work, school, and more!
Before making your own beef jerky, let’s talk about selecting the right meat to make into jerky. This step is key. You want to get the right meat to ensure your jerky comes out the right texture.
When selecting meat for beef jerky, I try to pick a nice roast with very little fat marbling. My first choice is an eye of round roast. After that, I think a top round, sirloin roast, or rump roast would also work well. These cuts do have a bit more fat/gristle, but a lot of times the price is right so I don’t mind. This recipe also works great with venison, so don’t be afraid to branch out a little and give it a try!

Slicing Meat for Jerky
Once you have your meat selected, you’ll need to get that perfect jerky thin slice. If you plan on slicing your own meat, I recommend putting your roast in the freezer for 30 minutes to an hour before slicing. The chilled roast will be more firm and you will get a much better result with more even slices. If you aren’t slicing at home, find a good butcher and buy your roast from them. They will be more than happy to do the slicing for you! I typically tell the butcher at the counter that I am planning to make jerky and need my slices at about a “2” setting on their slicer.
Now, here is a point of debate for jerky makers. Slicing with or against the grain?? I slice my jerky against the grain. In my opinion, this makes the jerky easier to chew and eat. Some people prefer cutting with the grain because once it is dry you get those nice long strands of jerky that you can tear off and work through. The important thing is that you make jerky that you like to eat. The flavor in this peppered beef jerky will be the same whether it is against the grain or with, so you decide!
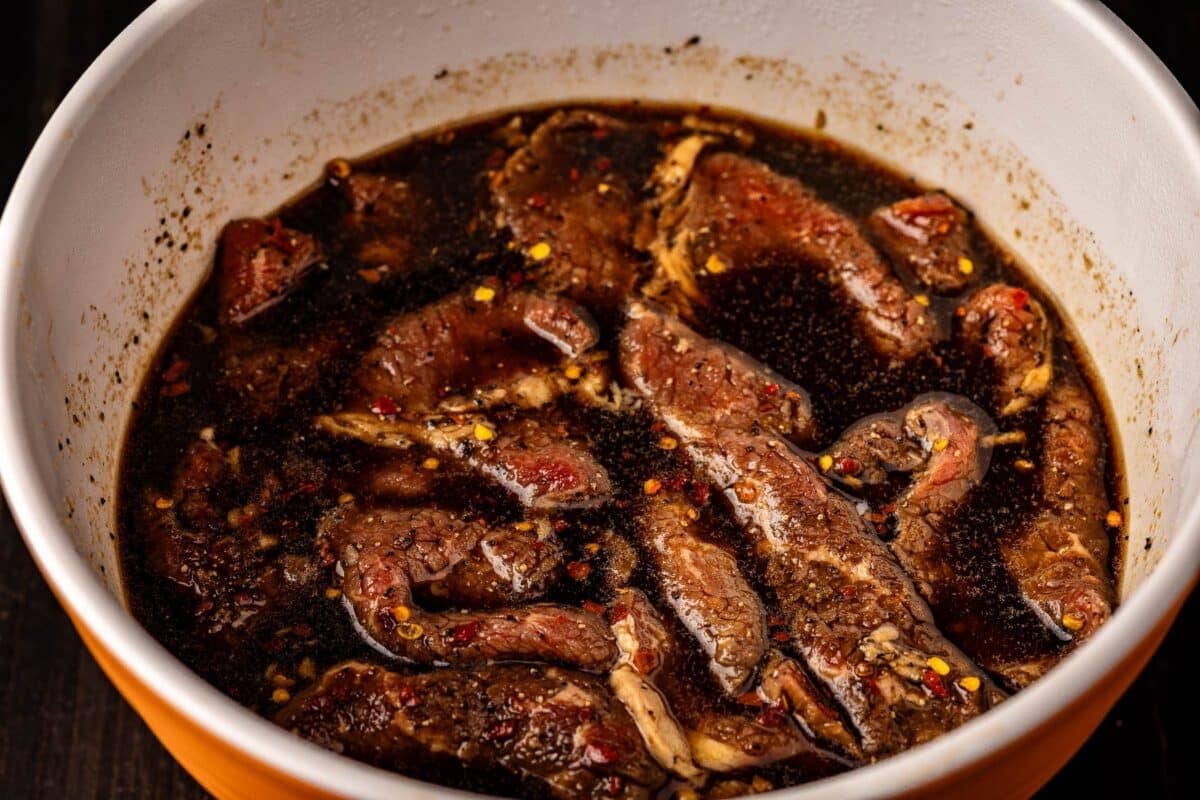
Jerky Marinade
Marinade is another important element in making beef jerky come out amazing. This marinade combines all of the key elements to help add flavor and tenderness to your final jerky product. There are elements of salt, sweet, acidity, and bold seasonings to make sure you get a mouthful of flavor with every single bite. There are a few optional and additional pieces to this marinade that I wanted to cover here so you can get the best result possible.
- Brown sugar. I like to balance my salty jerky with a hint of sweetness. The amount useed in the recipe will not give you a sweet jerky at all, but it will balance the savory and black pepper flavors. If you want to reduce the sugar, you can cut it in half. I don’t recommend eliminating it altogether though.
- Beer. I know not everybody likes cooking with beer, so feel free to substitute the beer for beef stock. This will add an extra element of saltiness to the jerky, so don’t let the jerky marinate past 8 hours if you make this substitution.
- Curing Salts. Using instacure #1 (also labeled as Prague Powder or Pink Salt- please not this is not the same as Himalayan pink salt) is an optional step. This cure acts as an additional preservative for the jerky. If you use the curing salt, your jerky will be shelf stable and safe to eat at room temperature for several weeks. If you skip the curing salt, your jerky will still be partially preserved by the smoke/dehydration, however I recommend storing in the refrigerator to maintain freshness. Uncured jerky will last several weeks in the fridge. To figure out exactly how to cure the meat properly, check out this post on Curing Meats Safely.
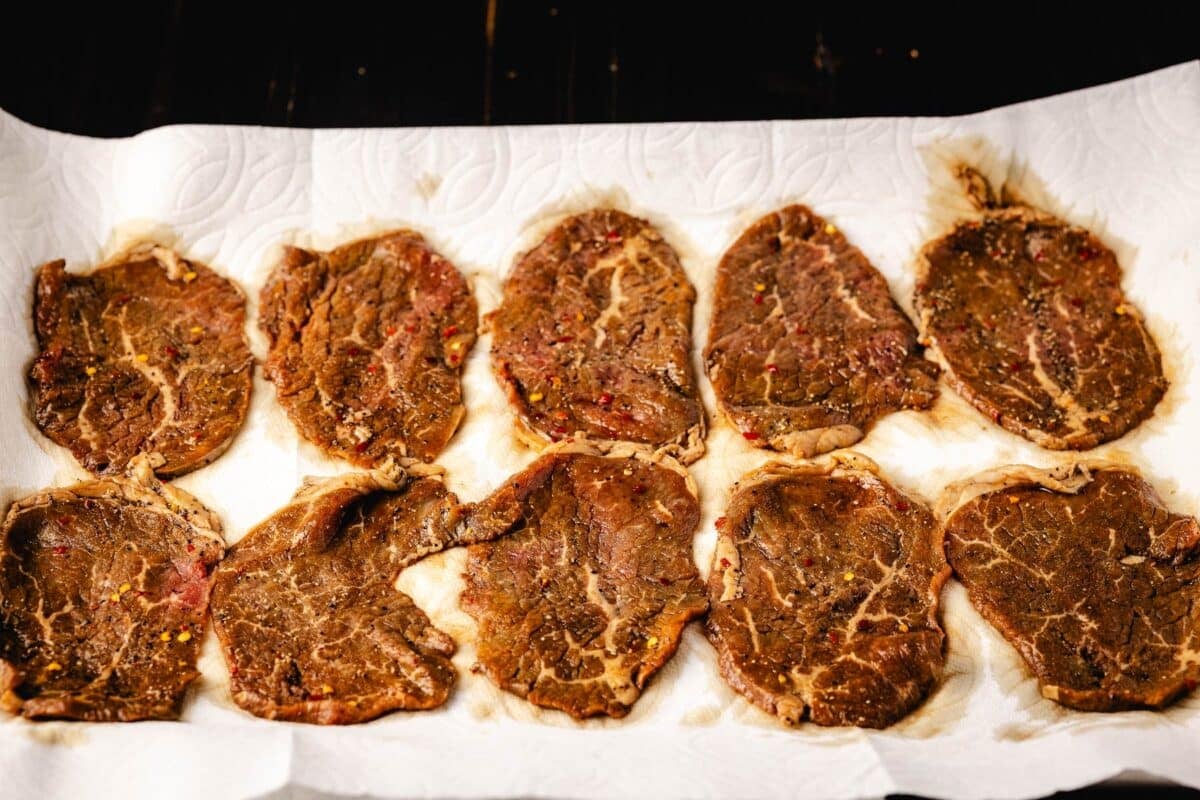
How to Make Beef Jerky
For full ingredients and instructions on how to make this amazing peppered beef jerky, scroll below to the printable recipe card. Here’s a quick rundown on how to make your own beef jerky at home.
- Marinate the meat. Combine all ingredients for the marinade in a large zip top bag. Add the sliced meat to the marinade and gently toss or massage the bag to evenly coat all sides of the meat. Place the marinating meat in the fridge for 8-24 hours.
- Prepare to dehydrate. Remove the strips of meat from the bag and place them on paper towels. Pat dry with more paper towel. Preheat your smoker, oven (with the door cracked), or dehydrator to 170 degrees F. Place the jerky strips on the grill grates, jerky rack, or cooling rack and season the top of the jerky with additional pepper (this is optional if you want extra pepper flavor).
- Make the beef jerky. Smoke/cook/dehydrate the jerky for 2-3 hours. This time will vary depending on how thick your jerky slices are. Thicker pieces may take up to 4-5 hours, so plan accordingly. Begin checking your jerky after the first hour. You want jerky that is firm but still pliable. If you bend it and it breaks, you’ve cooked it too long.
- Store and enjoy. Place your dehydrated beef jerky in a fresh zip top bag while it is still warm, but do not seal the bag all the way. Allow the jerky to steam a bit in the bag (this locks in moisture and makes your jerky oh-so good). If you added curing salt to your marinade, this jerky will last on the counter for a few weeks. Without the salt, store the jerky in the refrigerator.
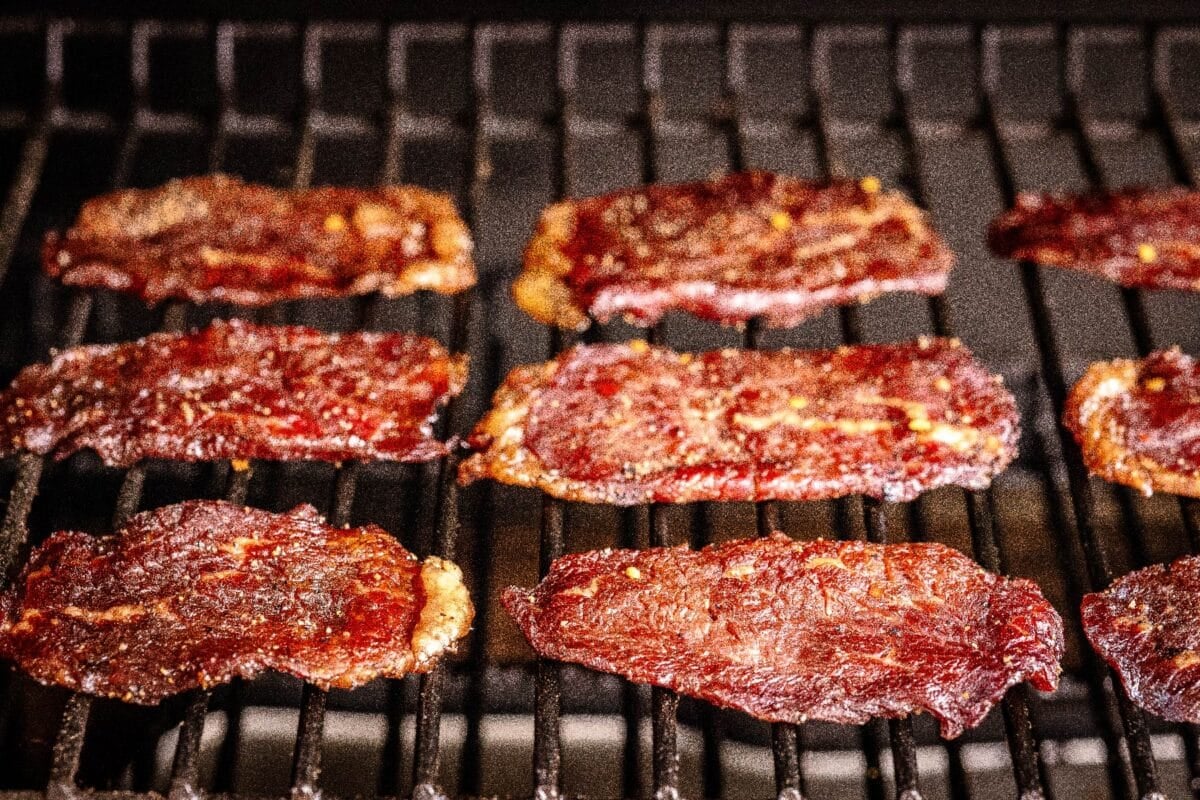
More Beef Jerky Recipes
If you love making beef jerky as much as I do, you’ll love all my recipes for beef jerky available on Hey Grill Hey! From sweet to spicy, we’ve got it all. Check out a few favorites below:
Peppered Beef Jerky Recipe
This recipe was created for you, backyard griller! Here at Hey Grill Hey, I’m in the business of helping you make better BBQ. I’m all about helping you feed the people you love and become a Backyard BBQ Hero. You can find more of my smoking and grilling recipes here in your Recipe Library, or the Hey Grill Hey App. Follow me on Instagram, YouTube or my Facebook Page to be the first to know when new recipes drop.
Making good food should be easy, and Hey Grill Hey is here to help. Over at the Hey Grill Hey Store, I have sauces, rubs, and more to save you time and energy when you’re busy at the grill. Check it out today.
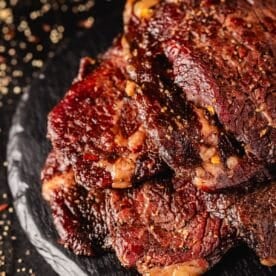
Peppered Beef Jerky
Video
Ingredients
- 2 pounds eye of round roast sliced thin against the grain
Peppered Beef Jerky Marinade
- 1 cup beer or beef stock
- 1 cup soy sauce
- 1/2 cup Worcestershire sauce
- 1/2 cup brown sugar
- 4 cloves garlic minced
- 2 Tablespoons black pepper
- 2 teaspoons onion powder
- 2 teaspoons red pepper flakes
Instructions
- Make marinade. In a large zip top bag, combine all ingredients for the marinade. Mix well to dissolve the sugar.1 cup beer, 1 cup soy sauce, 1/2 cup Worcestershire sauce, 1/2 cup brown sugar, 4 cloves garlic, 2 Tablespoons black pepper, 2 teaspoons onion powder, 2 teaspoons red pepper flakes
- Marinate jerky. Add the sliced eye of round to your marinade and toss gently in the bag to coat all sides of the meat with the marinade. Refrigerate 8 hours, or up to 24 hours. The longer it marinates, the saltier and stronger the flavor will be.2 pounds eye of round roast
- Remove from marinade. Remove the strips of marinated beef from the bag and place on paper towels. Pat dry.
- Preheat. Set your smoker, oven (with the door cracked), or dehydrator to run at around 170 degrees F. Transfer the strips to the grill grate, jerky rack, or cooling rack and season the top with additional black pepper, if desired.
- Smoke jerky. Smoke/cook for 2-3 hours (depending on the thickness of your slices, some thicker pieces can take 4-5 hours). Check often after the first hour to be sure your jerky is drying evenly. You are looking for jerky that is firm and still slightly pliable, but not soft. If you bend your jerky and it breaks, you've cooked it a little too long
- Steam and store. Place the finished jerky in a gallon zip top bag while it is still warm. Don't seal closed all the way. The jerky will steam in the bag slightly and this step will make the jerky moist. If you added the curing salt, the jerky will last a couple of weeks on the counter. If you did not add in the curing salt, it will last a couple of weeks in the refrigerator.
Notes
Nutrition
Nutrition information is automatically calculated, so should only be used as an approximation.
**I originally published this post in March 2018, but recently updated it with more information and helpful tips. However, the recipe remains the same.




Giving it a try today
Enjoy!!!
I will buy the meat and all the ingredients tonight, will cook tomorrow morning. I will let you know. I think is going to be awesome. I love beef jerky. Great job with the video presentation.
Thanks! I hope it comes out amazing!
Finished this today. Wow so good. Having a hard time staying out of it. I tried a different recipe the first time. It wasn’t good at all. Came across this and figured what the hell. I didn’t have any brown sugar so I just used a small amount of sweetener. It turned out perfect. Hopefully there will be some left when the hubby get home. Thanks so much
Made this last night and it was my first time doing jerky and we believe it’s outstanding, nice job Suzi.
I’ve been trying and trying to make jerky for the men in my house, so I’ve gone through a lot of meat, marinades, recipes(even one from an “award-winning” jerky website…), spices, and money! I gave up and just went with marinating it in Bold and Spicy and making them live with it….UNTIL I TRIED YOUR PEPPERED JERKY! Hallelujah! The men said it was the best jerky I’ve made. I was complimented 4 times(highly unusual), and each time I gave you the credit (I wanted them to know YOU were the Meat Master =D). I can’t tell you how excited and relieved I am to be back in the jerky game and this time with confidence and success!
Merry, this just made my day!! You need to take some credit!! Sounds like you NAILED IT! Thanks so much for your comment!
I find that I am very sensitive to Prague Powder or any other sodium nitrite powders. I throw up after eating anything cured with them from home made jerky to home cured hams. I have a pound of Morton’s Quick Cure and another brand I can’t use.
You can absolutely skip the curing salts if they make you sick. It’s just an optional ingredient.
I love all your recipes and make them all gluten free which is so simple since they have gf beef stock and soy sauce. You should let it be known about the gf option when making your awesome videos, thanks Suzi
I watched the video and then looked at the directions. In the directions you have beef stock or beer. I didn’t see that step in the video. Do you add that before the instacure?
That step was towards the end of the marinade steps in the video, sorry you missed it. You can add it before the instacure if you want, it doesn’t really matter, just as long as it gets mixed in before the meat goes in.
1/4 teaspoon of curing salt per pound of meat…
Loved the jerky video !! Except … even though you properly identified the Prague Powder No.1 etc. You then went on to clearly call it a sodium NITRATE. Prague Powder is sodium NITRITE . As you likely know they are NOT the same , and I am only calling you on this because this is SUCH a confusing issue on so many forums and I feel the slip up on your video just adds to this confusion. Love your work, hope I’m not being too anal in bringing this up, but I am a true believer in the use of curing additives – and if were gonna use them let’s use the right one.
I may have misunderstood? In video you said 1 tsp cure #1 for 5lbs of meat?? Recipe is for less than half that amount, but still using 1 tsp of cure.
Love your recipes!!
Hey Mary- you heard correct, the 1 teaspoon of curing salt is good for UP TO 5 pounds of meat. We’re also using a wet cure, which can change things a little too. The amount in the recipe ensures that too little cure isn’t used to prevent spoilage. Hope that helps!