Giardiniera (Pickled Italian Relish)
On December 27, 2024
This post may contain affiliate links. Please read our disclosure policy.
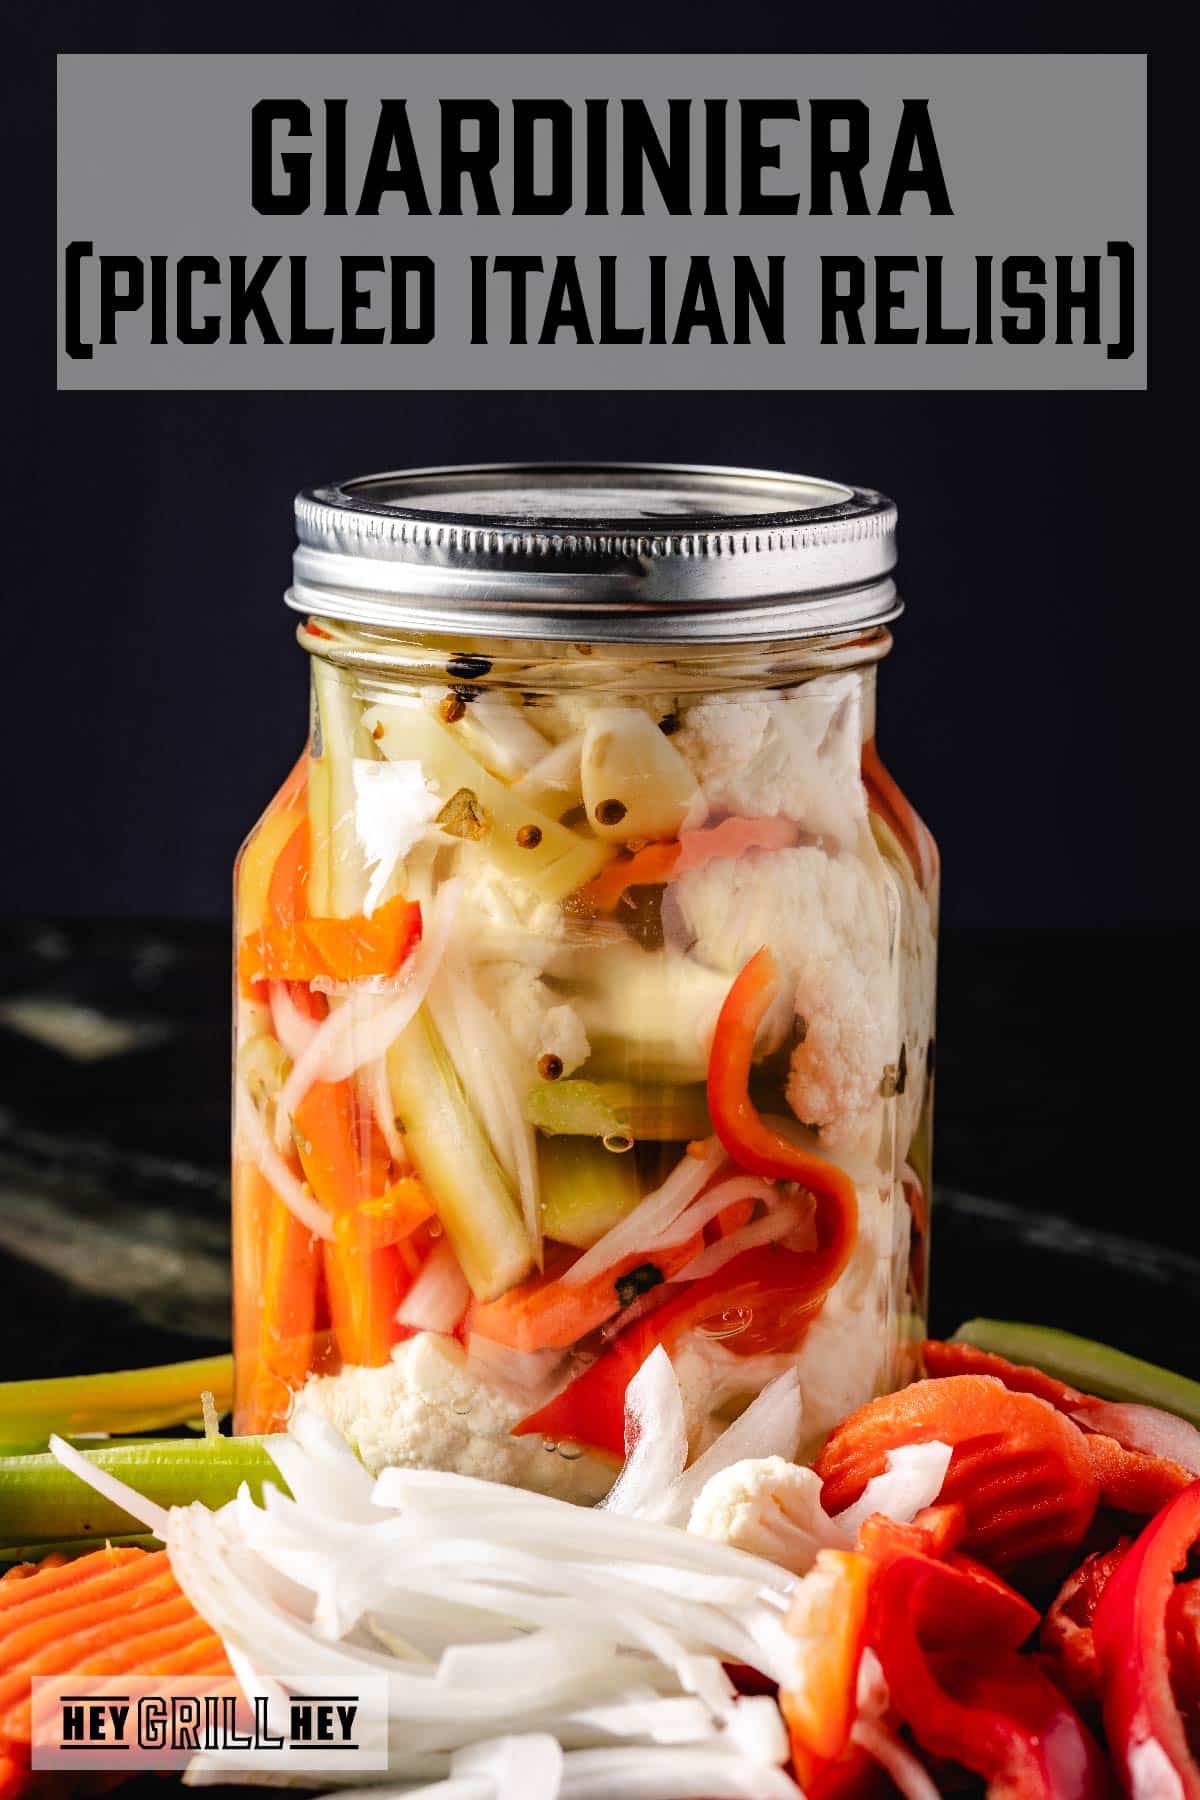
Loaded with cauliflower, carrots, peppers and more, my Giardiniera (pickled Italian relish) makes for the perfect condiment for any BBQ meal.
Giardiniera (Pickled Italian Relish)
Give your BBQ, sandwiches, charcuterie boards, and more a splash of crunchy, sweet and tangy goodness with this Homemade Giardiniera. This vibrant Italian pickled relish combines crisp cauliflower, sweet carrots, crunchy celery, and zesty peppers in a perfectly balanced brine that adds tang and subtle heat to any dish. It’s incredible on Italian beef sandwiches and antipasto, or all on its own as an appetizer. It brightens up everything from grilled meats to pasta salads. Whether you’re hosting a casual BBQ or putting together an impressive appetizer spread, this giardiniera recipe is the chef’s kiss.
Chicago Style vs Italian Giardiniera
You may have already known giardiniera is pickled vegetables (or relish), but you may not know there are different styles. The two most common are Italian and Chicago style. While both styles traditionally contain a mix of pickled veggies, such as cauliflower, carrots, onions, and celery, there are some important differences in preparation.
For this recipe, I’m doing Italian style, which contains large pieces of vegetables. These big bites make it great as an appetizer or side dish. With Chicago style, everything is chopped thin. This often includes olives, and some recipes call for more peppers after pickling. If you’ve ever had giardiniera as a condiment with a sandwich, it was likely Chicago style. The good news is you can still use this recipe by simply cutting your veggies thin if you prefer this style. It’s your recipe, so do what works for your needs.
Ingredients for Pickled Italian Relish
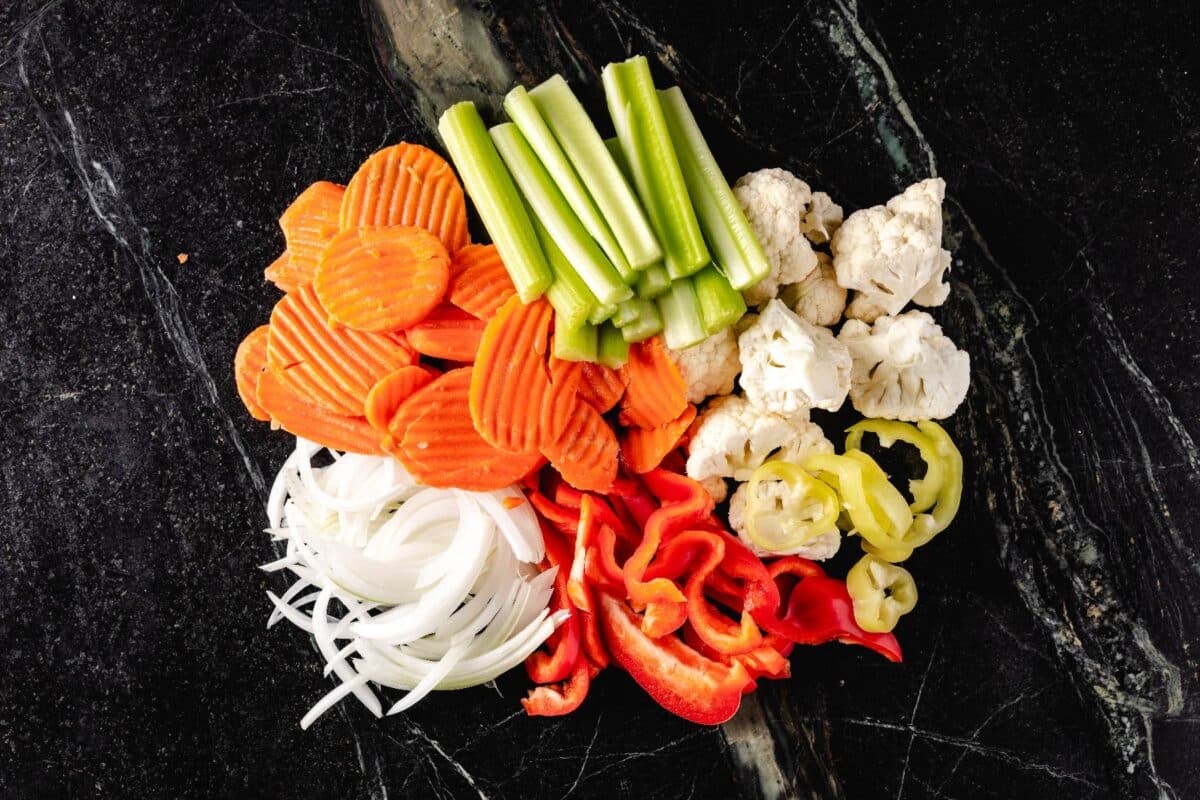
This giardiniera only uses a handful of ingredients, but boy, do they deliver on flavor. The brining liquid only needs 5 common pantry ingredients before you load it up with 7 veggies and herbs bursting with sweet and savory goodness. Here’s what you need to make this crunchy condiment:
Brining Liquid
- 2 cups distilled white vinegar
- 1 cup water
- 1 tablespoon Kosher salt
- 1 tablespoon sugar
- 2 teaspoons pickling spice
Vegetables for Pickling
- 1 cup cauliflower florets
- 1 cup carrot slices
- ½ cup white onions (sliced)
- ½ cup celery sticks
- ½ cup red bell peppers (sliced)
- ½ cup sliced jalapeños (or your preferred spicy pepper)
- 1-2 cloves garlic
Variations and Substitutions
If you ask me, the best part about making recipes at home is the ability to customize them exactly how my family likes them. The large pieces make this recipe Italian style, but I made some variations to fit what we like best around here. If you like the genuine article, here are some options:
- “Authentic” Italian style: Most traditional Italian style giardiniera recipes also include green beans, but I don’t love them with sandwiches. If you’re shooting for authenticity, you can include those and swap out the sliced white onions for pearl onions. The garlic isn’t a common ingredient either, but I love the flavor it adds.
- Chicago style: I know you know this style is sliced thin for piling on your sandwiches, but it also has a few extra, unique touches. Chicago style giardiniera typically marinates in olive oil for 1-2 days after brining. It also includes some extras like olives and gherkins.
- Your style: Don’t let the names stop you. You can also toss in your favorite veggies good for pickling, or omit anything you don’t love. This mix is what we like most at my house, but you can create something totally your own.
How to Make Giardiniera
No matter what style giardiniera you like, you can make it right at home by following these few, easy steps:
- Prepare the vegetables. Whatever veggies you decide to include, make sure you give them all a good rinse before you get started. You want them cleaned and patted dry so your brining liquid remains clear. This is the time to slice your onions and peppers as well (or everything if you’re going Chicago style).
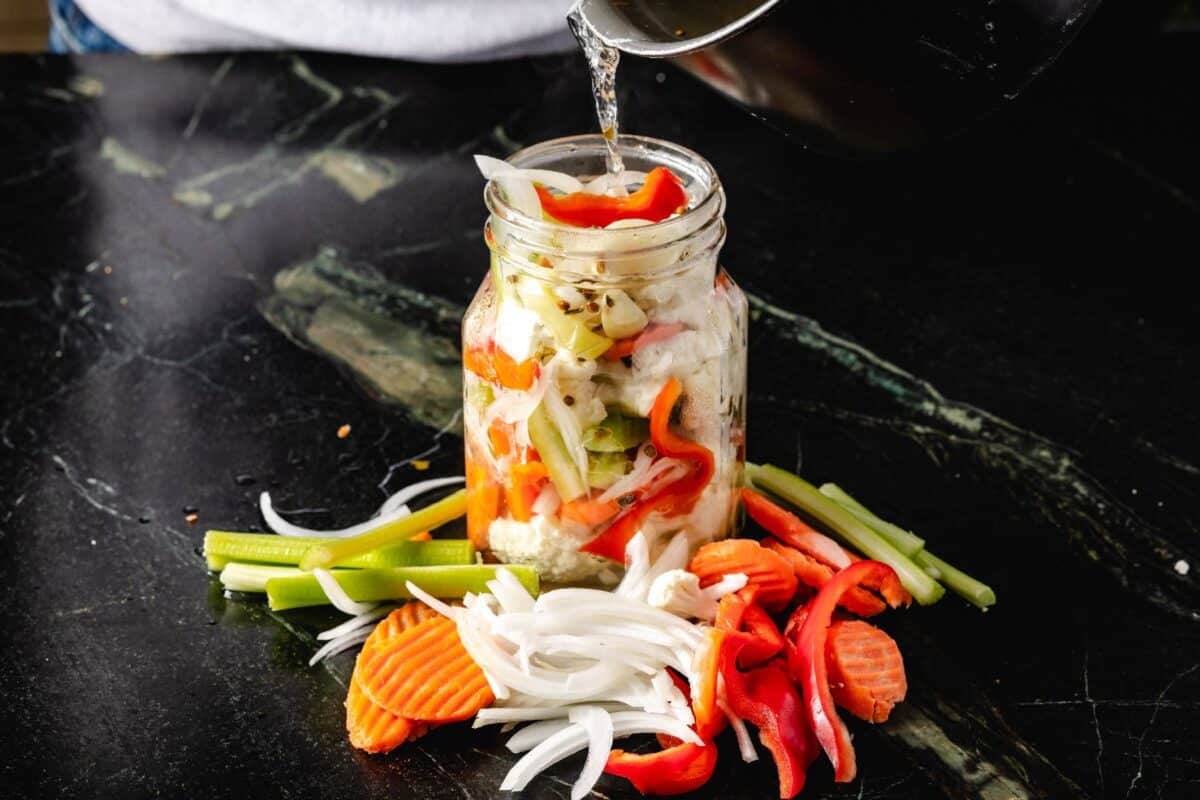
- Make the brining liquid. Combine the distilled white vinegar, water, Kosher salt, sugar, and pickling spice in a large pot, then heat it on your favorite grill or stovetop. Once your brining liquid is boiling, add your veggies and remove the pot from the heat. You want to par-cook your veggies, but leaving them over heat will overcook them. Let everything cool to room temperature before moving to the next step.
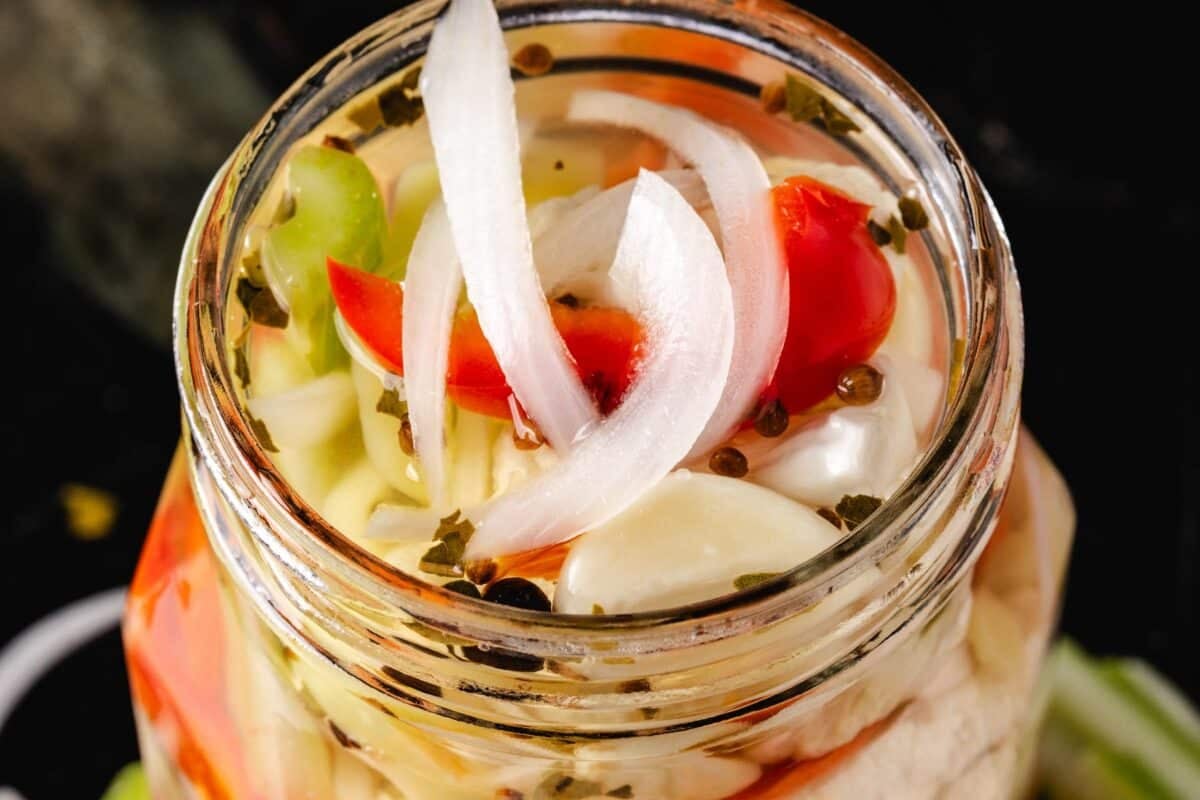
- Brine the vegetables. After everything reaches room temperature, spoon the vegetable pieces into a lidded Mason jar. Once you’ve got all your veggies in the jar, go ahead and pour in the brining liquid and seal the lid. After that, place the jar in your fridge and let the brining liquid work its magic for 48 hours. Trust me, it’s worth the wait.
- Serve and enjoy. When your giardiniera finishes brining, you can enjoy your spicy, crisp, pickled reward. Make sure to store your pickled relish in the fridge between uses, if it lasts more than one sitting.
Serving Suggestions
Pickled veggies, like this Italian giardiniera, work great for all kinds of occasions. The large bites of this version make it a perfect addition for charcuterie boards, salads, and pastas. At my house, we love a little giardiniera whenever we enjoy French dips, Philly cheesesteaks, and even Cuban sandwiches. This Italian style is great alongside most sandwiches. And remember, you can always chop it more before pickling if you want Chicago style to use as a condiment.
Storage and Shelf Life
The good news is you don’t have to do anything special once you finish bringing your giardiniera. You can keep it right in the same jar you use for brining. It will stay fresh stored this way in your refrigerator for up to 2 months. When your vegetables start to over-soften and the brine becomes cloudy, it’s time to make a fresh batch.
More Condiment and Appetizer Recipes
After you and your family experience the new depths of flavor this giardiniera brings to your appetizer spreads, sandwiches, and smoked meats, you’ll be on the hunt for more recipes. Luckily for you, I’ve got dozens more condiment recipes and hundreds of appetizer recipes in your Recipe Library, as well as the Hey Grill Hey App. They don’t all serve double duty like this versatile giardiniera, but each of them are absolutely yummy and easy to make at home. For now, here are some of my favorites to serve alongside pickled vegetables:
Vegetables
Smoky Tennessee Onions
Condiments
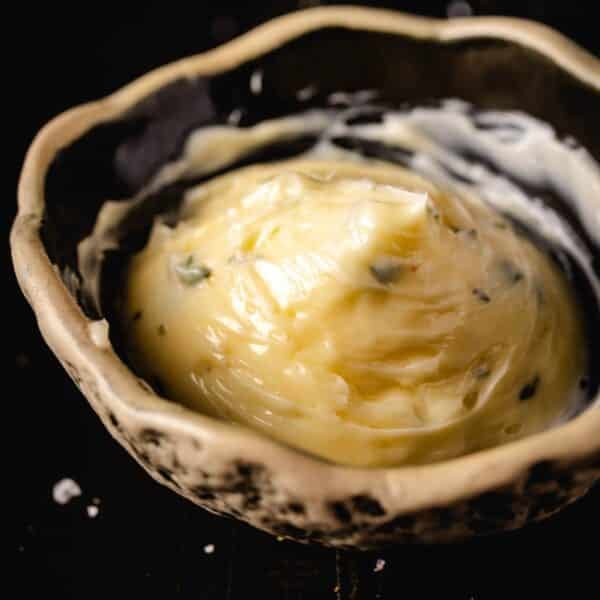
Resting Steak Butter
Recipes
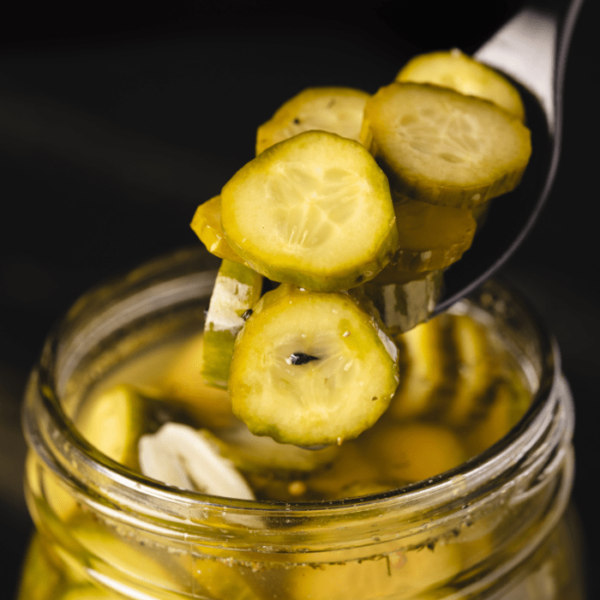
Homemade Quick Pickles
Sides
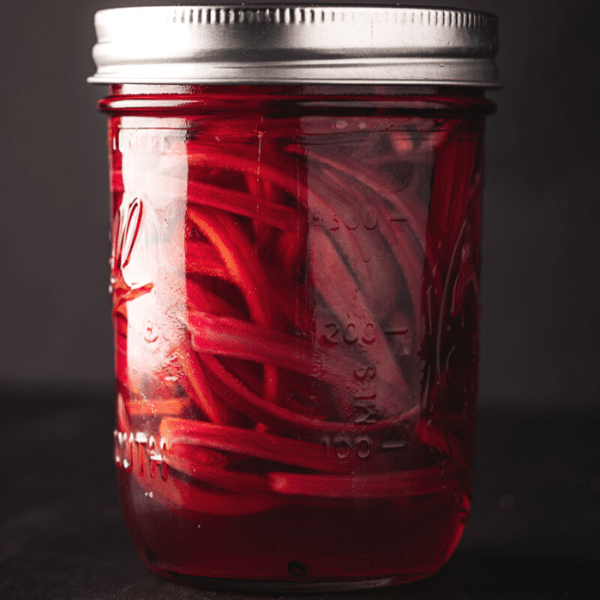
Pickled Red Onions
Homemade Giardiniera Recipe
Zhuzh up your next sandwich luncheon or charcuterie board with this simple giardiniera. You can make this recipe right at home in under 20 minutes, then browse for sandwiches while the brine does its thing. Use that time to give this guy a 5-star rating and tell me what a breeze it was in the comments below.
If you want to be the first to know when awesome new condiments like this giardiniera become available, make sure you’re following me on Instagram and Facebook. You can also see how I make recipes like this one (or just look for something rich and smoky to enjoy it with) by subscribing to my YouTube channel. Wherever you are on your journey to become a Backyard BBQ Hero, Hey Grill Hey is here to help.
Giardiniera (Pickled Italian Relish)
Ingredients
- 1 cup cauliflower florets
- 1 cup carrot slices
- ½ cup white onion sliced
- ½ cup celery cut into sticks
- ½ cup red bell pepper sliced
- ½ cup jalapeños or other spicy peppers
- 1-2 cloves garlic
Brining Liquid
- 2 cups white vinegar
- 1 cup water
- 1 Tablespoon Kosher salt
- 1 Tablespoon sugar
- 2 teaspoons pickling spice
Instructions
- Prepare the vegetables. Make sure your veggies are fully rinsed and clean before moving forward.
- Make the brining liquid. Combine all the ingredients for your brining liquid in a large pot and bring to a boil. Once the brining liquid is boiling, add your veggies and remove from the heat. The residual heat will par-cook the veggies, but not fully cook them. Allow everything to cool to room temperature.2 cups white vinegar, 1 cup water, 1 Tablespoon Kosher salt, 1 Tablespoon sugar, 2 teaspoons pickling spice
- Brine the vegetables. Once at room temperature, spoon your veggies into a lidded glass jar, then pour the brining liquid over it. Place in your refrigerator and allow to brine for 48 hours.1 cup cauliflower florets, 1 cup carrot slices, ½ cup white onion, ½ cup celery, ½ cup red bell pepper, ½ cup jalapeños, 1-2 cloves garlic
- Serve and enjoy. After your giardiniera brines for a full 2 days, it’s ready to enjoy. Use as a condiment for sandwiches, pastas, salads, and more. Store in your refrigerator for up to 2 months.
Nutrition
Nutrition information is automatically calculated, so should only be used as an approximation.

