Dr. Pepper Jalapeno Beef Jerky
On October 04, 2022 (Updated May 16, 2024)
This post may contain affiliate links. Please read our disclosure policy.
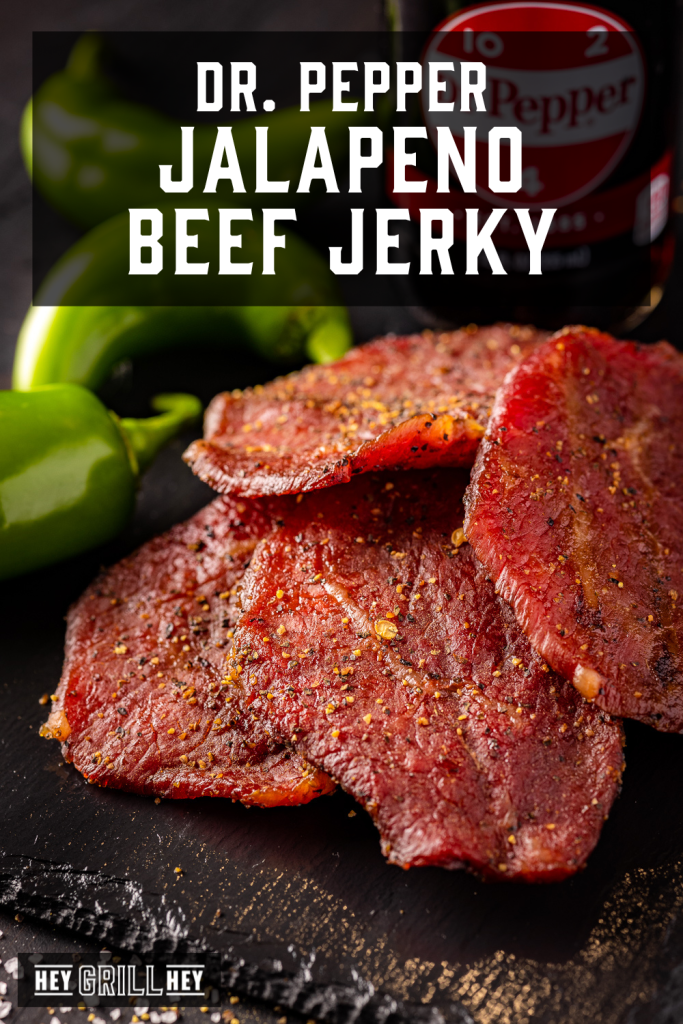
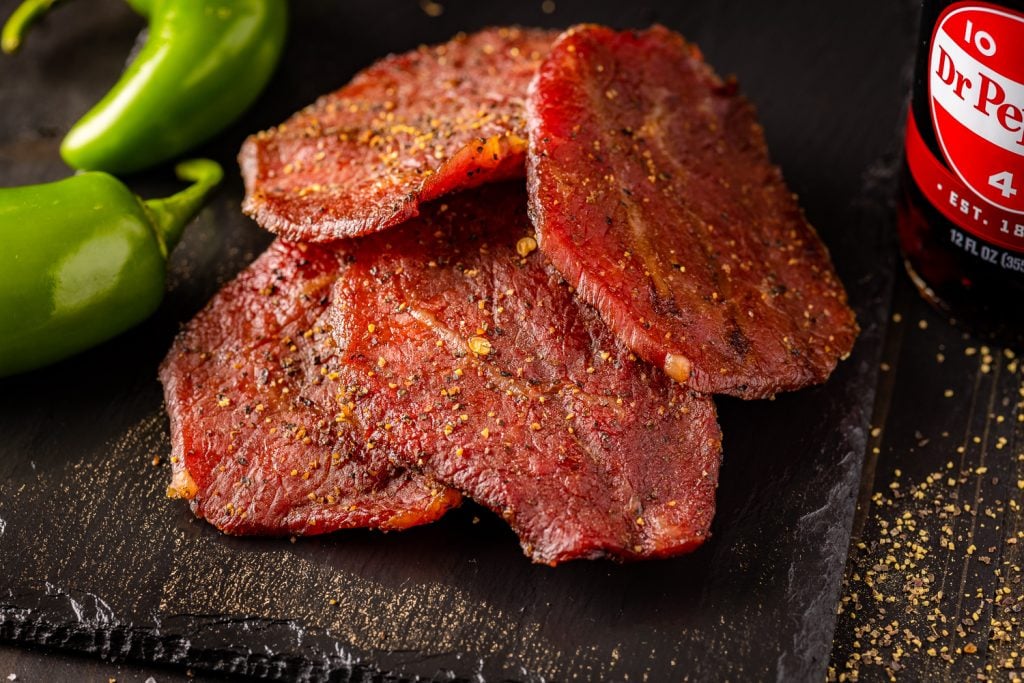
My Dr. Pepper Jalapeno Beef Jerky is legendary! This post includes steps on how to make beef jerky and the best beef jerky recipe ever. I mean, really. This post is so full of beef jerky knowledge, it should probably be a book. We are going to be talking cuts of meat, slicing tips, marinating basics, and dehydrating vs. smoking.
Dr. Pepper Jalapeno Beef Jerky
This jerky is by far one of my most popular posts on the site. It’s equal parts sweet and spicy and you can adjust the heat to whatever level you prefer.
I’ve had friends and family rave about this jerky. It’s become a popular office treat or neighbor gift during the holidays. I cannot emphasize this enough. You’ll likely need to make a double batch because this jerky will not last long.
How to Make Dr. Pepper Jalapeno Beef Jerky
Alright folks, as promised let’s walk step-by-step through the whole process of making this awesome jerky. From selecting the right meat all the way to getting that perfect dried jerky, you’ll have a tasty snack in no time flat!
Step 1: Select the Meat
Let’s start with the best cuts of beef for jerky-making. I try to pick a nice roast with very little fat marbling. My first choice is an eye of round roast. After that, I think a top round, sirloin roast, or rump roast would also work well. These cuts do have a bit more fat/gristle, but a lot of times the price is right so I don’t mind.
This recipe calls for 2-3 pounds of eye of round roast. I easily got this from my butcher and asked them to cut the meat for me. Need to know more about slicing? Read on to the next section!
Step 2: Slice the Beef
Once you have selected your meat, it’s time to get that perfect jerky-thin slice. The first option is to ask your butcher to slice the meat for you. I recommend asking for a few sample slices to help you determine how thick or thin you want your jerky. I usually ask the butcher to set their slicer to an X for jerky.
If you are slicing your own meat at home, put your roast in the freezer for 30-60 minutes before slicing. The chilled meat will be easier to slice. Next, grab a sharp knife and get started. Try your best to slice the beef nice and even so all the jerky dries evenly.
At this point, you can choose whether to slice your meat with or against the grain. I prefer to slice my jerky against the grain, as it makes the jerky easier to chew and eat. I’ve got a bunch of little kiddos who would eat their weight in this Dr. Pepper Jalapeno Beef Jerky if I let them, and I don’t want to worry like crazy that they are going to be choking on unchewable chunks of jerky.
If you slice with the grain you get those nice long strands of jerky that you can tear off and work through. If you like that more stringy, tougher texture for your jerky, go with slicing with the grain.
Step 3: Marinate the Beef
Next, let’s chat marinades! My favorite part! There are a million jerky marinades out there, plenty that you can buy pre-made and just dump on your sliced meat and go. There are some good ones and some not-so-good ones, and I am mad every time I waste money on a pre-made marinade AND a big pile of meat.
The sweet, savory, heat flavors from this Dr. Pepper Jalapeno marinade are a perfect balance. The real basis for any great marinade, in my opinion, is a good combo of flavors. You’ll get all that and more from this marinade.
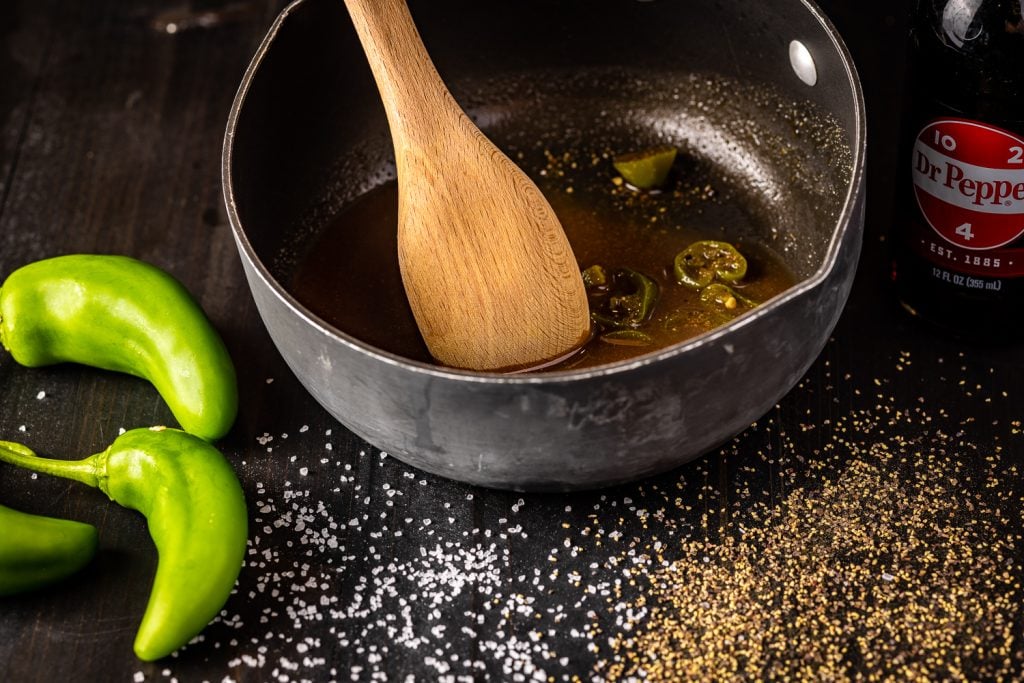
For this marinade, I want to emphasize the importance of the reduction step. Take the time to reduce the marinade properly. If you don’t, the final result can be a little bland. Also, this isn’t super spicy as prepared. If you want more jalapeño flavor, slice your jalapeños very thin or even add a third jalapeño to the marinade. Some readers have also substituted habanero peppers to up the spice factor.
Step 4: Dehydrate the Dr. Pepper Jalapeno Beef Jerky
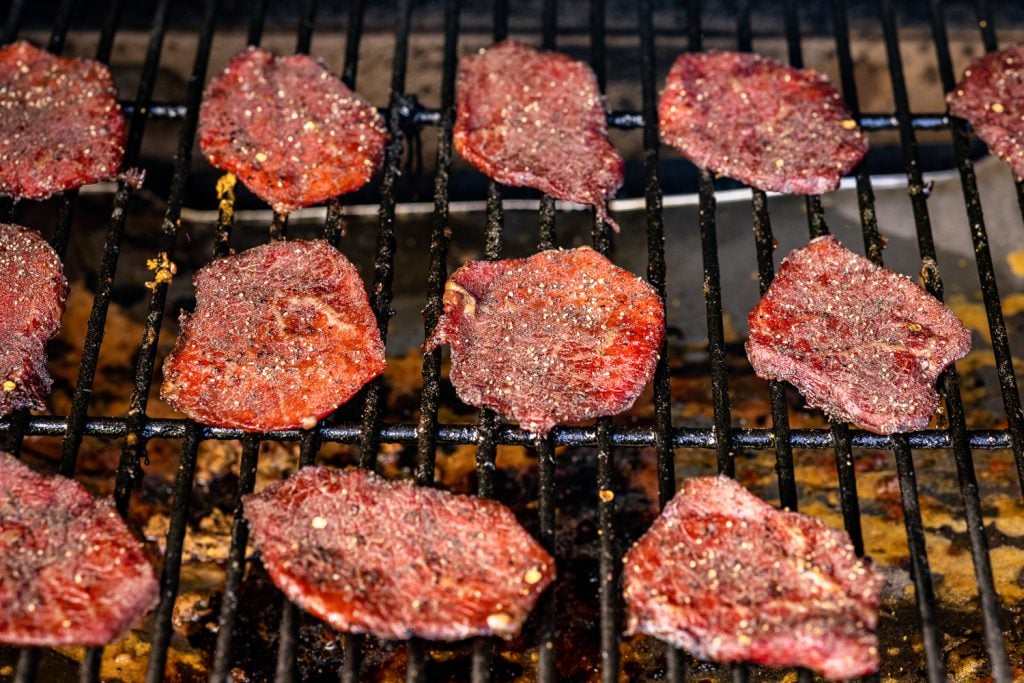
The last step in making jerky is to dry it all out in a smoker, oven, or dehydrator. I have several smokers at my disposal and my favorite for jerky is my Camp Chef SmokePro pellet grill. I can maintain temperatures around 160-180 degrees F. This allows the jerky to slowly cook through while smoking.
Here’s how to smoke this tasty jerky:
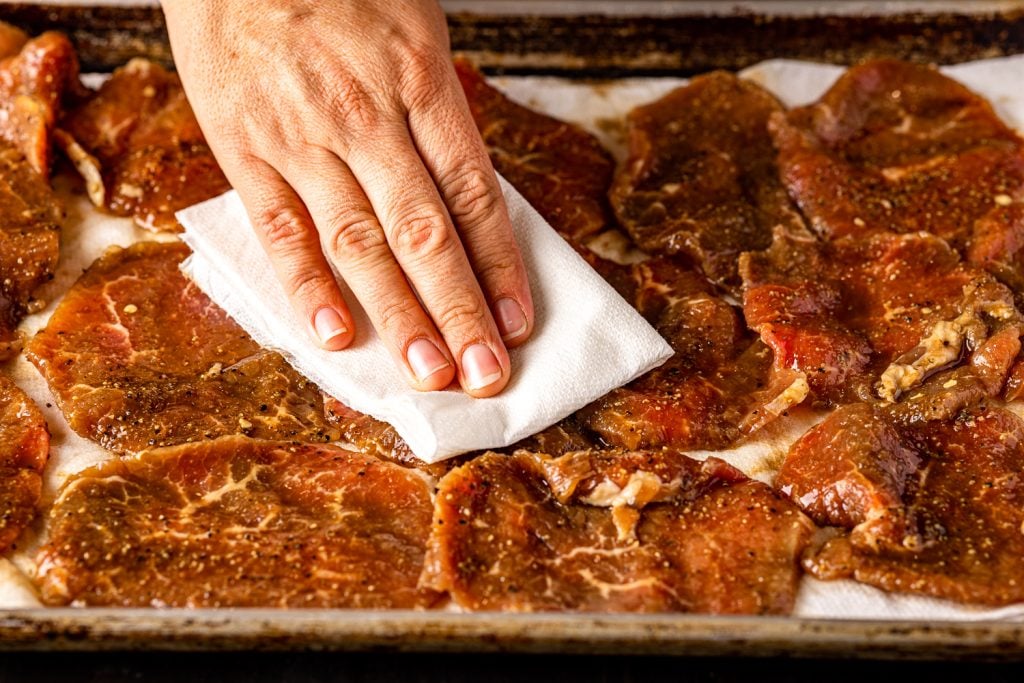
- Preheat. Preheat your smoker to 170 degrees F. While the smoker is preheating, remove the jerky from the marinade and use a paper towel to pat off the excess marinade. Once dry, dust with additional black pepper, if desired (this gives it an extra kick of heat!)
- Smoke. Place the strips of jerky on the grill grates of your smoker and cook for 2-3 hours (or up to 4-5 hours depending on the thickness of the beef). Your jerky is done when it reaches 165 degrees F measured with a meat thermometer. The meat should be slightly pliable without breaking when you bend it in half.
- Steam. Once your jerky is fully cooked, remove it from the smoker and place it in a clean gallon-sized zip-top bag while it is still warm. Do not seal the bag all the way to allow the jerky to steam slightly to keep it moist.
- Enjoy. Dig in! Let’s hope you made a double batch because this stuff is addicting!
Alternative Dehydrating Methods
If you don’t want to make this jerky in the smoker, there are two other methods you can try out!
- Oven. If you’re without a smoker, you can still dehydrate your jerky in your oven by laying out your jerky on a cooling rack before cooking. Follow the same time and temperature listed in the recipe, but leave the door of your oven slightly cracked so the moisture can escape and your jerky can dry properly.
- Dehydrator. If you are using a dehydrator, follow the instructions provided with your machine. Every dehydrator works differently and the timeline will be unique to your machine.
Curing the Jerky
If you prefer to use curing salts in your jerky, use 1 level teaspoon of Prague Powder #1 or instacure #1 in the marinade recipe. The recipe If you cook the recipe as is, it will last in your fridge for up to two weeks in a zip-top bag (if you don’t eat it all before then). If you use curing salt, it will last up to two weeks on your counter.
More Beef Jerky Recipes
Looking for more delicious beef jerky recipes? Check out these other popular ones from the site!
Dr. Pepper Jalapeno Beef Jerky Recipe
There you have it! You made it through my jerky novel! You may very well now be an expert jerky maker. If you have any questions beyond what we talked about above, feel free to leave a comment here or jump on over to find me on Facebook or Instagram.
This post was originally published in February 2018. We recently updated it with more information and helpful tips. The recipe remains the same.
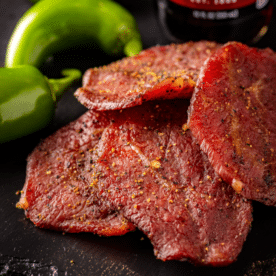
Dr. Pepper Jalapeno Beef Jerky
Video
Ingredients
- 1 2-3 pound eye of round roast thin sliced against the grain
Dr. Pepper Jalapeno Marinade
- 2 cups Dr. Pepper
- 2 jalapeños sliced
- 2 Tablespoons Kosher salt
- 1 Tablespoon Worcestershire sauce
- 2 teaspoons black pepper
- 1 teaspoon garlic powder
- 1 teaspoon onion powder
Instructions
- Make the marinade. In a medium saucepan, combine all of the ingredients for the marinade. Bring to a boil and reduce the heat to a simmer for 10-15 minutes or until the mixture has reduced by half. You should have just over a cup of marinade. Chill the marinade completely.
- Marinate the beef. Transfer the sliced beef to a gallon sized zip top bag and pour in the marinade. Massage the marinade into the meat and refrigerate for 8-12 hours, or overnight.
- Preheat the smoker. Preheat your smoker or oven to approximately 170 degrees F. I recommend maple or cherry (or a combo of both!) for this recipe.
- Smoke the meat. Remove the meat from the marinade and dry each strip thoroughly by laying on paper towels or patting dry. Transfer the strips to the grill grate, jerky rack, or cooling rack and smoke/cook for 2-3 hours (depending on the thickness of your slices, some thicker pieces can take 4-5 hours). Check often after the first hour to be sure your jerky is drying evenly. You are looking for jerky that is firm and still slightly pliable, but not soft. If you bend your jerky and it breaks, you've cooked it a little too long.
- Steam and enjoy! Place the finished jerky in a gallon zip top bag while it is still warm. Don't seal closed all the way. The jerky will steam in the bag slightly and this step will make the jerky moist. The jerky will last 3-4 days on the counter or 2 weeks in the fridge.
Nutrition
Nutrition information is automatically calculated, so should only be used as an approximation.



I’ve used this recipe so many times I’ve lost count. People absolutely love my beef jerky. I’m considering using the curing salt. If I do so does the curing salt replace the kosher salt altogether?
I was wondering if anyone would know of a substitution for worchestershire sauce. Made the original recipe and it was delicious but
I am with the extended family throughout the Holidays and brother in law is allergic!
You can swap the Worcestershire for soy sauce. Hope that helps!!
I was wondering if anyone would know of a substition for worcestershire sauce ? Made the original recipe and it was awesome but am with the extended family through the holidays and brother in law is allergic. Was wondering if it could be replaced.
Thanks for the original recipe ! Everyone who tasted it found it delicious !
Made jerky from your recipe and it sure is fantastic! This was the first on my new smoker grill! Used sirloin and everyone loves it. Thanks for sharing.
I just found your web site, wow wonderful recipes, however I like using ground beef or venison and press it through my Datotah water stuff into snack strips (flat strips not round)
My question is, if I make the marinade for recommended amount of whole muscle meat, should I cut back on the amount of marinade I add to the ground meat?
With whole muscle meat your not using ALL the marinade after the meat has marinaded and you pat dry the meat before dehydrating and there is always marinade left in the bag that gets tossed away right?
So technically your not using ALL the marinade, and if I pour all that marinade into the ground meat, it may be too much, right. What do you think?
With this recipe, the marinade covers the meat quite well, but there really isn’t too much leftover. I would recommend making the marinade as called for in the recipe, but don’t mix it all in to your first batch. This is one that may require a bit of testing, so maybe you could divide the meat and try 3 different amounts of marinade in each portion.
Is marinating for 2 nights too long?
I honestly wouldn’t marinate it for that long.
I’m on my 6th batch of this recipe and up to 6 jalapenos… lol I absolutely love it as a base recipe. Tonight I smoked strips for an hour at 160 to 190… still trying to get the smoker right… and now using the dehydrator for the next 4 hours. My hope is to have a more durable, more consistent jerky like the one in your picture.
Wow I am so glad this has become a regular and that you are making it your own!! Let me know how it turns out!
When I saw this recipe for jerky I had to try it and, WOW, it is good. Probably the best jerky I have made. Even with 3 jalapeno peppers it was just mildly warm. I did it on my Camp Chef pellet grill and I was pleased with the results.
Awesome recipe – you have to try this.
I’m so happy you liked this recipe!! Thanks for coming back and leaving a comment!!!
How long did you guys smoke yours for? I did mine for about six hours today and I think it turned out pretty good just was wondering what everybody else did.
Awesome Brandon!! I’m glad it came out so good for you!!
I have done jerky for years (35), I do not look to cook it. It actually does not have to be cooked. When you season, salt and marinate it, this is part of curing, when you dry it. This is part of the curing process. I have kept it for a year in a covered bowl in the pantry. I originally used the oven cleaning and then a coat of oil and set it on the lowest temp with the door open. it took less than 1/2 day. It never went bad. After going through my medical training, (I worked critical care, ER for 22 years) i.e. Microbiology, I now understand why. The osmolality, the salt is so high, that even if something landed on it. It would not grow.
I had neighbors that made jerky (in Arizona summer) on a large, 2 ft by 6 ft wood frame with screen/ hardware cloth and a glass top, no bugs could get at it, yet it had good air flow. They left it up there for a couple of days. They did this for years. Their jerky was perfect. Why thi works, part of it is a curing marinate, then drying. My kids and i made our own jerky for backpacking, my then young teenage daughter would resist going backpacking unless we made our own jerky, bless her buttons. It is only recently I started making jerky again in a big way, and give it away to friends and family and reading about folks thinking it needs to be cooked… just the original theory of jerky.
Historically, drying and smoking meat as a preservative is a curing process, not cooking. It does need to be dry. In school, it was mentioned that a 7% solution of salt was antiseptic. So when you dry it, I have wondered about the surface of jerky being 7% in a combination of salts.
Another thing I have done for about 30 years. I BBQ skinless, boneless chicken thighs, I marinate for a half day and grill them. I usually do about 10 to 20 lbs. What is not for dinner right then, goes from the grill straight into a container at grill side and covered with foil (not tight fitting lid). I have had it for as long as 6 weeks and still good. Part of what I do, is from grill to the fridge, zero counter time. So it is essentially sterile. The other is the foil, that way it does not sweat in the bowl. Then when I use it, I take the chicken out we are going to use and it goes straight back to fridge. When you microwave (no one could ever tell it had not come right of the grill), it is still perfect.
I did this at a large family gathering, 25lbs and forgot the bowl in his fridge, I was not going to make a trip to get it. He called me a week later to say his 10 yr old daughter that refused to eat meat could not keep her hands off it. She would have some with nearly every meal, including breakfast. This was not dry to jerky or overcooked. It was based off of cooking, being sterile, good aseptic technique in handling and, was smoked, another type of curing. No one has ever been sick. I have got salmonella food poisoning from restaurants a couple of times over the years. Ahhhyyyeee.
Settlers, Indians have been smoke curing for centuries. Salt curing does not require tons of salt. They did a brine dip. The smoke keeps the bugs away while it dries. Interesting side note, I have studied bees some and wondered why beekeepers use smoke. I found that bees communication is all pheromone, chemical scent messages. The bees have good sniffers. This is why you don’t smash bees on you or swat at them, rather shoo them away so the alarm is not sounded. The pheromones (chemical messengers) will light the hive up. Smoke is such a strong aromatic blocker, that with smoke in the hive, One or many bees may sound the alarm, but none of the others can smell the alarm due to the smoke and so they all go about their business.
Wow, that is a wealth of knowledge!!