Candied Bacon Roses
On February 11, 2020
This post may contain affiliate links. Please read our disclosure policy.
Candied Bacon Roses are a sweet and savory way to show somebody that you really care. Not only are these easy, but they’re delicious too! Simply scroll below for a simple recipe and video to walk you through the process of how to make your own bacon roses for that special someone!
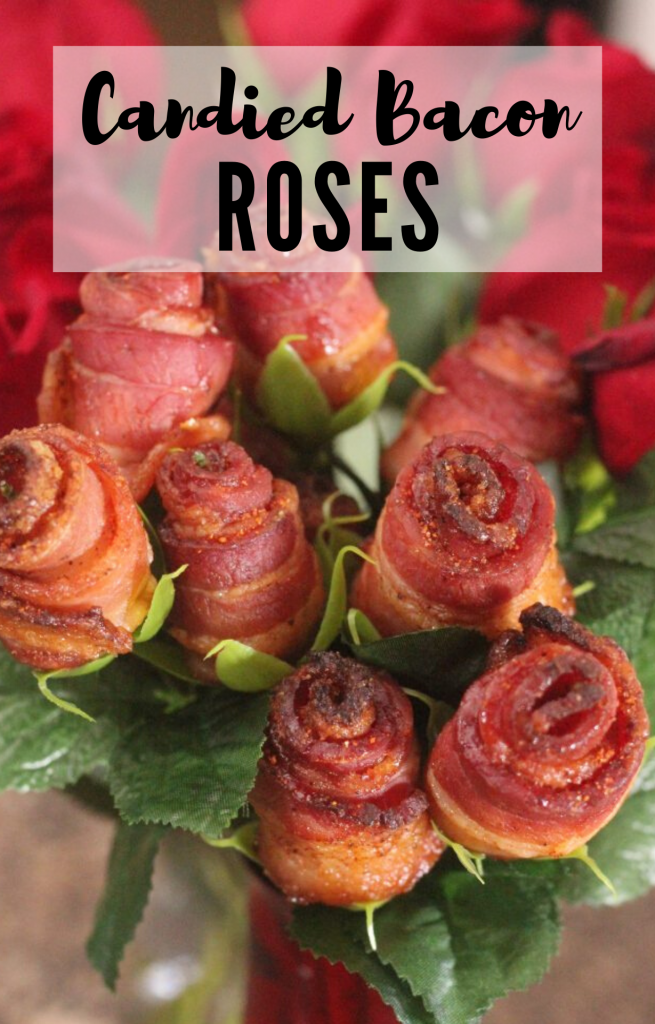
Bacon Roses
Bacon roses are the ultimate gift for your significant other on Valentine’s Day (or any day you want to tell your BBQ lover that you care about them. They’re super simple to make; all you need is some thick cut bacon, sweet rub, and brown sugar.
When selecting your bacon for these roses, skip the thin sliced stuff and overly seasoned flavored bacon (peppered and maple are usually a no for this recipe). Find a nice thick cut, smoked bacon at the store. If you have some extra time, you can make your own homemade bacon and slice it thick. Most people expect a dozen roses, so make sure you grab a pack of bacon that has at least 12 slices, I recommend 15 so that you have a couple extras to snack on for yourself before giving the rest away.
Bacon Rose Bouquet
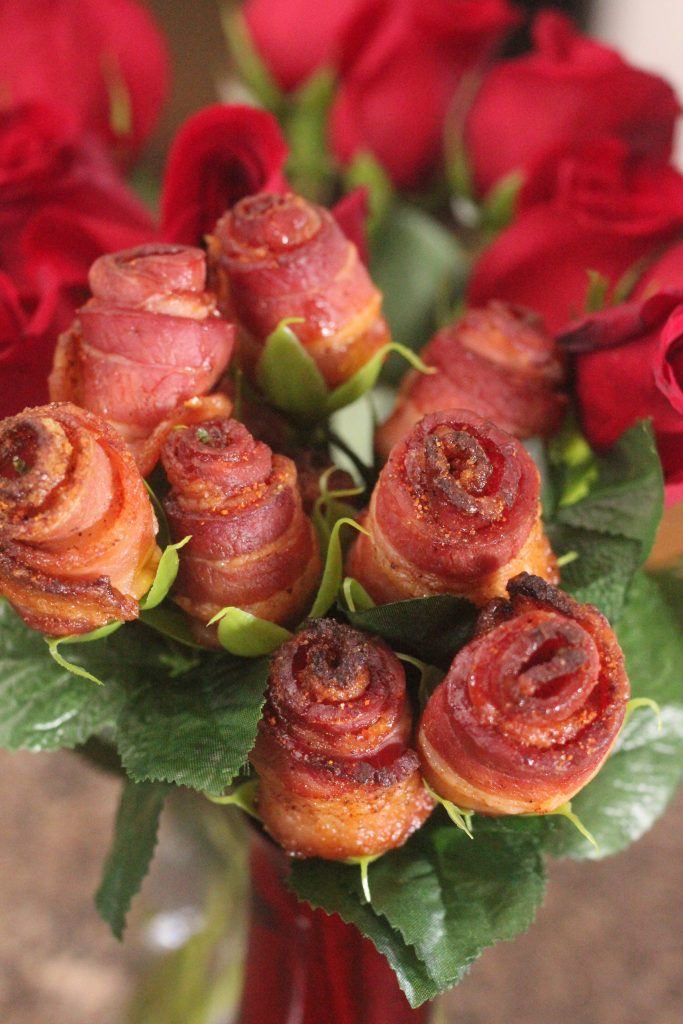
These bacon roses are all about presentation, and they look incredible when placed in a bouquet. This next step takes an extra bit of planning, but it’ll be worth if for the final result.
When looking to purchase stems for this bacon rose bouquet, the easiest thing to do is head to the dollar store to pick up fake roses. If you want an easier option, you can also order fake roses online.
Before purchasing the fake flowers, separate the leaves so you can see how they are attached. You definitely want a bouquet that has a stem that sticks out a little to support your roses and high green sides at the base to keep your bacon in place. When you get home, pull off and throw away all of the petals, but leave that green base and the center stem.
How to Make Bacon Roses
Once you have your bacon selected and ready to go, and you’ve purchased your fake stems, you’re ready to make the bacon roses! Follow these three steps outlined below to make this delicious bouquet. For more assistance, scroll below to the video in the recipe card.
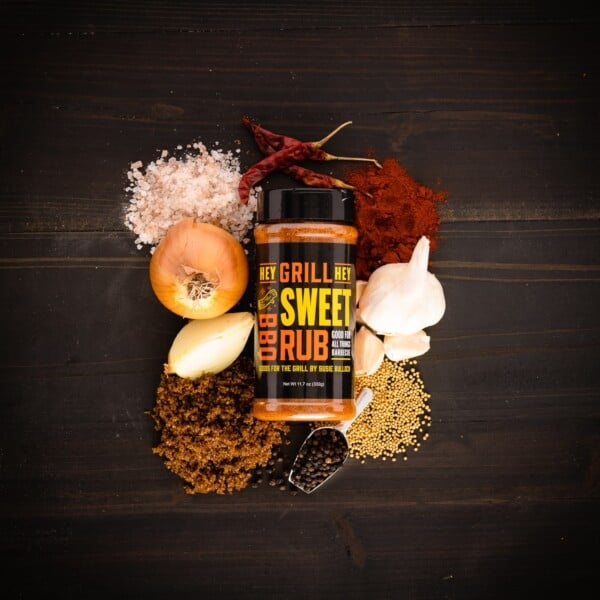
- Shape the bacon into roses. Lay out a slice of your bacon. Sprinkle liberally with brown sugar and a pinch of my Homemade Sweet Rub. This adds a nice depth of flavor. Start at one side and roll the piece of bacon into itself to form a lovely rose. Secure the bacon with a longer toothpick and then insert a second toothpick on the opposite side to create a little “X” stand at the bottom of your rose to prevent them from tipping over while cooking.
- Cook your candied bacon roses. Cover a baking sheet with foil, and then set a flat cooling rack on top of the foil. This will catch all of the bacon fat and melting sugars from your candied roses. You can either bake in your oven, or if you want to add a little extra something magical, you can bake in your smoker over indirect heat. You need to be able to get and hold your smoker to 375 degrees F for 30-45 minutes to be able to render out the fat, cook the bacon through, and crisp the outside edges of the bacon.
- Assemble the candied bacon roses. Once your bacon roses are fully cooked, let them cool completely and then remove the toothpicks from the roses. Set one bacon rose on each rose stem, nestled nicely into the green base with the stem poking up into the middle of the bacon rose for support. Make sure your fake rose stems are in a vase. Depending on how heavy your bacon roses are, you could have some leaning issues with your rose stems. I found placing them in a narrower vase really helped keep them upright.
More Bacon Recipes
So maybe these guys aren’t really your style. No worries! Hey Grill Hey has plenty of bacon recipes on the site to satisfy any of your bacon cravings.
Smoked Candied Bacon
How to Make a Bacon Weave
Homemade Smoked Bacon
Bacon Roses Recipe
Watch the video below and I’ll show you how I make these roses at home. I’m here to help you make better BBQ, feed the people you love, and become a backyard BBQ hero. Check out more of my smoking and grilling recipe videos on YouTube, Instagram, or our Facebook Page.
Candied Bacon Roses
Ingredients
- 12 slices bacon thick cut
- 1/4 cup brown sugar
- 2 Tablespoons Hey Grill Hey Sweet Rub link in recipe notes
Instructions
- Preheat your oven or smoker to 375 degrees F.
- On a large cutting board, lay out one piece of bacon. Sprinkle liberally with the brown sugar and a pinch of the sweet rub. Starting at one end of the bacon, roll tightly until you form a rose shape. Secure the rose with 2 toothpicks, forming an "X" at the base. Repeat with all slices of bacon.
- Cover a baking sheet with foil. Place a flat cooling rack on top of the baking sheet. Space the rolled roses evenly on top of the cooling rack.
- Bake the candied bacon roses for 30-45 minutes, checking for doneness at 30 minutes. Most of the fat should be rendered, the roses should have tightened, and the edges will be nice and crisp.
- While your bacon roses are cooking, prepare your rose stems. Remove the petals from a dozen fake roses, but leave the plastic base under the petals. Press that green base down about 1 inch on the stem so that the stem can act as a support for your bacon roses. Place the stems in a vase and set aside.
- Remove the bacon roses from the oven or smoker and cool completely. Remove the toothpicks.
- Place each bacon rose onto one of the fake rose stems. Nestle the candied bacon rose down the stem and into the plastic rose base.
- Share with the person you love most!
Notes
Nutrition
Nutrition information is automatically calculated, so should only be used as an approximation.
**This post was originally published February 2018. We recently updated it with more information and helpful tips. The recipe remains the same.




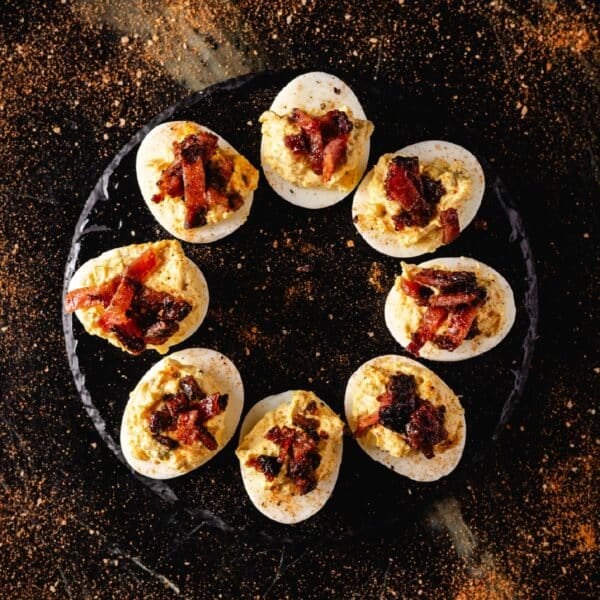


Made these for a picnic yesterday and they were the hit of the party!!
Besides being pretty the roses were delicious and so quick and easy to make.I sprinkled each slice with lots of brown sugar and lightly shook jarred street corn spice on them too.
Fun and pretty finger food appetizers.
I didn’t put them on skewers but arranged the roses on a plate with fresh basil leaves all around to look like rose petals..
So nice and afterall, who doesn’t love bacon ?
Have you tried these with hot honey drizzled on them? Wondering if that would be an interesting twist?
Is there a way to make these a day ahead of time? How long can I leave them out?
You absolutely could! You should be fine leaving them out for a while. I wouldn’t leave them out for hours and hours, just refrigerate as long as you can. They’ll be great!
These turned out really nice and I followed precisely. The only thing is I wish the center would have cooked a little more, but that would have been my preference. My husband loved it just the way it was =D. I also wish I could upload a pic of my masterpiece bc it really was pretty!